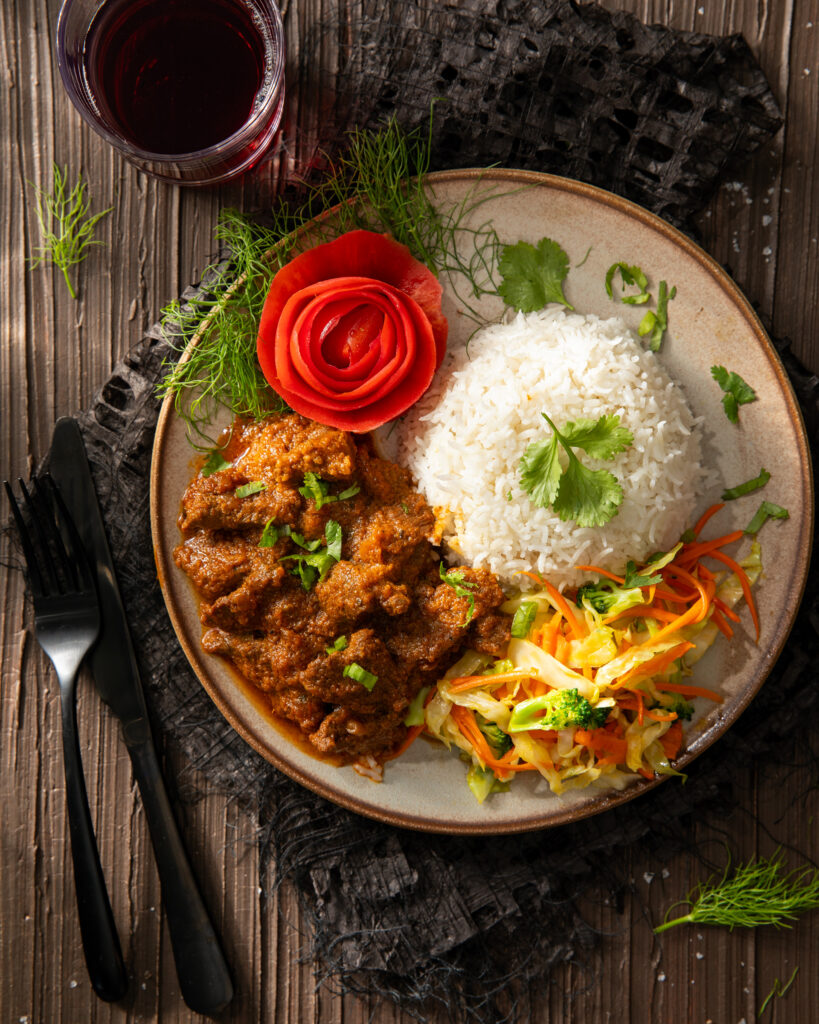
As cold weather arrives, craft spirits take center stage, displacing crisp lagers and lively rosés. Imagine a perfect sweater-weather gathering of close friends around a table heaped with grilled steaks, garlic mash, and roasted butternut squash. Crystal glasses cradle locally distilled bourbon, casting a warm glow by candlelight. Perhaps steaks are replaced with fish, and bourbon with ice-cold vodka? Both combinations sound perfect, no? They are perfect, thanks to these skilled Pittsburgh distilleries.
Local small-batch artisans draw inspiration from the city’s rich history: think back to the Prohibition era, where clandestine speakeasies thrived in several of the city’s neighborhoods. Today, a community of dedicated distillers keeps the spirits alive with a modern twist. Maggie’s Farm Rum Distillery, for example, is Pennsylvania’s first craft rum operation since Prohibition.
The Skilled Distilleries of Pittsburgh
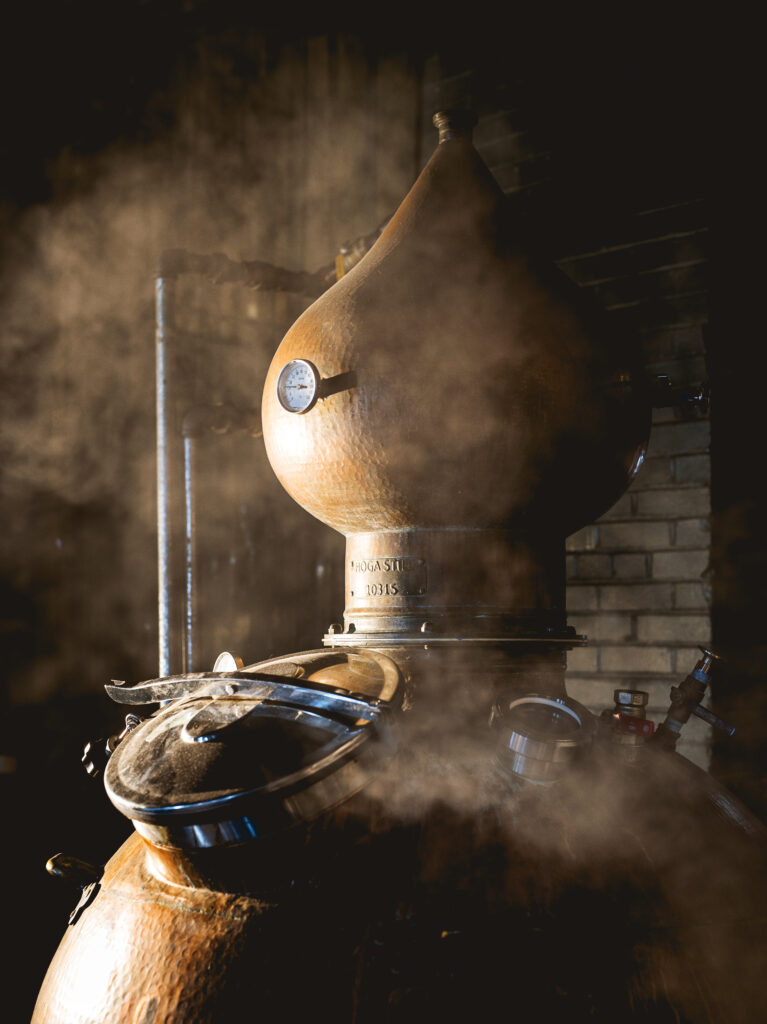
One of Pittsburgh’s finest distilleries in the bustling Strip District, Maggie’s Farm conceals its treasures behind an unassuming facade. Step inside and smell the scents of molasses and oak. Gleaming copper stills and aging barrels frame an inviting cocktail bar. Maggie’s Farm, begun by Tim Russell employs raw Louisiana turbinado sugar, Caribbean-derived yeasts, and techniques like extended fermentations and rustic distillation. From subtly sweet white rum to oak-aged single barrel, and intense Queen’s Share, they capture the essence of cane. Visiting (and tasting) makes for a fun, immersive experience.
A few blocks down Smallman Street, you’ll find Wigle Whiskey. In Pennsylvania, spirits and rebellion have always been intertwined. Early settlers displayed their resourcefulness by turning surplus grains into whiskey. Sparked by a much-hated tax on their whiskey, the Whiskey Rebellion of 1791 left an indelible mark. Wigle Whiskey was named after Phillip Wigle, one of its instigators.
Kingfly Spirits, also on Smallman Street in the Strip, offers yet another chance to appreciate local spirit culture. Located in a 1906 brick carriage house transformed into a distillery, bar, and special-events space, the atmosphere is inviting, and clever cocktails are built on a collection of delicious spirits made on-site. This family business is rightly proud of its award-winning revival of a historic building. A tour alone is worth the visit.
Pittsburgh’s craft distillery scene has flourished since 2012, when the city’s liquor laws underwent significant changes. It’s been a delectable journey. In addition to the three Strip District players named previously, distillers like Quantum Spirits, Lucky Sign Spirits, and Boyd & Blair Spirits, illuminate the spiritscape and leave a much-appreciated mark on the city’s nightlife.
Beyond The Distilleries
Fig & Ash, whose bar offers innovative craft cocktails made with an authorial point of view, often uses local spirits. The same is true at Tina’s, where you can sip consistently excellent cocktails featuring local ingredients in a casual and welcoming atmosphere. Don’t overlook the secret speakeasies: Acacia and Commerce Bar are hidden gems where you not only sip some local spirits but also revel in their intoxicating ambiance.
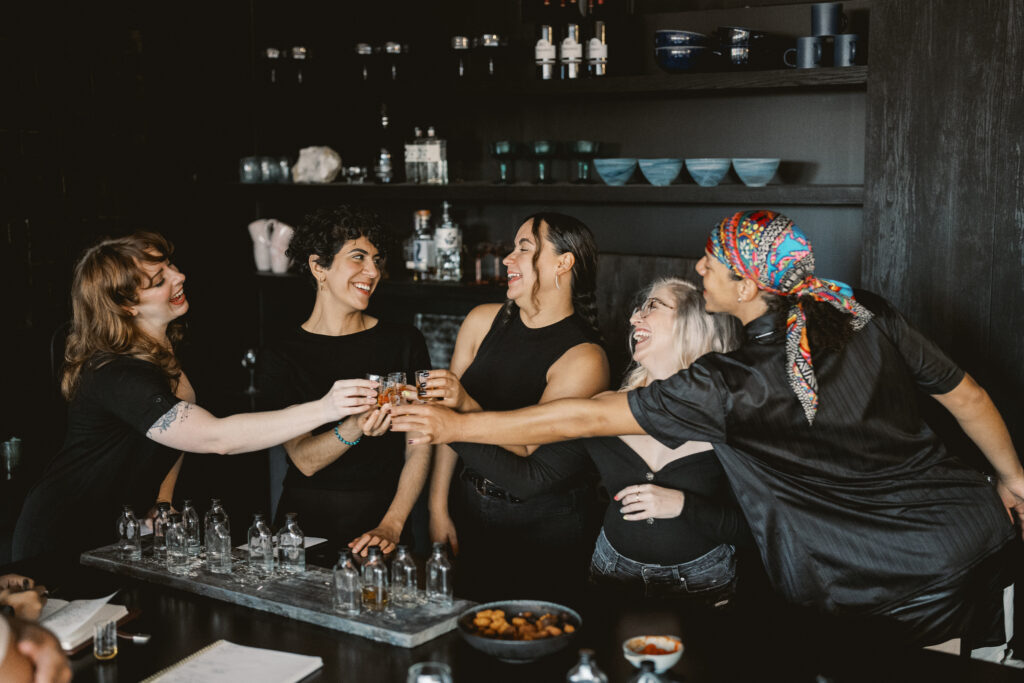
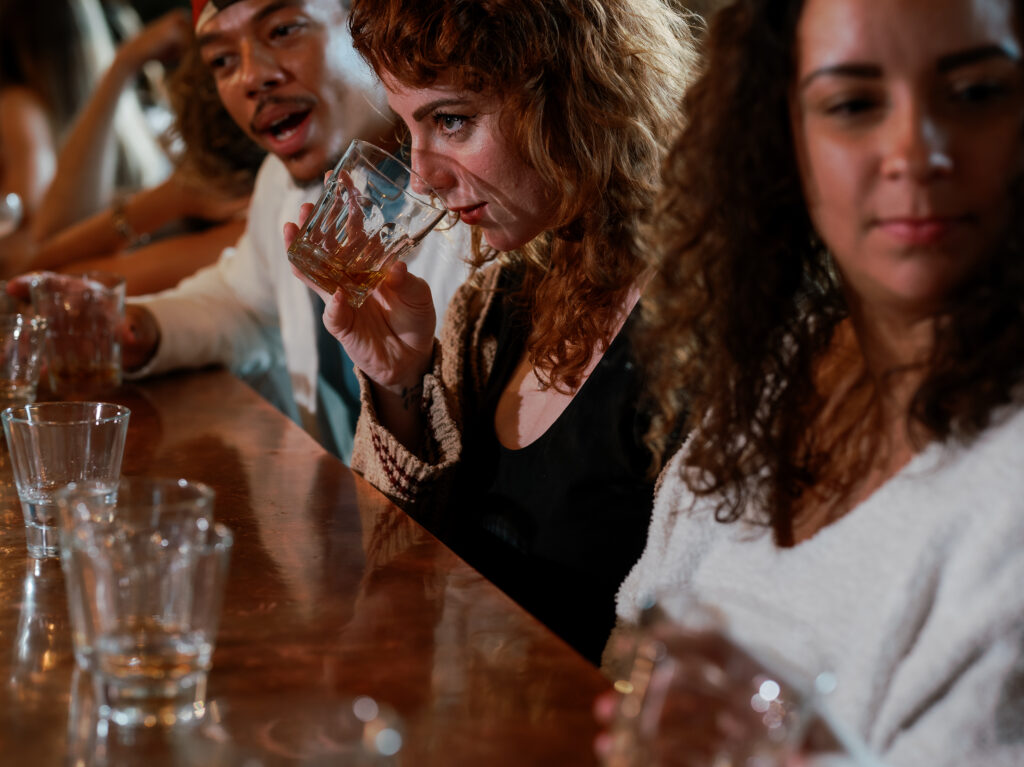
Taste Test
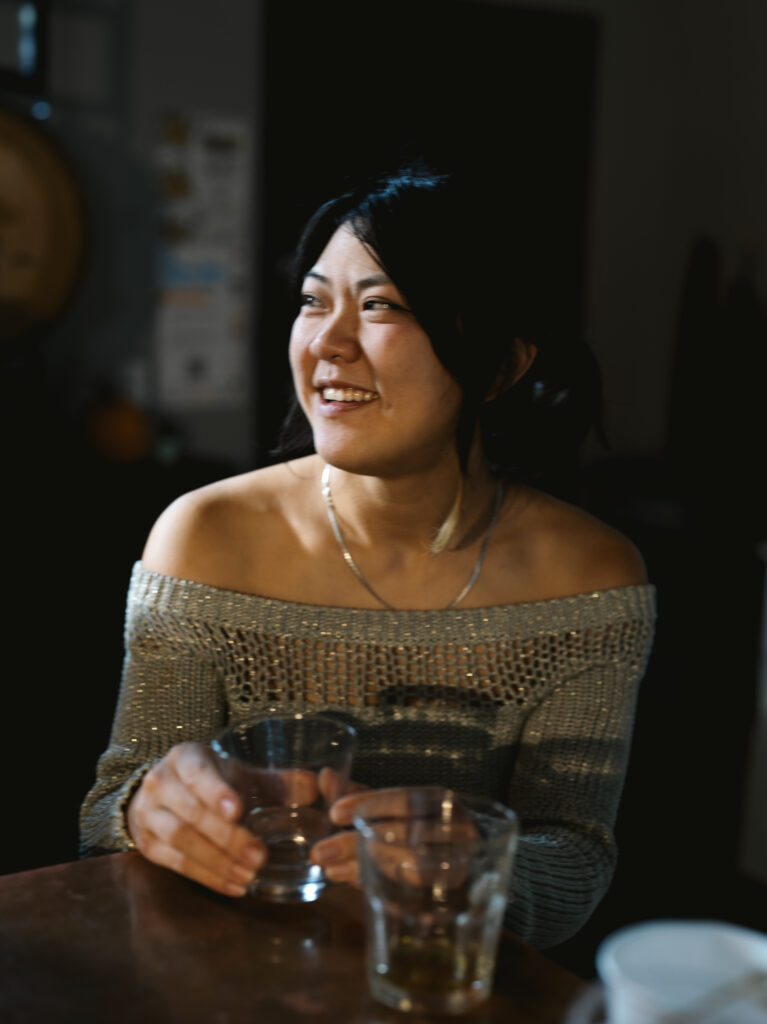
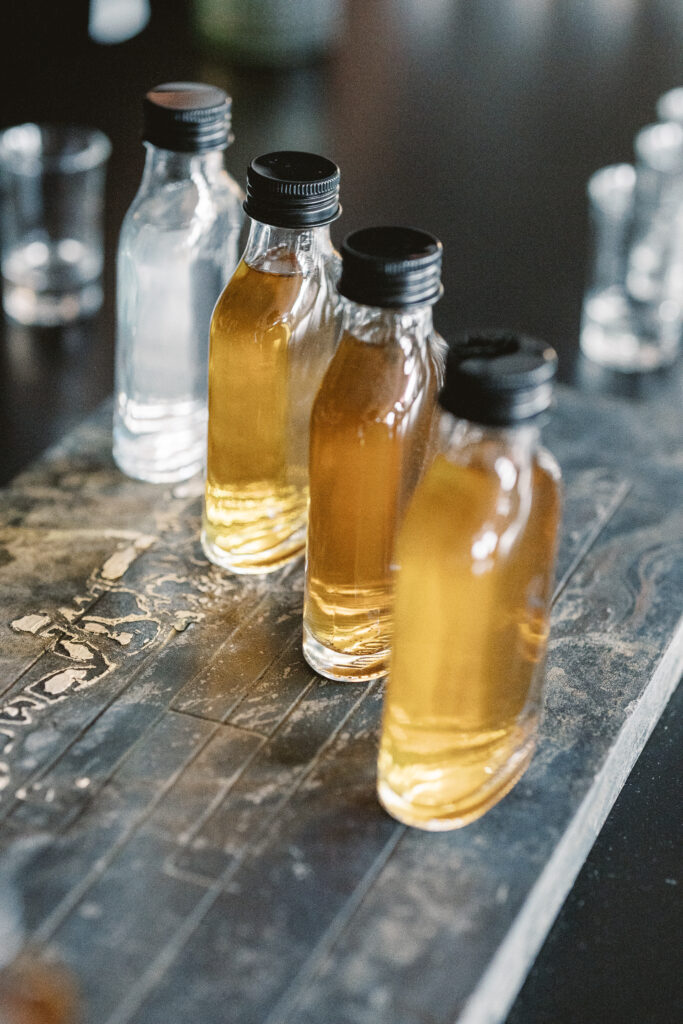
To shine a light on gems among Pittsburgh’s craft spirits, TABLE Magazine contributor Kaitlin Fellers gathered experts for a blind-tasting experience. Tasters included Kaitlin herself, Darelle Canada, Clair Chinn, Shawnee F., Kassandra Scribner, and Maddison Fyffe among the city’s best mixologists. Locally produced vodkas, gins, bourbons, and rums were poured from unlabeled glass flasks coded with grease-penciled letters. Then, with each carefully measured, anonymous sip, the judges delved into nuances of flavor, aroma, and texture. The panelists had animated conversations with discerning palates and a passion for their craft.
Standouts
Stateside Urbancraft, a crisp vodka with refined neutrality and a smooth finish. The panel saw this as a vodka suitable for clean, crisp martinis and lightly-sweet cosmopolitans. Other esteemed contenders included Lawrenceville Distilling’s Parking Chair, Boyd & Blair, and McLaughlin Distillery.
Kingfly Gin, a harmonious blend of juniper, lavender, citrus, and sandalwood. The panel coalesced around this spirit because “it fulfills the expectation of what a gin ought to be.” Other delicious gins tasted were Bluecoat, Revivalist Botanical, and Wigle Organic.
Kinsey Bourbon Whiskey, a rich blend of two mash bills and a spicy-sweet finish, took the lead in this category. Participants praised its notes of oak and pepper, and its high rye content. Liberty Pole, MLH Distillery, and Disobedient Spirits brought their own delightful flavors into the discussion.
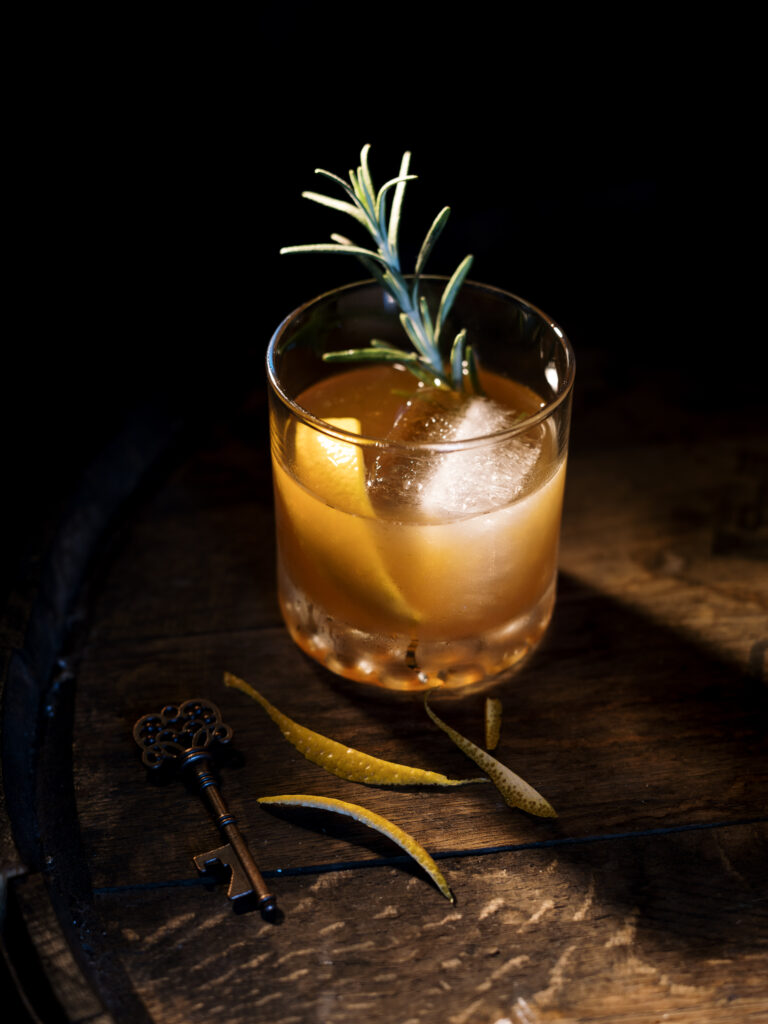
Kingfly Bliss 1895, a symphony of spiced sweetness with a caramel twist, emerged as the contender here. Praised by the panel for its full body and rich flavor, one mixologist began to concoct a Spice Rum Old Fashioned in their mind. Maggie’s Farm White and 50/50 Dark, and Wigle Landlocked Spiced were all spirited contenders in this category.
At The Bar
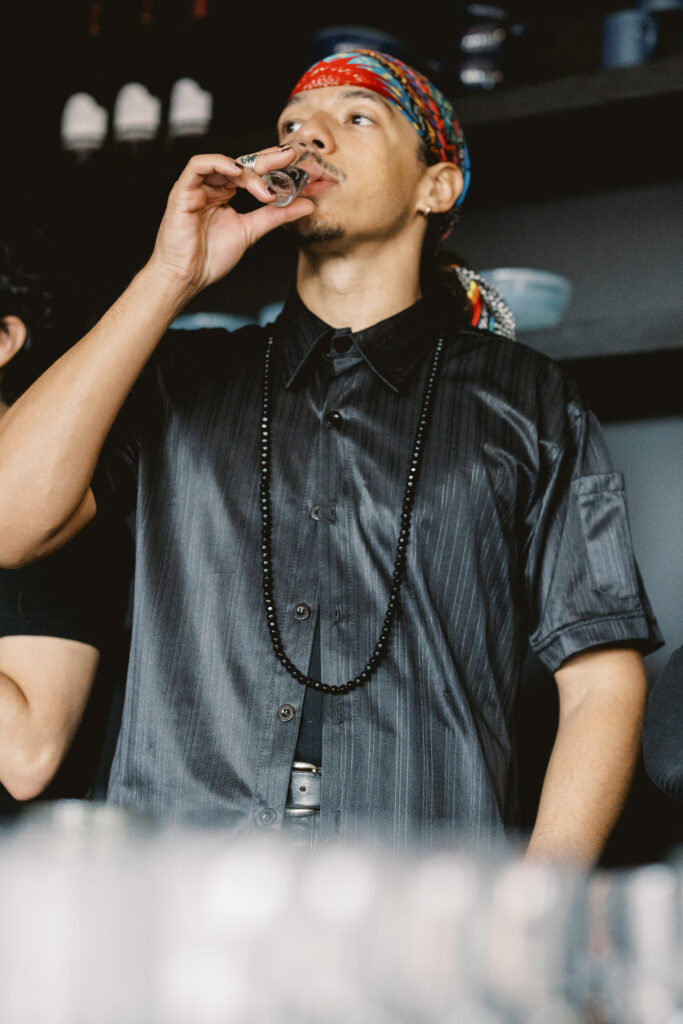
Darelle Canada, a vivacious 27-year-old Gemini originally from Baltimore, MD, is now making waves in Pittsburgh. With seven years in the service industry, Darelle’s bartending prowess has taken him to cocktail competitions, showcasing Pittsburgh’s vibrant local spirits scene.
Shawnee F. is a 10-year veteran of the Pittsburgh service industry. She shared craft spirits at a local distillery, then transitioned into a new career post-pandemic. Shawnee remains a champion of Pittsburgh’s vibrant artisanal liquor scene.
When Kaitlin Fellers is not crafting cocktails, she’s a passionate traveler, a host of craft nights, and a bookworm who enjoys quality time with her pets. Kait is a seasoned hospitality pro with 13 years of experience.
Maddison Fyffe has been in the restaurant industry for seven years, six of them as a skilled bartender. By day, she’s a mental health counselor and in her downtime, she’s a culinary enthusiast, a neighborhood explorer, and enjoys cozy TV nights with her pets.
Kassandra Scribner is a culinary artist with roots in New Jersey. She’s called Pittsburgh home for 15 years and proudly holds a Le Cordon Bleu degree. Currently, she’s the maestro behind the bar program at Bae Bae’s Kitchen and orchestrates private events in downtown Pittsburgh.
By day, Clair Chinn is the assistant general manager at Umami, where she also works as a bartender. Off-duty, you’ll often find her enjoying a Chenin Blanc at the Allegheny Wine Mixer.
Story by Aakanksha Agarwal / Photography by Joey Kennedy / Production by Kaitlin Fellers

Subscribe to TABLE Magazine’s print edition.

 Dance of Zitlala, Guerrero, Mexico. From the collection of Rob Gaston.")