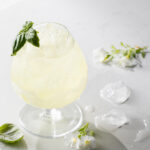
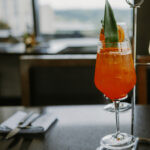
Non-alcoholic doesn’t mean non-fun. The spritz is a symbol of the carefree, dolce vita vibe of the “Euro summer” trend. Everyone should be able to get a taste of that Marcello Mastroianni nonchalance…with or without the alcohol. And, thankfully, the world of non-alcoholic spirits and zero-proof techniques is making flavorful strides forward in the culinary world.
We looked to experts on how to make the best non-alcoholic spritz for the sober-curious this summer. Step into the world of booze-free aperitifs, soda waters, and non-alcoholic wines for a spritz experience people of all ages can enjoy.
Pick the Right Flavors for Your Non-Alcoholic Aperitif
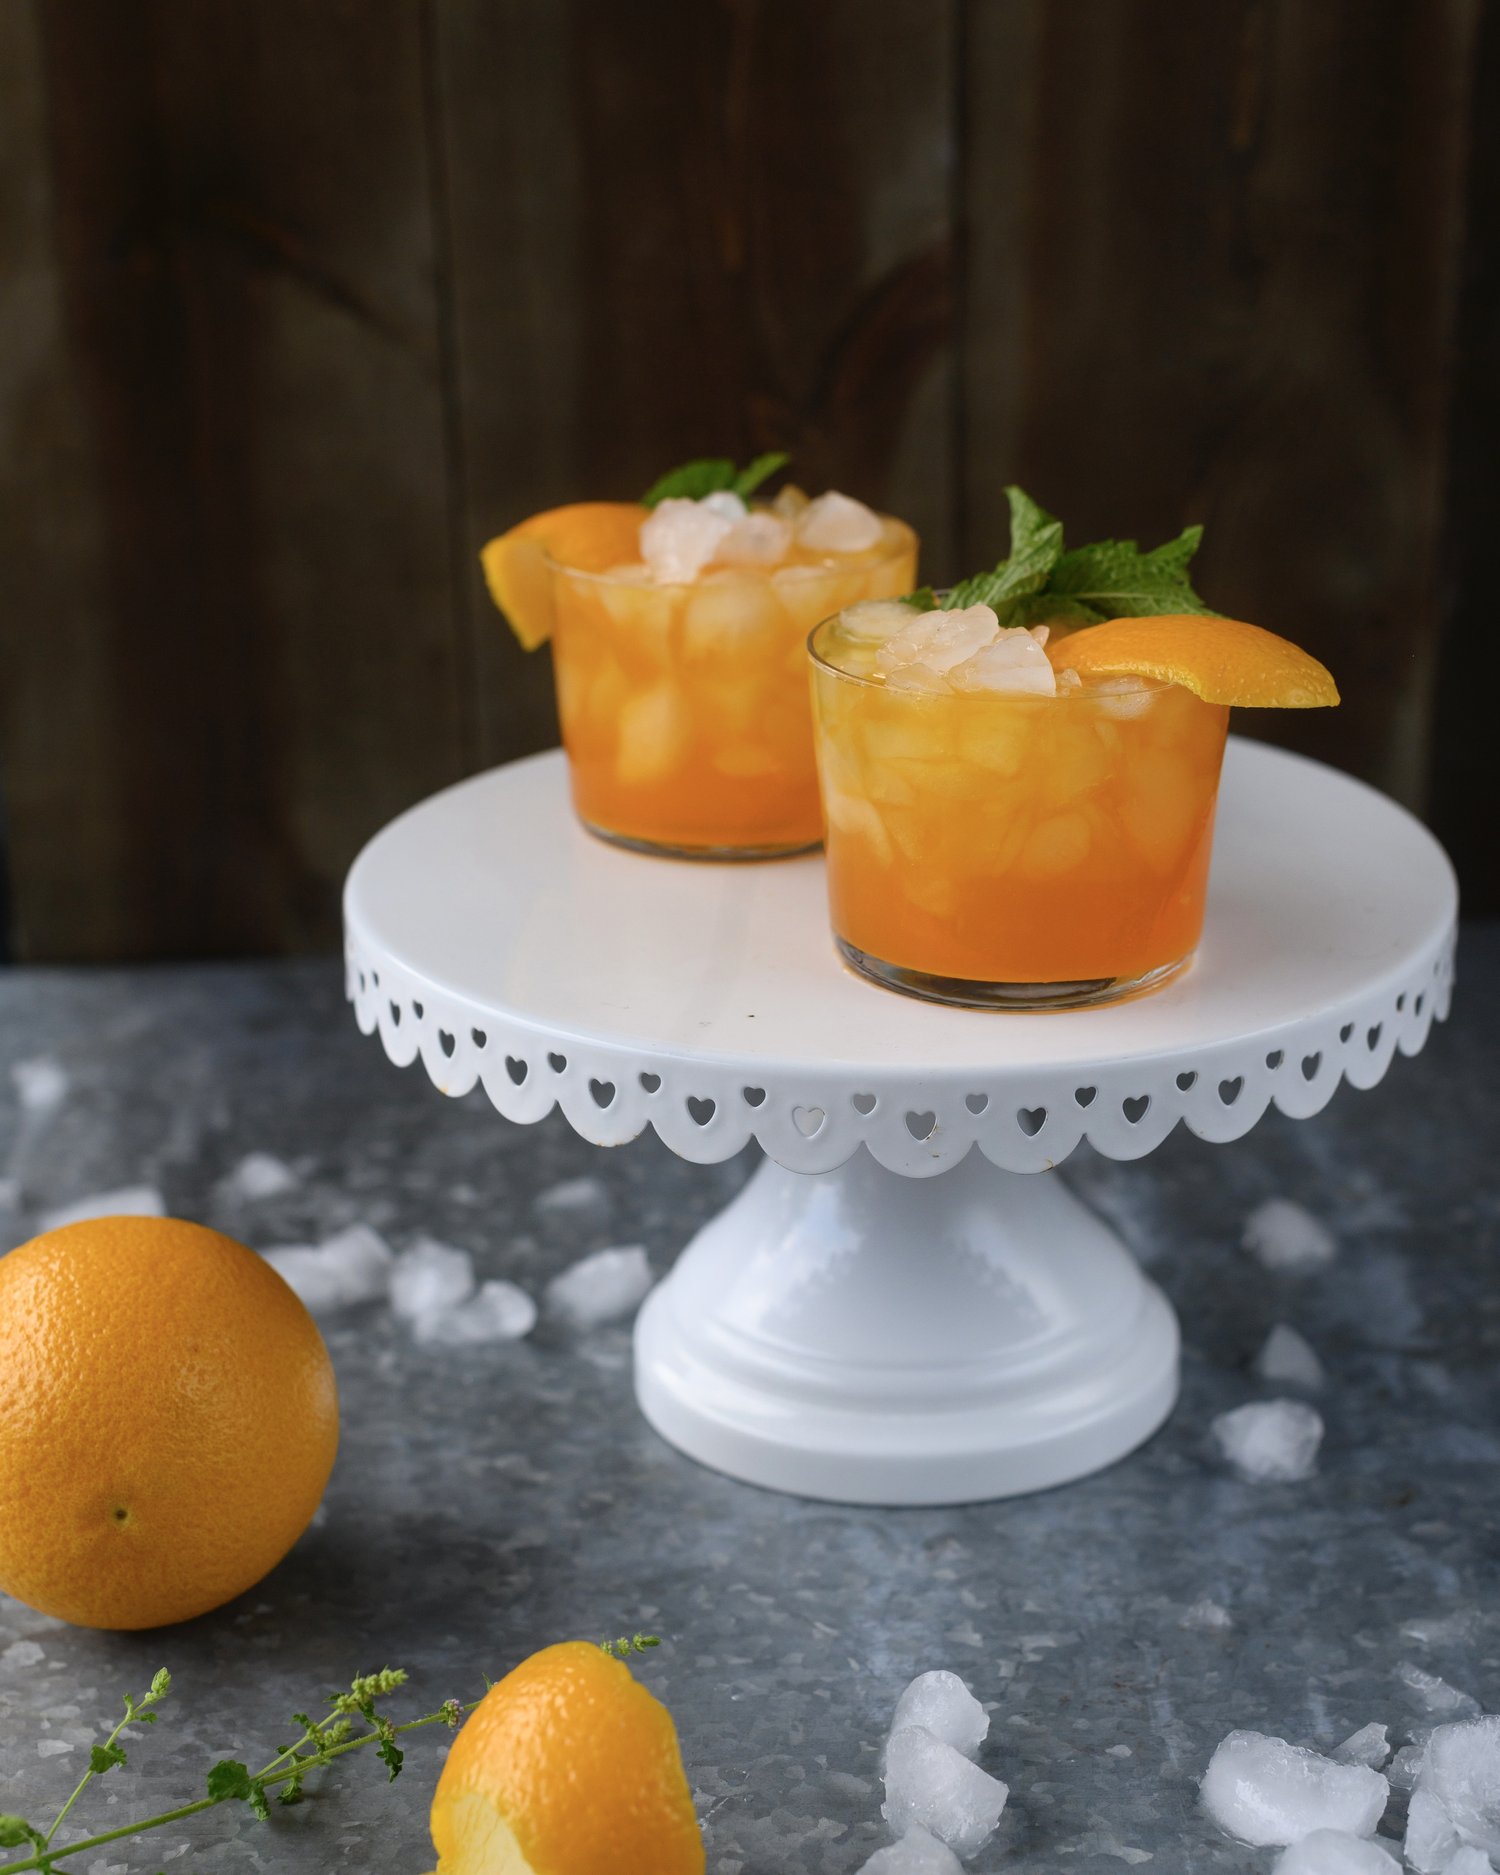
Part of the appeal of a spritz is its role as an aperitif—a pre-dinner drink where you linger with friends before moving to the table to share a meal. One way to make a non-alcoholic spritz is to only use a zero-proof botanical mixer, ice, and soda water. This is perhaps the most budget-friendly strategy, since all you’re buying is the mixer and the soda water. Though the ethos of a spritz is perhaps not budget-friendliness, we understand that sometimes it’s a concern. And you shouldn’t have to sacrifice quality for it.
Wilfred’s, a British-owned non-alcoholic aperitif maker, has you covered with their recipe, the Wilfred’s Spritz. Wilfred’s is serious about non-alcoholic spritzes. Founder Chris Wilfred Hughes noted to TABLE that his brand “only use[s] natural botanicals to create a really punchy yet crisp aperitif that serves up perfectly in a 0.0% spritz. Made from a carefully crafted blend of zesty bitter orange, aromatic rosemary and just a hint of rhubarb, we like to think of Wilfred’s as being sunshine in a glass.” Though it’s based in Britain, Wilfred’s does ship through partners in the States, and even The New York Times said that “it’s a great stand-in for Campari, and frankly, we’d rather drink Wilfred’s.”
Their recipe for a Bittersweet Spritz calls for just 50 ml Wilfred’s Aperitif, 100 ml premium tonic water, plenty of ice, and garnish. One tip Hughes had for making the bet non-alcoholic spritz was that “the most common mistake [is not] enough ice! A close second is not using an appropriate garnish.” So make sure you have those orange slices ready and don’t hold back.
Find a Good Non-Alcoholic Wine
If you really love the idea of a wine-based non-alcoholic spritz, try a non-alcoholic sparkling wine as the bubbly base. The Mindful Drinking, a resource for a wide variety of non-alcoholic drinks and mixers for those looking to abstain, includes a non-alcoholic Brut and a non-alcoholic Chardonnay. Noughty, Töst, and Curious Elixirs are three well-reviewed non-alcoholic wine options from the editors at The Good Trade, who tasted all of them and thoroughly analyzed their qualities.
Noughty is “de-alcoholized” rather than truly zero-proof, meaning it tastes like wine but won’t get you drunk. Töst is the most affordable at $27 for a 3-pack or $8.99 a bottle. Then, Curious Elixirs is best for a champagne alternative mixer in a cocktail.
Mindful Drinking also offers their own recipe for a non-alcoholic Venice Spritz with de-alcoholized wines, made up of Wilfred’s Bittersweet Non-Alcoholic Aperitif combined with Noughty Organic Non-Alcoholic Sparkling Chardonnay, and soda water.
Try a Cookbook
Want something more creative than what’s on the web? Cookbooks are a great way to get inventive with non-alcoholic drinks. Mixologist Owen Williams’ The Dry Bar is a, “a go-to book for anyone wanting to enjoy the feeling of having a ‘proper’ drink without any of the downsides of alcohol.”
Their Summer Spritz Party Cocktail (which, pro tip, you can see in the Amazon preview of the book) is a spritz with more complex flavors, featuring lime juice, strawberries, cucumber, fresh mint leaves and ginger ale for a more subtle finish to the drink.
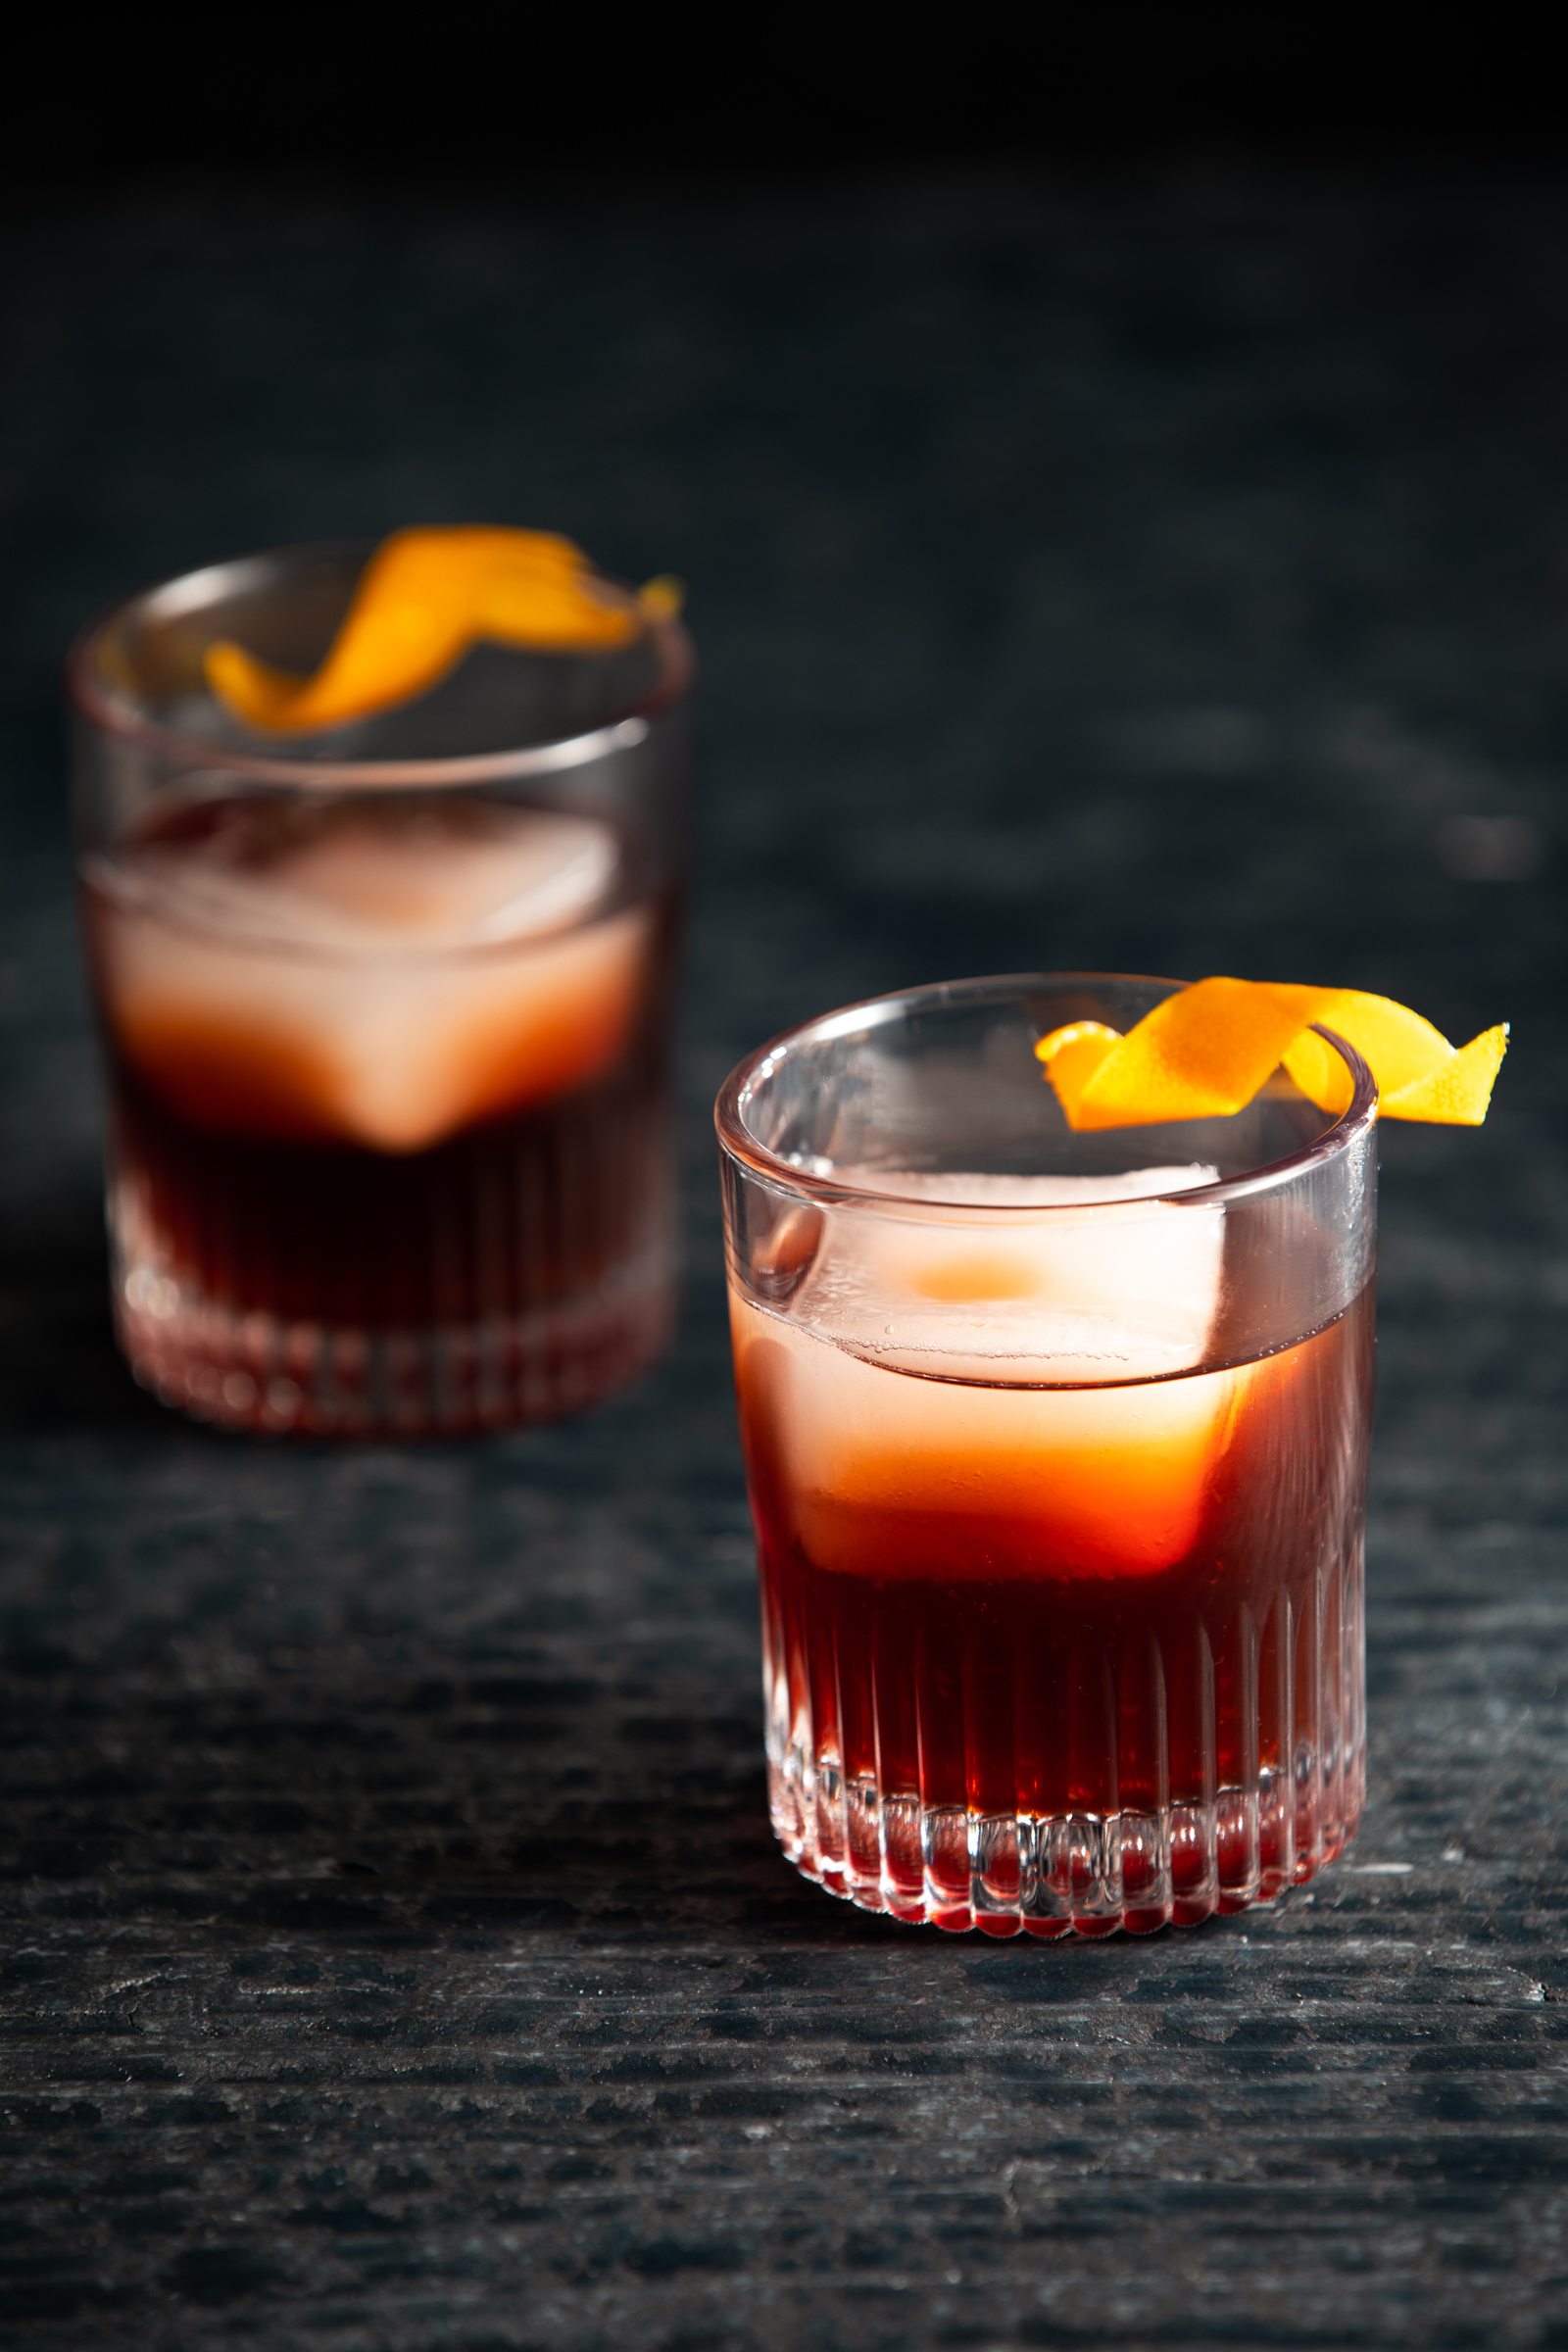
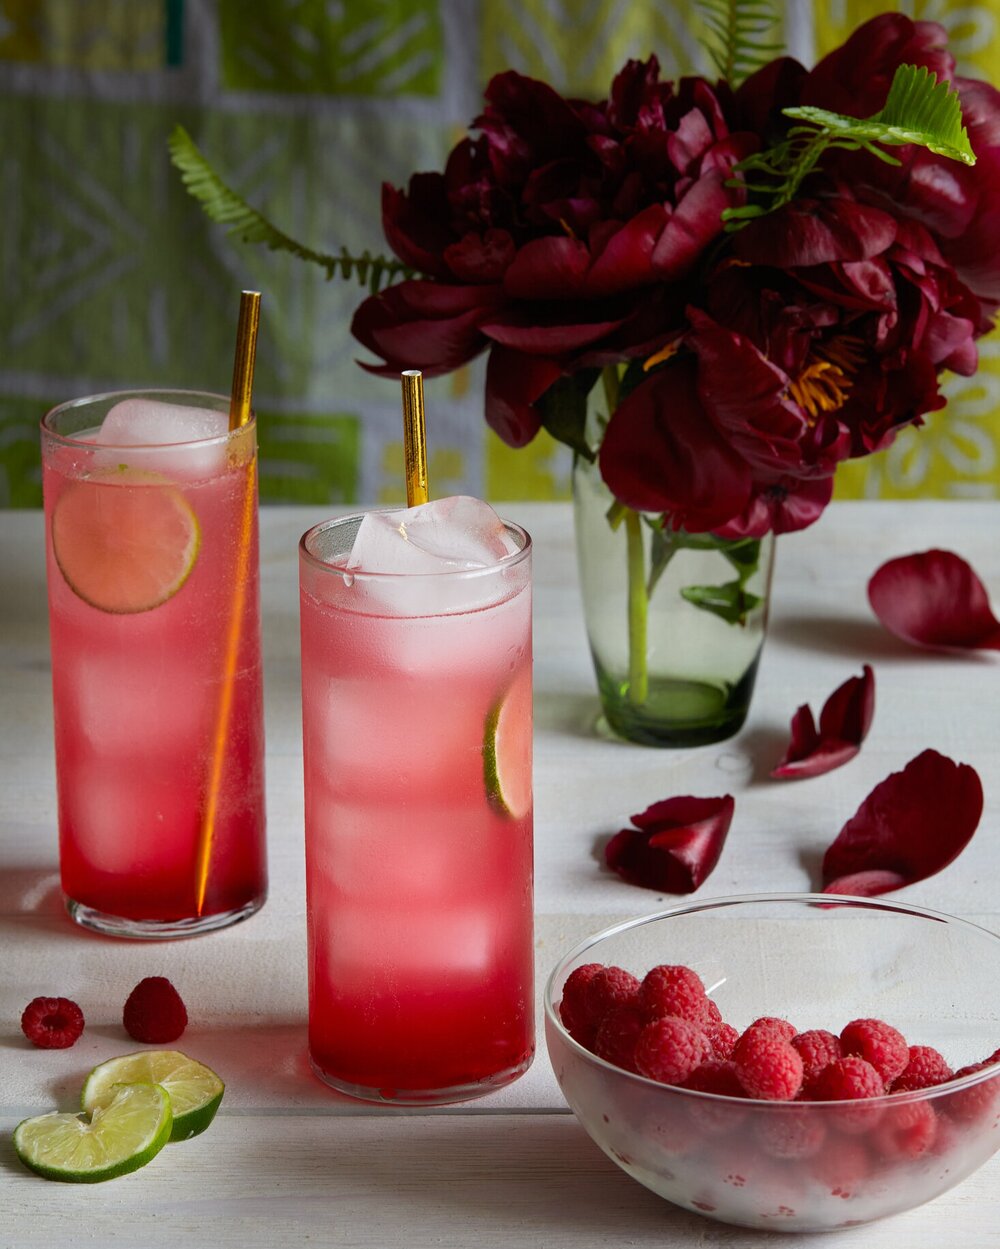
Gazoz: The Art of Making Magical, Seasonal Sparkling Drinks by Adeena Sussman and Benny Briga boasts “0% alcohol, 100% deliciousness.” Sussman and Briga follow the example of gazoz, a carbonated zero-proof drink popular in the cafés and bars of Tel Aviv on those sweltering Mediterranean days.
Instead of inventing a non-alcoholic spritz replacement, Briga and Sussman drew from an existing booze-free tradition for refreshment. A unique factor about gazoz is that like spritzes, gazoz also developed as a social drink. The world of sober drinking sometimes feels like it’s missing the social culture of going out for a pint and the transportation into another place and time that spirits can provide. It can feel like that social and communal element and historical precedent can’t be infused into even the best mocktail recipe. But gazoz comes from a robust café culture in Turkey and Israel.
The Forward described Gazoz as “more of a roadmap than a classic cookbook” because Sussman and Briga don’t just give you recipes: They also give you guiding principles to follow to make gazoz drinks, including the fermentation techniques required to get the best out of the fruit bases.
A Non-Alcoholic Spritz Can Be Just as Fun
Making non-alcoholic drinks is still mixology and requires care, craft, and thought just the same as making an excellent cocktail. A non-alcoholic spritz will not give you the buzz of aperol, but it allows you to instead focus fully on the enjoyment of the company around you and the beauty of your surroundings.
So much of what people love about drinking culture—spending time with others, indulging in the good life, and getting to relax a little bit—can be cultivated in your life without alcohol. Just like a spritz recipe, though, life should have the right balance of different elements and never skimp on the garnish.
Story by Emma Riva / Photo courtesy of Benny Briga
Subscribe to TABLE Magazine‘s print edition.


")