This full Moon is a mixed bag. The Sun and Moon, themselves, are in a rather intense configuration with Mars. This is likely to stir up agitation among the general public. But, the planets themselves are mostly in cooperative aspects with one another, indicating there are plenty of places we can expect to see progress, growth, and positive development.
The Sun and Moon are both in aspect to Uranus, degree for degree – the Sun by trine, and the Moon by sextile. This is likely to throw some things you won’t expect into the next few weeks. But, I suspect these surprises will only be minor harmonies to be appreciated down the road, in retrospective review.
Venus is applying to Saturn, and Mercury to them both. Saturn has been quite obstructive in recent astrology, so these two aspects give this planet something constructive to do. Each of the signs will benefit from this in their own way. But, the general theme is that through negotiation, patience, and a soft approach, a lot of headway can be made in important areas of life.
This is the full Moon ahead of the US Presidential Inauguration, and mundane astrologers will study this chart as it contains clues as to how the next four years are likely to proceed. Things tend to continue as they begin, so you can join astrologers in this study by watching the world around you during the two weeks following this full Moon.
Your Full Moon Horoscope for January 2025
Aries
The lunar nodes have finally changed signs, Aries, which means that you are out of the path of eclipses for the next nine years – except for one final solar eclipse to come in late March. When eclipses pass through our signs, we experience more frequent occasions of things ending suddenly, or changes being made without much period of anticipation. While there are other things that can and will bring disruption, from this point, the intensity which tends to accompany eclipses will spare you. With this full Moon, watch how you manage your frustration – the Moon and Sun both configure to Mars here in an intense way. Surprise funds aren’t out of the question, particularly if you are making good on a promise you made.
Taurus
I think you have some of the best financial signatures this month. Your planetary ruler, Venus, is in the 11th house which gives fortune and good luck. It applies to Saturn, ruler of your 10th house (which brings general success to any endeavor), and your 2nd-ruler Mercury applies to them both from Capricorn. Have you been considering a job abroad, or work outside your industry? Some opportunity that promises new perspectives appears ready to take you on. Be careful not to sign anything too fast this month – get an extra pair of eyes on anything requiring a signature from someone you trust. While you have good financial indicators this full Moon, it’s more about acquiring than spending – remember to respect that balance.
Gemini
You have some great astrology for resolving anything that has stalled out professionally, Gemini. Your 10th-ruler, Jupiter, is in position in your ascendant, separating from its square to Saturn: I can see that some things haven’t been going to plan. But Venus joins the party this month, and applies first to Jupiter (which shows help and aid to come), and then to a conjunction with Saturn (which should translate some of that aid to the obstacle, fear, or hesitation you’re facing). You may be tempted to borrow this month, and I think you’d find it easy to close a deal, but it doesn’t look profitable in the long run – delay pulling that trigger if you can. This full Moon is good for seeking forgiveness, if that is something you think you need to do somewhere in life.
Cancer
The key word this month, Cancer, is patience: you feel temptation to act quickly on something in front of you, but careful and consider the way. Have you been on the wrong end of some advice lately? It looks like some help is available now that hasn’t been for a while to help set some of that right. It would be wise to wait on major financial decisions until the aspects are better – it looks like big ideas and day-to-day realities need to come together first. The full Moon in Cancer does open some doors for short-term travel, perhaps to visit your hometown, or even to re-visit places that you miss where you are right now. If you are partnered, your loved way might be whisked away themselves.
Leo
Your planetary ruler, the Sun, is heading straight toward an opposition with Mars. This often shows up when we’re riled up about something, ready to fight. If you take that path now, the fight will be stronger in theme than the make-up and/or restitution, so consider keeping a cool head and approaching irritations from a calmed place. The trine between the Sun and Uranus might well indicate some surprises to arise with respect to work – probably something you can spin to your advantage, if you decide to be clever about it. I would not recommend changing jobs this full Moon, although if that cannot be avoided, be mindful of your new surroundings and take in what you can in your first few weeks. Moving cautiously will serve you well.
Virgo
You’re in for some change ahead, Virgo, as the Moon’s South Node make their ingress into your sign this month and will stay there for the next two years. This point is where the Sun and Moon’s path intersect, and when they’re both near these places eclipses occur. Eclipses are more powerfully felt when closely configured to your exact birth chart, and some will pass without much notice. Odds are, though, one of these will tap you. As it’s the South Node passing through Virgo, expect disruption in things that are born out of old, unproductive patterns. Usually we can feel what eclipses are likely to impact long before they arrive, so stay vigilant and watch for where you’re carrying dead weight – these are the areas eclipses are most liable to shake up.
Libra
After moving into different zodiac signs, the lunar nodes will no longer cause eclipses in Libra for the next nine years. This should offer you a welcome break from these often-volatile signature. When eclipses occur in our signs, they tend to bring abrupt endings and unexpected changes into our lives. While other factors can still cause upheaval, you won’t have to deal with the particularly intense disruptions that typically come with eclipses. This wouldn’t be the right time to make big career moves, if you can help it. The Moon is in hard aspect to Mars this full Moon – gains might be cut short by decisions made too quickly. This is a good time to start making plans for an international adventure, if you’re up for it!
Scorpio
How has your romantic life been lately, Scorpio? If it’s felt like there’s something of a ‘block’ in that arena, don’t worry – Venus is coming in to conjoin Saturn and give a bit of levity to what can be awkward or heavy in romantic pairings. Your planetary ruler, Mars, is retrograding back to an opposition with the Sun. Are you wanting to confront someone in a position of authority, or to challenge something that most generally accept? My advice would be to wait – this is not Mars at its best, and indicates you might bring some unwanted attention on yourself at this time. Mars is also in an exact trine to Neptune, which can cloud judgment and make it easy to say something you’ll regret.
Sagittarius
There are good financial prospects on the horizon for you, Sagittarius, particularly in situations where you will negotiate. The signatures are good for receiving a raise, as well, if your company does appraisals in late January/early February as many do to align with the start of the civil new year. The risk during this period comes from Jupiter’s position in your 7th house, which could indicate putting the needs of others before your own – which may have already set you back a bit, judging by the recent square Jupiter had to Saturn in Pisces. Keep an eye on your health, as well – some signatures here could easily indicate catching a common cold from people near you. I’d jumpstart an immune support regimen, like getting more Vitamin C and zinc in your diet, to help your body overcome before illness sets in.
Capricorn
Looks like a great time to travel, Capricorn, or to stretch your horizons in some meaningful way. Your 9th-ruler, Mercury, is in Capricorn applying to gentle sextiles with Venus and Saturn in your 3rd house. This configuration tends to make your communication flow more easily, give you a leg up in any activity that broadens the mind (travel, specialized learning, etc.), and helps improve the quality of advice you receive this full Moon. Signatures for spending are a bit tense at the moment, so don’t blow the bank in order to achieve your aims: affordable options are often just as suitable as the more ostentatious ones. Overall, you should find some extra luck this Full Moon, so get out there and get moving!
Aquarius
I have some good news for you, Aquarius: things appear to moving in a forward direction for you, from all angles. It looks like you’re making some headway on your financial goals, and will find additional support this full Moon – perhaps from international sources, or from those who are specialists in their subject and fit to provide you counsel. The Sun is soon to enter your sign, which will shine a light on what you do and help you seed new ideas for future months. You’ll want to enter that period prepared, so for now, avoid making any commitments that are too firm and won’t allow for some reasonable re-negotiation at a later date. This is a good time to consolidate on the things that are working in life, to invest more deeply in theme, and express gratitude in small but intentional ways.
Pisces
The lunar nodes are shifting positions, and with the North Node moving into your sign for the next two years, Pisces, you’re entering a period of opportunity. These nodes mark the crossing points of the Sun and Moon’s paths – spots where eclipses take place when both luminaries align there. While not every eclipse will impact you personally, their influence tends to be more pronounced when they connect with specific points in your natal chart. There’s a good chance you’ll feel the effects of at least one of these cosmic events during this cycle. As this is the North Node, the eclipses are likely to force you to make choices that require growth, determination, and reflect the wisdom you’ve gathered in life. Eclipses are rarely easy, but they often contribute to a story of larger good in the long-view.
Bio
Wade Caves, based in Brooklyn, NY, is an astrological consultant and educator specializing in problem-solving applications of astrology. He teaches astrological divination and astronomy at the School of Traditional Astrology. Wade also publishes his work on world astrology through Skyscript’s In Mundo publishing desk and hosts the World Astrology Summit, a conference dedicated to the advancement of astrology for global problem-solving. Website: wadecaves.com • skyscript.co.uk/inmundo Email: hello@wadecaves.com.
Story by Wade Caves
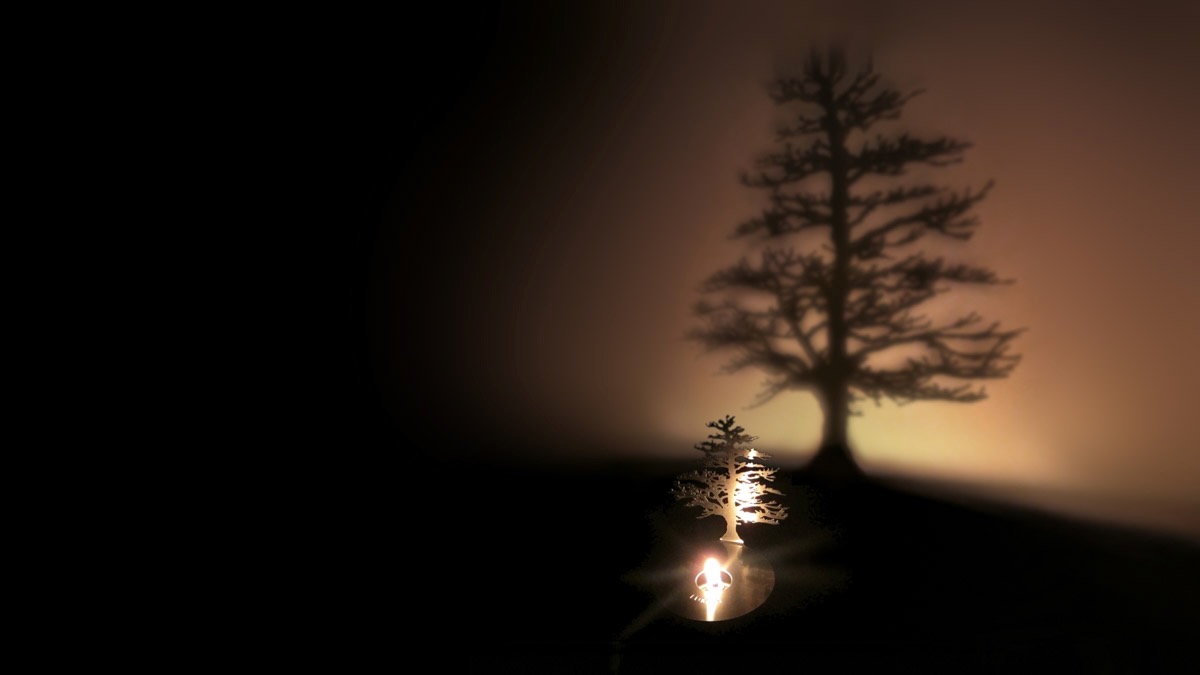
Photo Courtesy of Aaron Burden
Subscribe to TABLE Magazine’s print edition.