April’s full Moon falls at 23° Libra, creating quite an interesting horoscope for this month of 2025. The degree the moon falls in, closely aligns with Spica – one of the brightest and most auspicious stars in the sky. The luminaries occupy the equinoctial signs of Aries and Libra, where the pace of change tends to quicken. Both lights are moving toward a tense square with Mars in Cancer, and all three signs share a common thread: impulse and urgency. There’s a distinct sense of needing to press on, even if the path ahead still holds questions.
The Full Moon in Libra for April 2025
A full Moon in Libra draws attention to matters of fairness, but not in the abstract. Libra’s symbol – the scales – is often invoked as shorthand for justice or balance, but this isn’t a self-leveling instrument. It’s the kind of scale that requires a human hand to hold, and with that comes responsibility. What we weigh, how we weigh it, and what we believe should count all depend on who’s doing the measuring. When the Moon is full in Libra, we’re asked to examine the frameworks we are already using to define fairness – not only in theory, but in practice.
Libra’s History
Anciently, Libra was a sacred place for Saturn, the planet associated with order, judgment, and the codification of law. Saturn’s affinity with this sign reminds us that balance isn’t passive – it’s something maintained through discipline and discernment. Later, Greek astrologers emphasized Venus as the ruler of Libra, and with that came a shift in emphasis toward civility, diplomacy, and the social graces that smooth our shared life. In this light, Libra becomes not only the sign of justice, but of cultured restraint – where Beauty is treated as a virtue, not an accessory.
With this full Moon, we can expect such themes to come to a head – not out of nowhere, but in situations already in motion. Conversations about fairness, order, and civility may take on new urgency, especially where they’ve been percolating for release. The work now isn’t just about restoring equilibrium, but understanding how our own orientation to reality shapes what we perceive as being balanced.
The Influence of Mars
Both the Sun and Moon are moving toward a square with Mars in Cancer, sharpening the emotional edge of this full Moon. Mars, already prone to heat and agitation, becomes more reactive when stirred by the lights – and in Cancer, its expression can be indirect, defensive, or emotionally charged. Frustrations simmer beneath the surface, and responses may arrive with more force than the situation seems to warrant.
This configuration can signal a turning point in situations where resentment has been building. Impatience, irritability, and impulsive behavior may arise, especially where we feel our needs have been overlooked or our boundaries crossed. Physical tension, sleep disturbances, or sudden emotional flare-ups are not uncommon under this influence.
But this isn’t a call to suppress discomfort – rather, it’s a prompt to examine what’s truly being stirred. Both the Sun and Moon squaring Mars invite reflection about how communities tend to act under pressure, and where pent-up energy needs a more constructive outlet. Movement helps. So does honesty, with ourselves and others. Used well, this influence offers courage and clarity – but it will take discipline to meet conflict without feeding it.
Venus’ Placement in April 2025
Venus is beginning to slow her pace, preparing to station direct after several weeks of retrograde motion. In astrology, Venus signifies our appetite for beauty, connection, and ease – the parts of life that give softness its shape.
Pleasure, in Venus’s domain, is not something to be explained or justified; it’s a good in its own right. But when Venus turns retrograde, that pleasure can slip into the realm of temptation. What once delighted may suddenly feel uncertain, complicated, or hard to access. This is often a time when old patterns resurface – and not uncommonly, so do old flames. (Did your ex reach out during this retrograde? Or were you the one who pressed send?) Venus retrograde doesn’t always bring reunion, but it does ask us to reexamine why we were drawn to what we were – and whether it still holds appeal once the shine wears thin.
This station falls in close company with Saturn – not for the first time, but the third. Venus and Saturn have traced this path together twice before: once as an opening, then again in reconsideration. Now comes the final word. Agreements, affections, and attachments formed or tested under this influence carry a sobering weight. Saturn lends longevity, but not without cost. Whatever remains standing now has earned its place – through patience, maturity, and no small amount of self-honesty. Globally, stalled alliances and economic decisions may begin to move again, but they’ll move cautiously. The tone is serious, but not severe – and what proceeds from here does so on sturdier ground.
A Little About Spica in Astrology
This full Moon falls tightly aligned with Spica, the brilliant star in the Virgin’s hand – the sheaf of wheat, held out and offered. Among the fixed stars, Spica has long been associated with grace, artistic talent, and the kind of good fortune that’s cultivated, not merely bestowed. It speaks to skill, refinement, and the sweetness of effort ripening into reward. But under a full Moon, and especially one that moves quickly into tension with Mars, Spica’s symbolism is not all ease. There’s beauty here, but it isn’t untouched by strain.
The ancients considered Spica a gift-bearing star, one that brings reward from the tools we know how to use. In that sense, it’s less about luck and more about right timing, honed ability, and the willingness to meet the moment. A full Moon on Spica invites us to ask: what are we holding? What are we offering? And is it the right time to extend the hand?
In a lunation already asking us to reassess fairness, desire, and emotional heat, Spica acts as a reminder that grace is not weakness, and refinement is not avoidance. There’s power in moving with polish, in choosing one’s moment – and in knowing when beauty itself becomes a form of strength.
Seasonal Guidance for This Springtime Horoscope
Last month, we explored how spring’s warmth and moisture begin to reshape our dietary needs – a conversation we’ll continue across the season. But traditional systems of health remind us that food is just one part of the body’s dialogue with its environment. The conditions of the air we breathe and the patterns of sleep and waking we keep are equally vital to how we meet the changing season. As the natural world grows more animated, so too does the inner world – and it becomes especially important to maintain rhythm and moderation across these more subtle realms.
Air, in this context, is not only what we inhale but the entire quality of our surroundings: climate, ventilation, scent, and even sound. Fresh air is naturally invigorating in spring, but its effects vary depending on constitution.
How Spring Air Effects Your Zodiac Sign
For those of a fiery temperament – Aries, Leo, Sagittarius – spring’s rise in warmth can overstimulate, making quiet moments in still air especially beneficial. Earth signs (Taurus, Virgo, Capricorn) do well to gently increase exposure to breezes and outdoor walks, especially in the late morning when the day’s warmth is rising. Water signs (Cancer, Scorpio, Pisces) may feel unsettled by cool, damp air and can benefit from warming aromatics like clove or lavender. Air signs (Gemini, Libra, Aquarius) align most easily with the season, but that ease can invite overexposure – opening windows is good, but so is knowing when to close them.
An Emphasis on Resting
Sleep, too, shifts with the season. Spring’s longer days often shorten rest – not always by design, but by the pull of increasing light. A steady sleep-wake rhythm is especially important now. Fire signs tend to override fatigue and may need reminders to slow down before bed. Earth signs often hold to their habits but benefit from keeping sleep slightly lighter to prevent sluggishness. Water signs may find it harder to rise early, needing warmth and gentle motion to start the day. Air signs tend to suffer from inconsistency; structure and a defined wind-down ritual will help anchor rest. Across all types, an evening meal that’s warm but not heavy, and a quiet hour before bed, make a tangible difference.
How Your Diet Matters
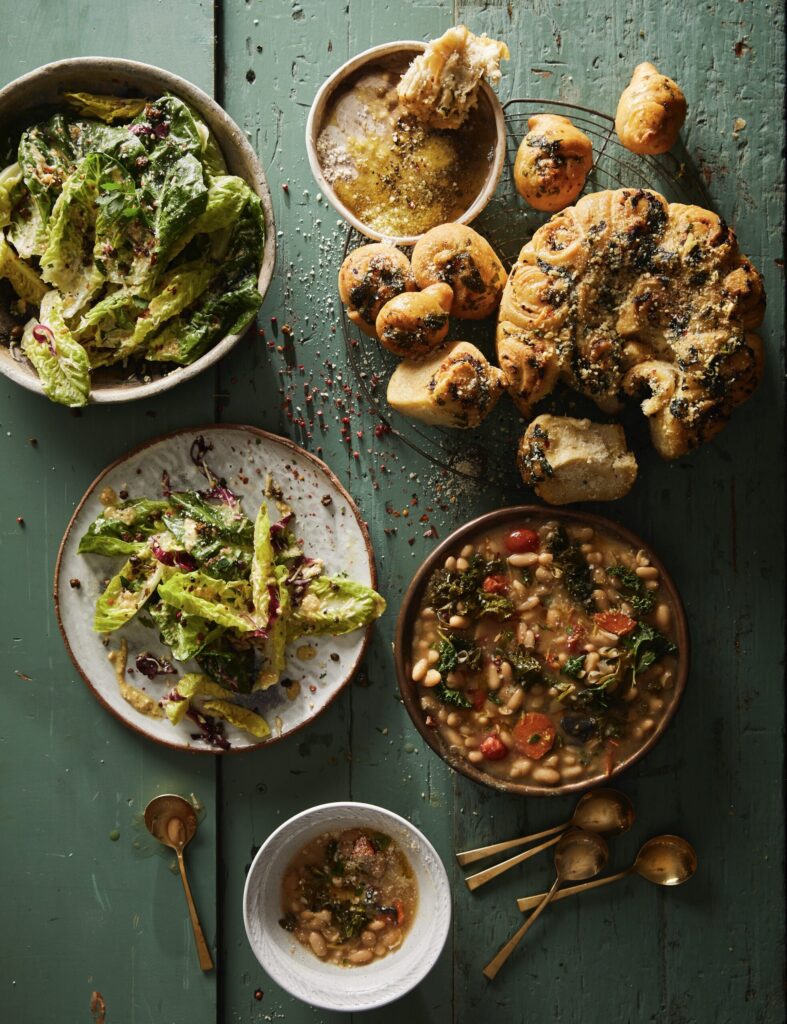
Food remains the backbone of seasonal care, supporting our ability to harmonize with the atmosphere and adjust our energy levels. A warming breakfast can help restore rhythm after restless sleep; lighter meals in the evening set the tone for restful nights. Herbs, too, bridge the gap: an infusion of lemon balm, chamomile, or tulsi (also called holy basil) may help calm the mind and steady the breath. As we continue through spring, let this month be a reminder that the body is porous to its environment – and small shifts in air and rest often shape how well we thrive.
The Sabian Symbol for 23° Libra: A Third Wing on the Left Side of a Butterfly
This evocative image speaks to imbalance and overcompensation – the kind that doesn’t just impede movement, but reshapes what movement is even possible. Wings should suggest uplift, elegance, and escape. But a third wing – especially one placed on the left, the side historically associated with the body and the material realm – introduces a kind of awkwardness. Something excessive or misaligned is drawing focus downward, not upward.
This degree often coincides with brilliance that skews asymmetric – gifts that don’t translate cleanly, or instincts that run ahead of logic. We might find ourselves flapping but not flying, pulled into action before balance has been found.
There’s also beauty here: fragility, oddity, and the imperfect genius of adaptation. But it’s a reminder that too much of a good thing, when poorly distributed, can become a liability. Watch where effort is piling up without traction. Recenter. Simplify.
What Does April’s Full Moon in Libra Mean for Your Sign?
This full Moon forms a tense square with Mars, stirring urgency and sharpening emotional responses – especially where action has been delayed. At the same time, it falls on Spica, one of the sky’s brightest stars, bringing themes of grace under pressure and the rewards of practiced restraint. Venus, ruler of Libra, is now stationing direct after weeks of retrograde motion, marking a turn in the road for relationships, beauty, and the role of pleasure in daily life.
Let’s explore where this full Moon is focusing attention for your sign.
Your April Horoscope for 2025
Aries
The Sun is moving through your sign, while the full Moon activates your house of relationships. You may feel steady, while others seem in flux – try not to take their turmoil personally. Mars, your ruling planet, presses in from the fourth house, stirring old frustrations or domestic tension. If energy feels bottled up, movement helps – even small acts of physical release. You’re not being ignored; others are weathering storms of their own. Give things a little space. They’ll be back on even ground soon.
View the perfect menu for Aries’s zodiac sign here!
Taurus
You’re juggling two tracks right now: one marked by steady effort with little acknowledgment, and another where inventive ideas seem to spark progress out of nowhere. Both are real. Professional efforts are favored under this full Moon, so give them your focus – but don’t overlook how tone shapes outcome. With Mars in your communication house, it’s easy to sound sharper than you mean to. A softer approach may yield better results. You don’t need to push to be heard.
Gemini
The best news may be the simplest: things are starting to feel more manageable. Constraints in your professional or public life are loosening, and opportunities are opening up – especially in areas that benefit from creative or adaptive thinking. But don’t mistake momentum for a free pass. Mars is still active in that part of your chart that charges interest for every dollar spent (literally and figuratively). One more note: if you owe someone an apology or overdue acknowledgment, this is a good time to clear the air.
Cancer
The Moon lands in your 4th, drawing you inward just as professional (or more public) demands intensify. It may feel like everything’s happening too fast, and your instinct might be to retreat. (Crabs do have their shells for a reason.) But the Sun’s position suggests meaningful progress is possible – especially if you stay strategic. Mars in your sign stirs up agitation, but it can also fuel bold choices. Don’t let impatience win out. Measured action will come from smart, lasting, impactful compromises. Ask for what you need!
View the perfect menu for Cancer’s zodiac sign here!
Leo
You’re overdue for something that widens your world – new ideas, skills, or experiences that shake up the familiar. Travel could be part of that, but so could study, spiritual inquiry, or re-engaging with a long-neglected curiosity. The urge for novelty is real. If work feels unstable, don’t panic – Uranus is still moving through that part of your chart and making its presence known. Let change happen. Just don’t forget that what you feed your mind matters as much as where you spend your time.
View the perfect menu for Leo’s zodiac sign here!
Virgo
This full Moon may help put an end to recent confusion around money or relationships – or both. Either way, momentum is shifting in your favor. You’re entering a window of career opportunity, but what’s offered may carry more weight than it first appears. Take your time. Ask good questions. Make sure you’re saying yes to what you can truly sustain. With clearer ground beneath you, you’re better positioned now to choose well and follow through. Eclipses are coming this fall, so prepare now for a few shakeups around your birthday.
View the perfect menu for Virgo’s zodiac sign here!
Libra
With the Moon in your sign and the Sun opposite in Aries, the relationship axis is fully lit – but this time, the questions center on you. What do you need to feel steady, clear, or seen? Mars at the top of your chart can stir frustration in public or professional settings, so be tactful if tempers rise. Venus and Saturn in your sixth house suggest that stability is on the horizon for you, but it will likely still feel like work. Time spent with pets and in self-care routines should be welcome!
View the perfect menu for Libra’s zodiac sign here!
Scorpio
Energy is coming at you from all directions, and the pressure to act may be building fast. Mars, your traditional ruler, is about to enter Leo – and you may be gearing up for a bold move. That’s not necessarily a problem, but make sure you’re not solving today’s tension in a way that recreates it next week. This lunation is full of cardinal push, but you’re a fixed sign: go at your pace. Sustainability matters more than speed, a lesson you usually are there to teach others!
View the perfect menu for Scorpio’s zodiac sign here!
Sagittarius
I can imagine you are celebrating spring! This full Moon shouldn’t throw any curveballs, but a few themes are worth watching. Overspending or overindulging could catch up with you if you’re not careful. Domestic life may have felt a little wobbly lately, but the spin is slowing – you can help it along by leaning into honest conversations and shared routines. Social invitations are well-starred now, and a little fun is encouraged. Just know your limits. Balance, not excess, is where you’ll feel most like yourself.
View the perfect menu for Sagittarius’ zodiac sign here!
Capricorn
Mars churns tension in the 7th house of the other party in one-on-one dynamics. People are going to feel chaotic or reactive right now – but that doesn’t mean you need to play into that. You likely have a clear sense of what’s needed, even if it risks conflict. Don’t let fear of disruption keep you from steering things forward. Venus is now stationing direct on Saturn, your ruling planet: signs of reward and right timing are near. Keep your feet, and call on friends who are there to counsel.
Aquarius
We touched on this last month, and now the theme is ready to close. Some part of your financial world has felt awkward or strained, but that’s beginning to shift. What’s changing now doesn’t need a spotlight – in fact, your best moves may be the quiet ones. You’re allowed to have plans without announcing them. Let your ideas take root in private before inviting critique. This is a good time to let the good things land so you can reallocate resources (time, energy, money), and work smarter behind the scenes.
View the perfect menu for Aquarius’ zodiac sign here!
Pisces
Venus is now stationing direct in your sign, right on Saturn – a third and final pass that brings clarity around the emotional labor you’ve been carrying. If a relationship has felt one-sided, that’s no longer easy to ignore. You may be tempted to give more to “make it work,” or perhaps that’s what you’ve asked of them. No one is here to be the solution to someone else’s struggle. Some bonds only deepen when we stop asking one person to do all the holding.
View the perfect menu for Pisces’ zodiac sign here!
Bio
Wade Caves, based in Brooklyn, NY, is an astrological consultant and educator specializing in problem-solving applications of astrology. He teaches astrological divination and astronomy at the School of Traditional Astrology. Wade also publishes his work on world astrology through Skyscript’s In Mundo publishing desk and hosts the World Astrology Summit, a conference dedicated to the advancement of astrology for global problem-solving. Website: wadecaves.com • skyscript.co.uk/inmundo. Email: hello@wadecaves.com.
Story by Wade Caves
Photo Courtesy of Altınay Dinç
Subscribe to TABLE Magazine’s print edition.