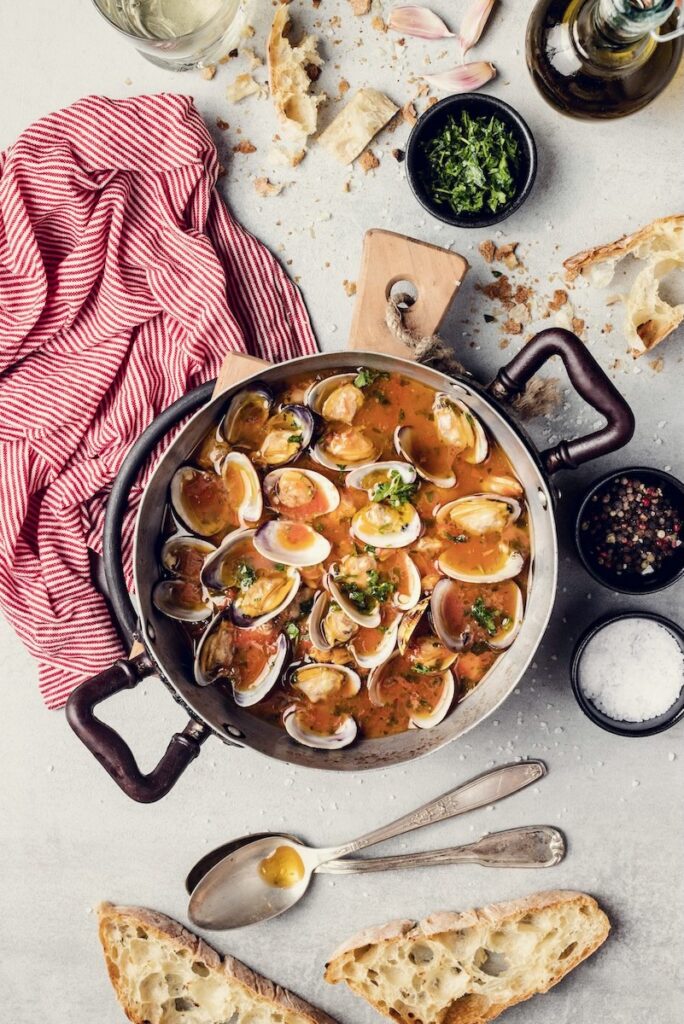
This Mussels in Broth recipe creates a warming dish that infuses this shellfish with spices and dry white wine. Try it with a few pieces of baguettes and you’ll find your next meal delightfully care of. To make this recipe, Blame Her Ranch hosted TABLE Magazine New Mexico for an incredible dinner party under the stars. Chef Leslie Chavez created superb dishes for the occasion that were enjoyed with a selection of Gruet wines and beverages from Leaf & Hive.
What’s the Difference Between Mussels, Clams, and Oysters?
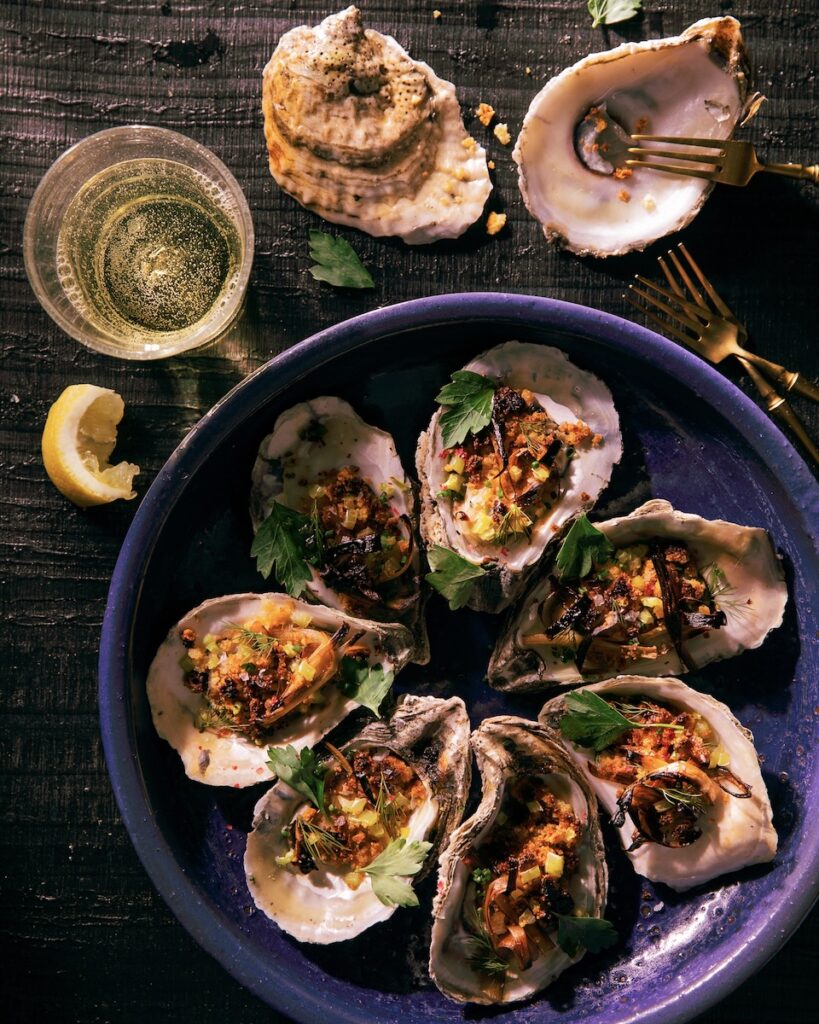
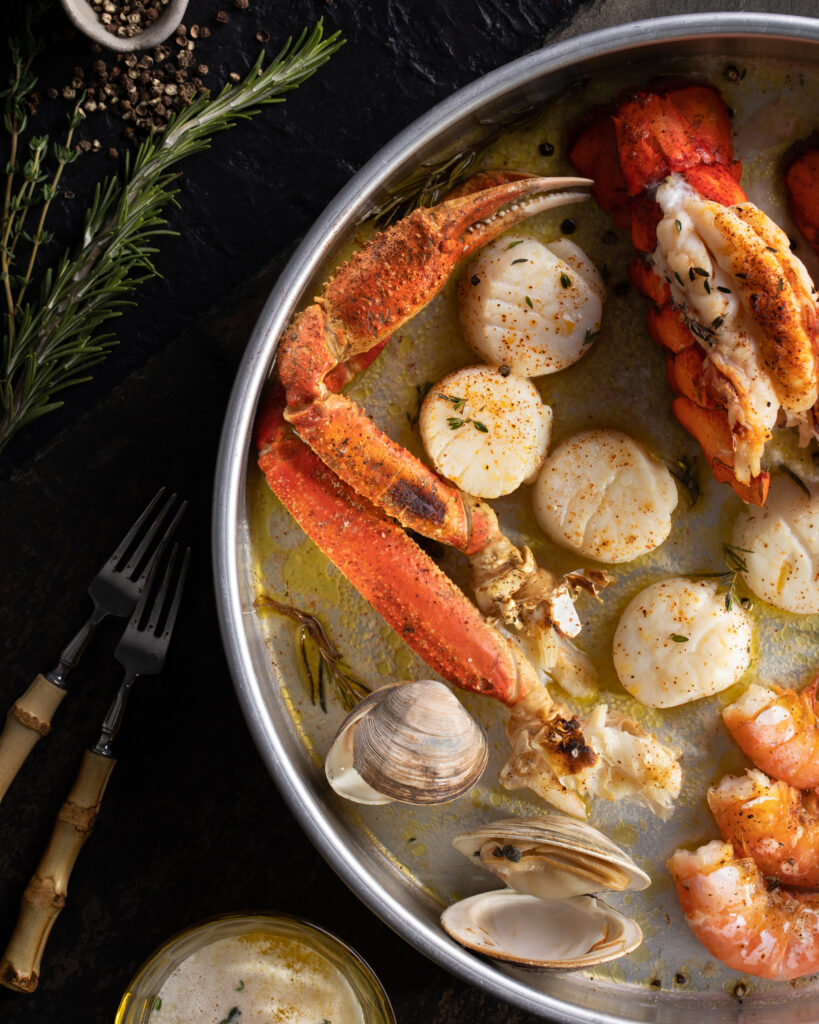
Mussels, clams, and oysters, while all bivalve mollusks, are still distinct in their appearance and flavor. Mussels usually have more of an elongated, dark blue or black shells and attach to surfaces using their strong threads. Clams on the other hand are rounder in their shell shape and burrow in sand or mud, meaning a saltier, chewier texture. Oysters, with their rough, irregular shells, have a briny and sometimes creamy flavor. These differences are the reason why we choose to use mussels with our broth. Their texture is tender while maintaining a sweet, briny flavor too.
Print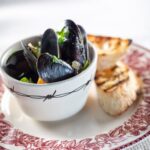
Mussels in Broth
Description
A warm and savory broth with perfectly tender mussels.
Ingredients
- 2 tbsp butter
- 3 small shallots, thinly sliced
- 4 garlic cloves, finely chopped
- 2 cups low-sodium chicken stock
- 1 cup dry white wine
- 4 lb mussels, cleaned
- Splash of heavy cream
- 1/2 cup fresh parsley, roughly chopped
- Salt and freshly ground black pepper
- Lemon wedges, for serving
- 2 baguettes, warmed for serving
Instructions
- Melt butter in a large pot with a lid over medium heat. When the butter begins to bubble, stir in the shallots and garlic. Cook until softened, about 5 minutes.
- Add the chicken stock, white wine, and mussels, and then give them a good toss. Cover the pot with its lid and cook until all the mussels have opened, 8-12 minutes. If any mussels do not open, discard them.
- Remove the pot from the heat, then stir in the cream and parsley. Taste, then add more salt and pepper to taste.
- Cut the baguettes lengthwise and toast. Rub the toast with a garlic clove for some lovely garlic flavor. Serve in big bowls with lemon wedges and bread to sop up the broth.
Recipes Leslie Chavez
Styling by Robert Nachman
Photography Gabriella Marks
Subscribe to TABLE Magazine’s print edition.