Mac and cheese is a classic for a reason. From the boxed mac and cheese you ate in college to the baked mac and cheese you bring to potlucks, mac and cheese is one of the best-loved comfort foods with the most longevity out there. It’s easy, adaptable, and a crowd-pleaser for picky eaters. If you’re looking for some mac and cheese recipes to try out, we’ve compiled some of our favorites for a cozy comfort food kitchen.
Mac and Cheese Recipes for a Cozy Kitchen
Easy Mac and Cheese with Hidden Veggies

This recipe uses bone broth to pack some protein into the otherwise carb-forward mac and cheese. The veggies might be hidden, but they still bring some delicious flavors into the mixture. Maybe a good strategy for getting kids to eat their vegetables on the down-low?
Baked Mac and Cheese by Aunt Cheryl
People had better come hungry for this recipe. It will make you the most popular person at any gathering, serving a crowd of at least ten people depending on how you proportion it out. You can customize it with spices and different recipes.
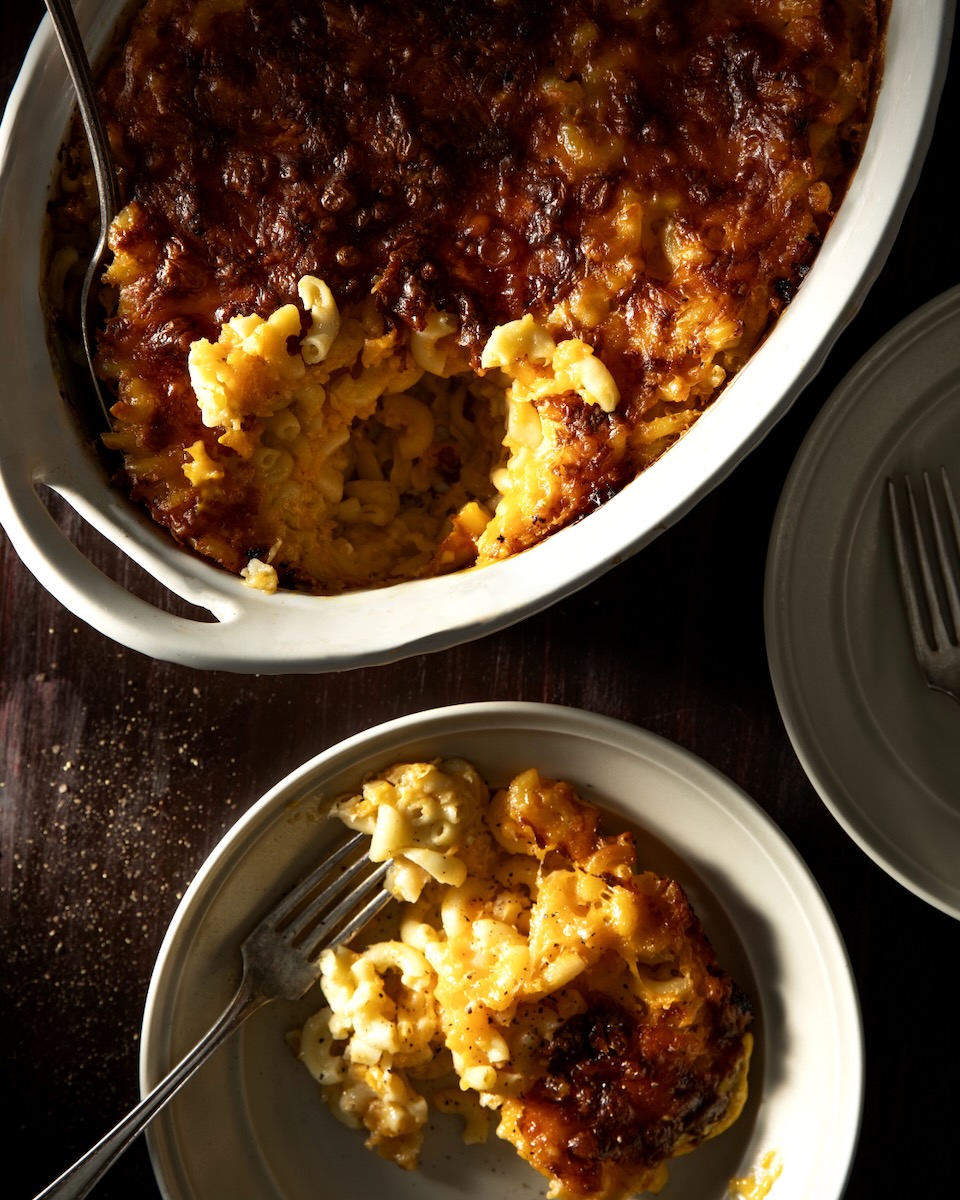
Juneteenth Mac and Cheese
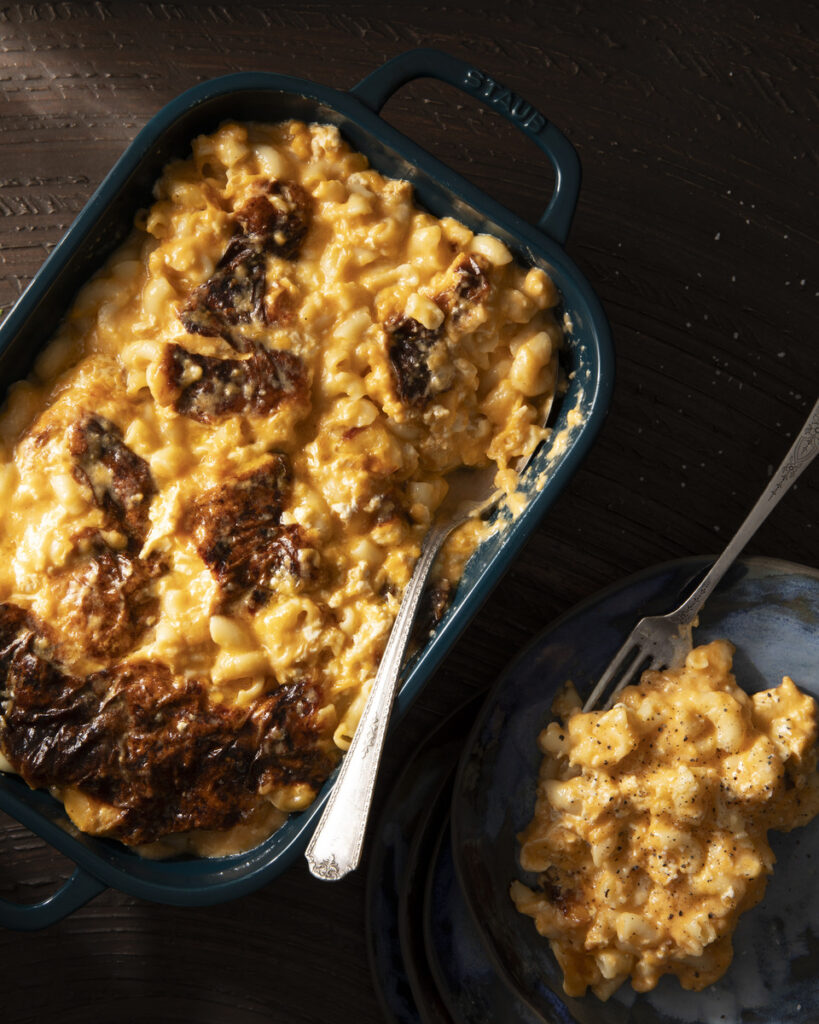
One interesting fact about mac and cheese is that James Hemings, an enslaved man on Thomas Jefferson’s Monticello plantation, may have been the chef who originally popularized it in America. Hemings’s technique was to cook the mac and cheese in half-milk half-water, which TABLE tried, to a delicious result.
Mac and Cheese with Green Chile
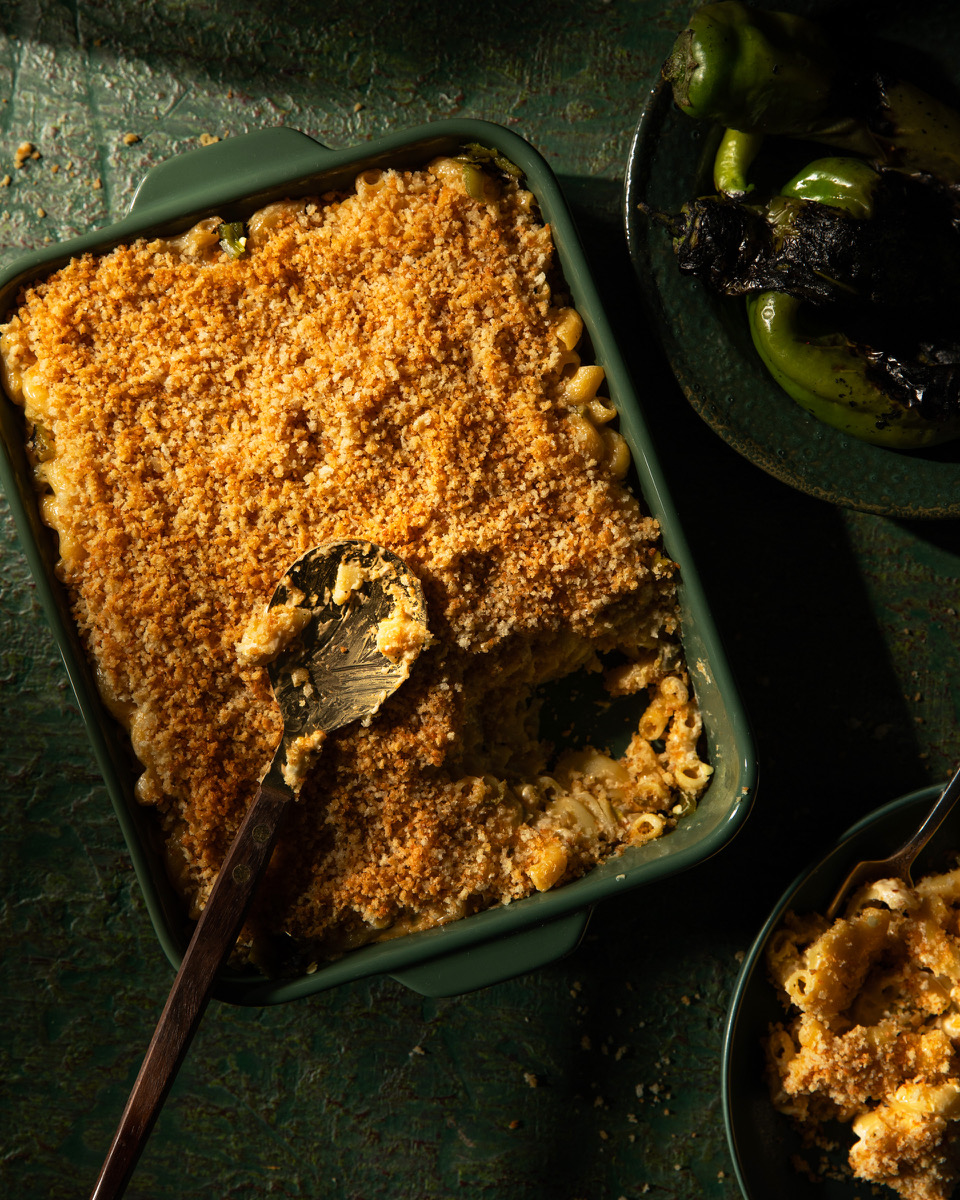
Try a Southwestern spin on mac and cheese! This recipe from James Beard-nominated chef Cheryl Alters Jamison uses three different cheeses, a top layer of bread crumbs, and New Mexico green chile to give it a kick.
Go-To Cheddar Mac and Cheese
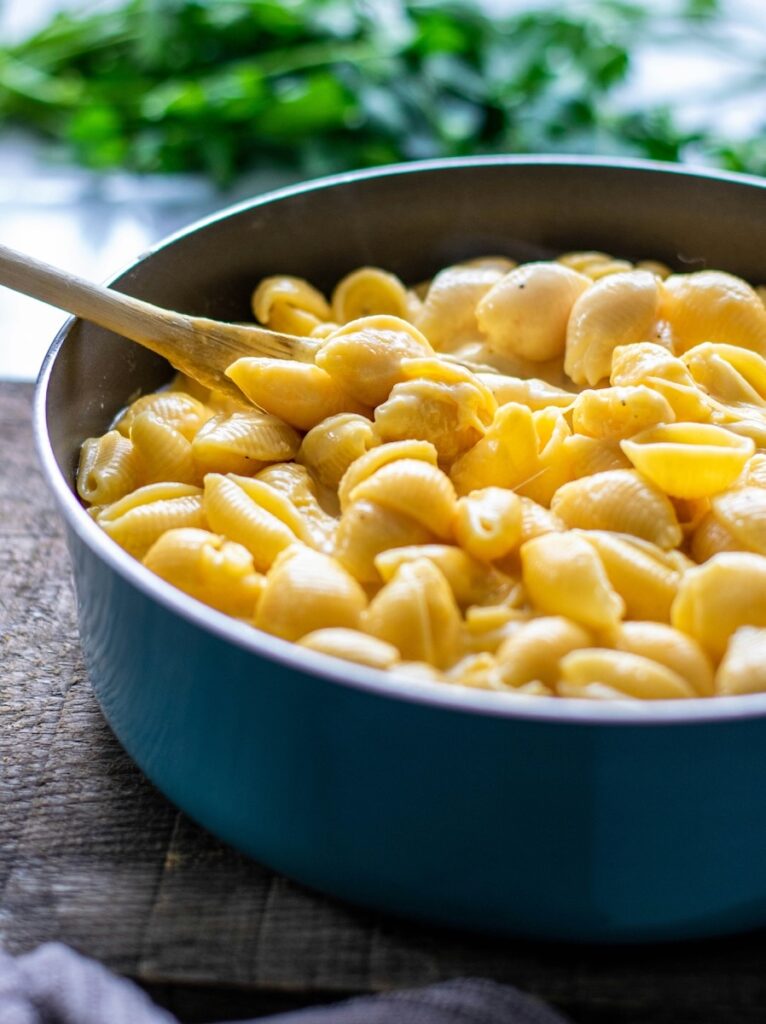
If you need a classic cheddar mac and cheese then this recipe is for you. We think shells are the best pasta for making mac and cheese since the shape lets the cheesy sauce seep inside. Plus, feel free to top this traditional recipe with pulled pork, mushrooms, or bacon.
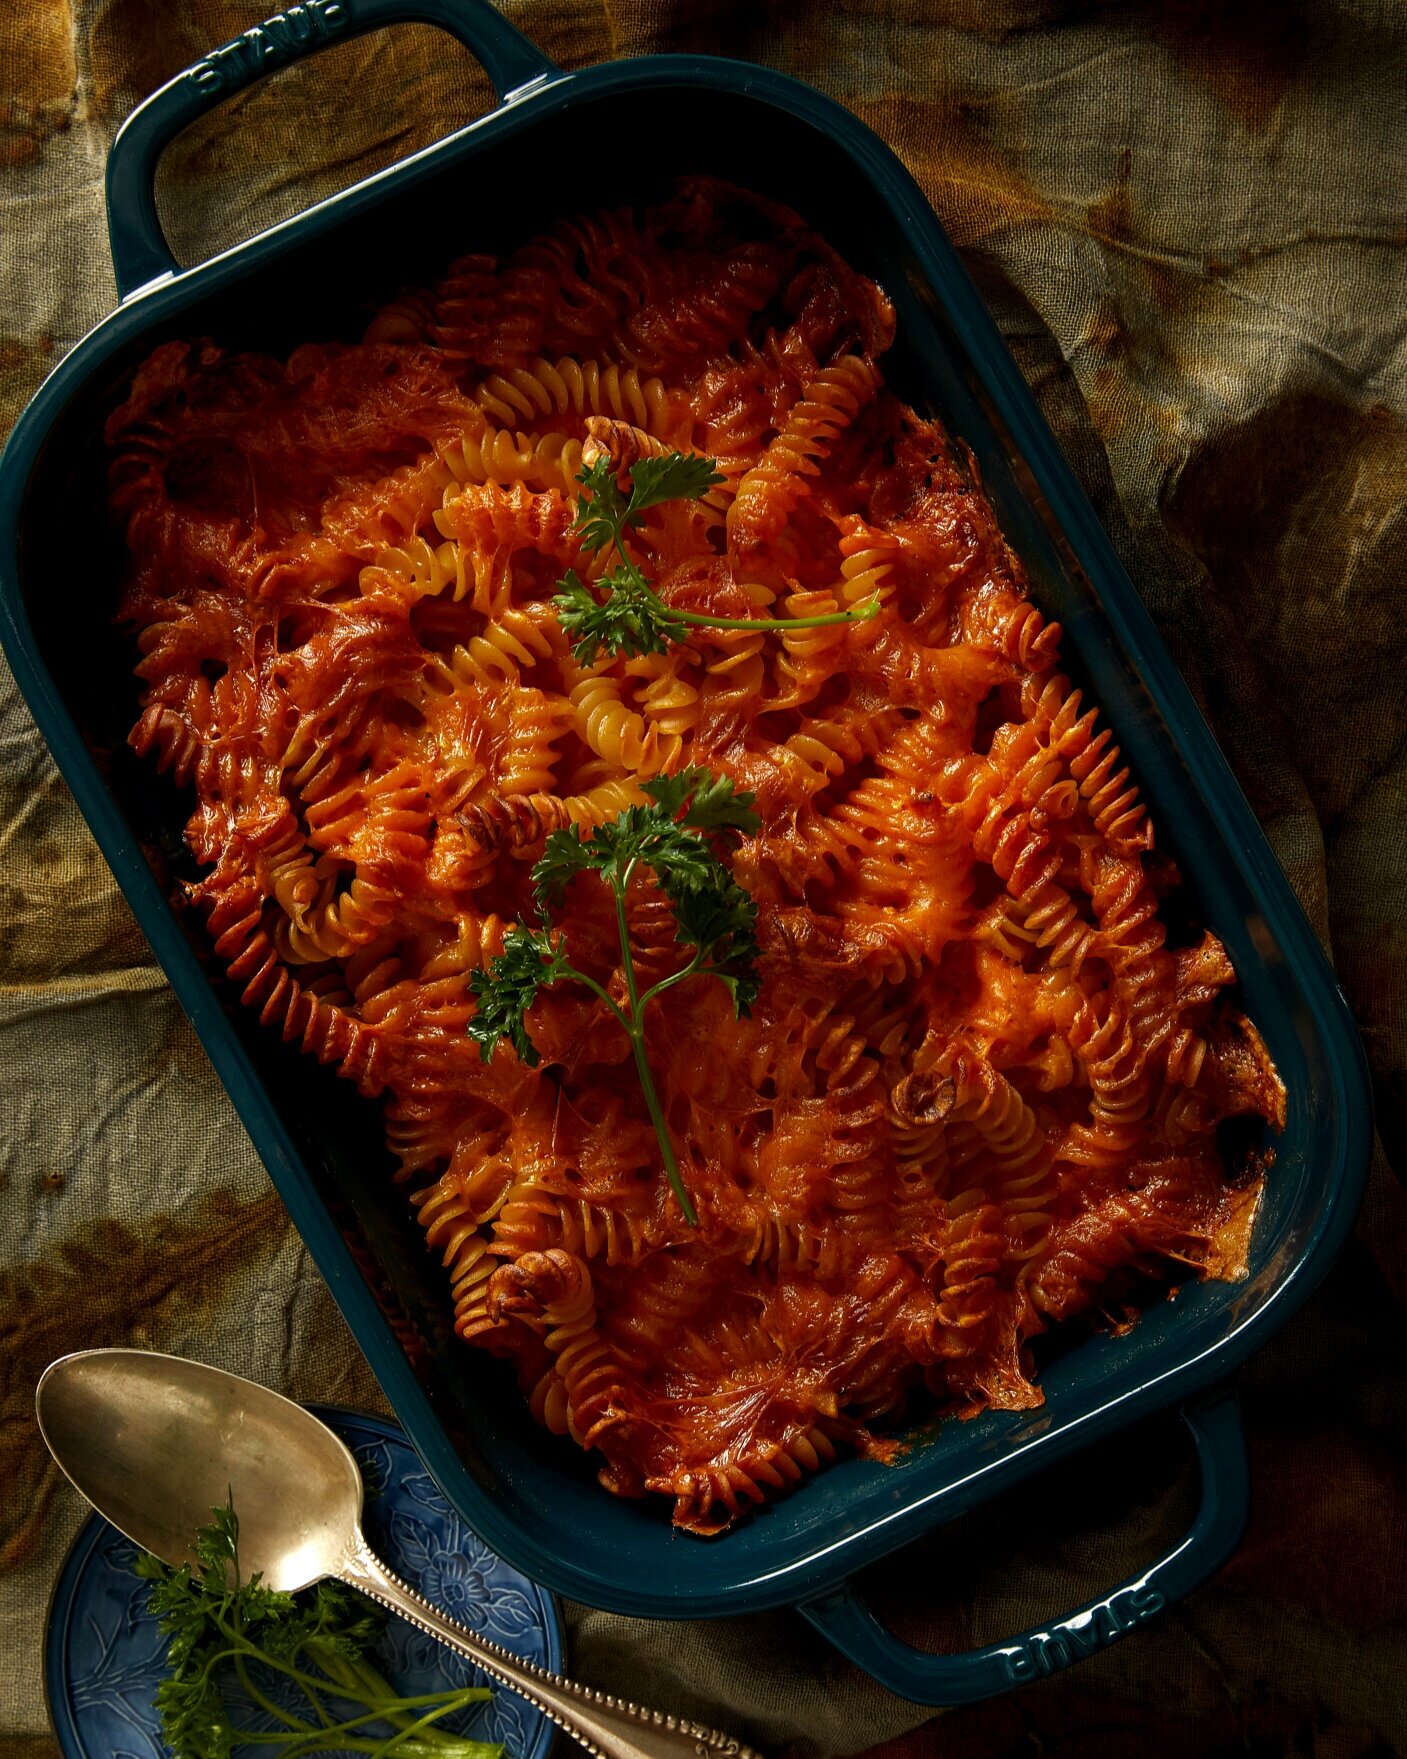
Homemade Mac and Cheese with Five Cheeses
Mac and cheese is best whenever you load is up with a variety of cheese that each bring a different flavor profile. For this Homemade Mac and Cheese recipe we’re using sharp cheddar, pepper jack, mozzarella, Gruyere, and Gouda.
Story by Emma Riva
Subscribe to TABLE Magazine’s print edition