Fresh, bright flavors can turn a simple dish into something unforgettable. This Persimmon and Burrata Salad is the perfect example of how seasonal fruit, creamy cheese, and crisp toppings come together to create a plate that feels both elegant and easy. With the sweetness of fuyu persimmons, the tang of yuzu juice, and the crunch of golden fried shallots, every bite is layered with taste and texture.
The Magic of a Persimmon and Burrata Salad
What makes this recipe special is its balance. The creamy burrata pairs beautifully with the juicy persimmons, while basil adds a fresh herbal note. A drizzle of extra virgin olive oil ties everything together, and the crispy shallots bring that irresistible crunch. It’s a dish that looks stunning on the table, yet is simple enough to prepare at home. Whether you’re serving it as a starter, a light lunch, or a show-stopping side, this persimmon burrata salad is sure to impress.
Sweet persimmons are layered with creamy burrata, fresh basil, and a splash of yuzu.
Ingredients
Scale
3 fuyu persimmon
3 to 4 shallots, sliced into 1/4 in rings
4 oz burrata
Several basil leaves
Yuzu juice
Canola oil
EVOO
Salt and pepper to taste
Instructions
For the fried shallot:
In a small pot, more tall than wide, add shallots and cover with canola oil. The idea is there to be enough oil for the shallots to have some room to move as they fry.
Turn on medium heat and bring up slowly to a fry, DO NOT STIR.
When they are a light golden brown, use a strainer to pull them from the oil and drain on paper towels and salt and pepper them.
Let cool and don’t move them too much.
To finish:
Slice persimmons on a Japanese mandolin about 1/8th of an inch thick.
Lay flat on a large serving plate, slightly overlapping them. Season with salt and pepper.
Next tear the burrata into small bite-sized pieces and place them on top of the persimmons equal distance apart, The idea is to create a nice flat platter of perfect persimmon bites.
Then tear basil leaves into small bite-sized pieces. Take your yuzu juice and lightly spritz a small amount across the salad then top with extra virgin olive oil and crispy shallots. Enjoy!
Food and recipes by Curtis Gamble Styling by Keith Recker Photography by Dave Bryce
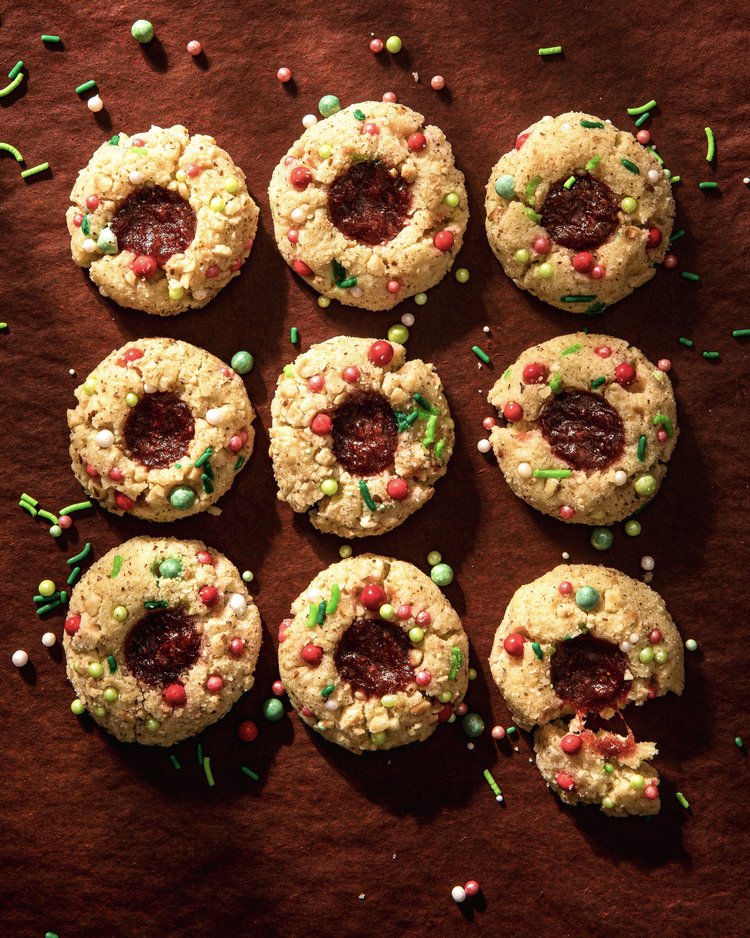
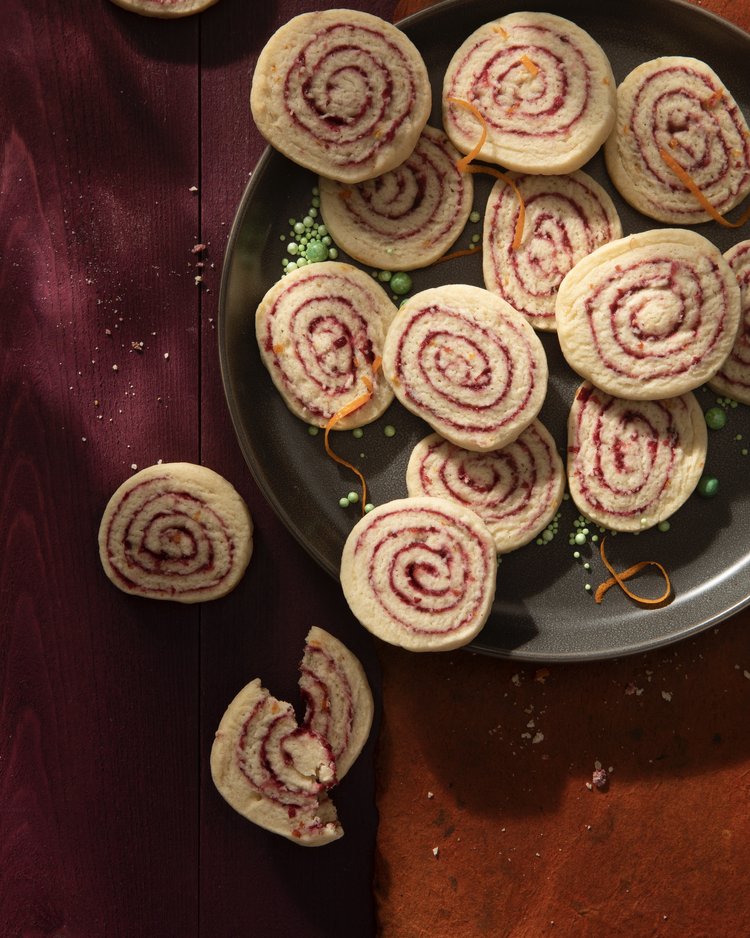
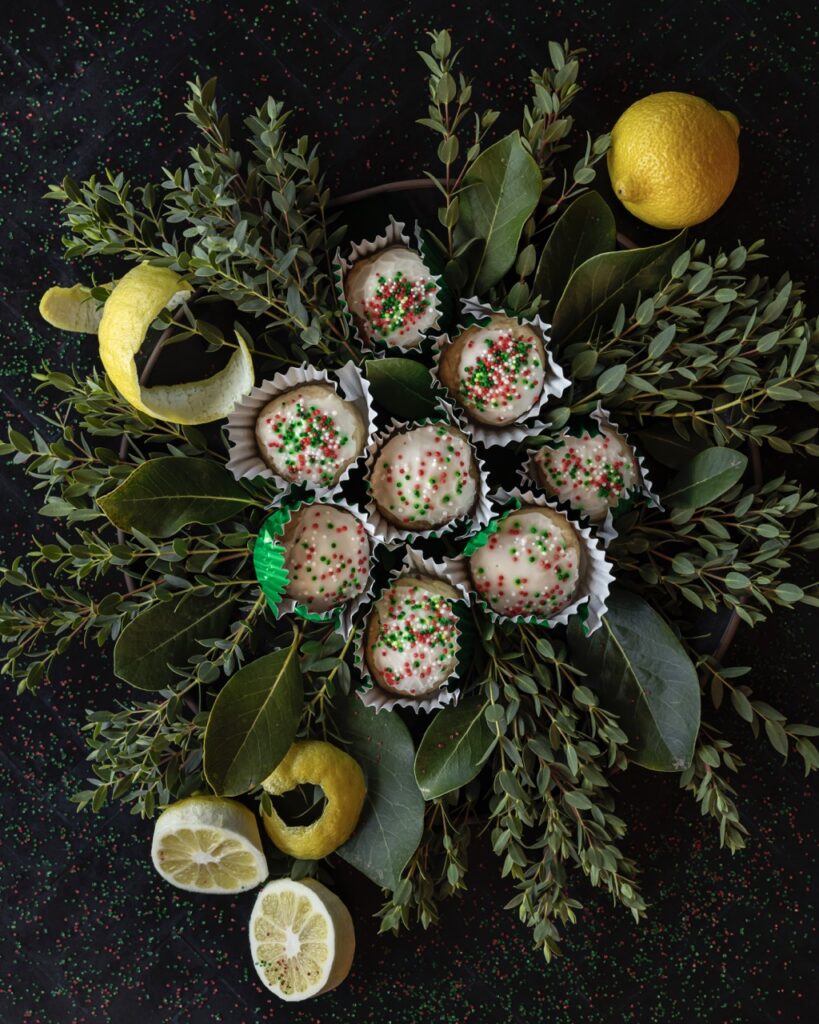
There’s something magical about cookies that carry both flavor and beauty.
Vegan Citrus Shortbread Cookies
What makes these cookies stand out is their balance of taste and presentation. The shortbread is soft yet crisp, the glaze adds a refreshing citrus kick, and the sprinkles bring a playful pop of color. Whether you’re baking for a holiday, a party, or simply to brighten up your day, these Vegan Citrus Shortbread cookies are as delightful to look at as they are to eat. Plus, we use vegan butter so they’re accessible to everyone.
Hanukkah is a great way to get people together and entertain. Though it’s less of a show than Rosh Hashanah or Passover, it celebrates resilience, one of the most resonant themes of Judaism. If you really think about it, there’s irony in today’s version of the holiday: while the Hanukkah story starts with the Maccabees fighting to save the Jewish people, we now sit around listening to Adam Sandler’s Hanukkah song and eating chocolate money. But the Jewish toast of l’chaim—to life—is relevant to every holiday. It’s a blessing to just be alive and spend time with loved ones.
On a more metaphysical level, Hanukkah isn’t just the Jewish holiday that happens to be around Christmas. It’s an affirmation that miracles do happen. It’s also a great time to start conversations about what being Jewish means and how you can bring your values into everything, including your cooking. Maybe you don’t love going to temple or just don’t find resonance in organized religion. Food can be a great way to celebrate Jewish identity culturally, too. With that in mind, we’ve compiled our Hanukkah recipes, drinks, and desserts for an ultimate guide to Hanukkah entertaining.
Your Ultimate Guide to Hanukkah
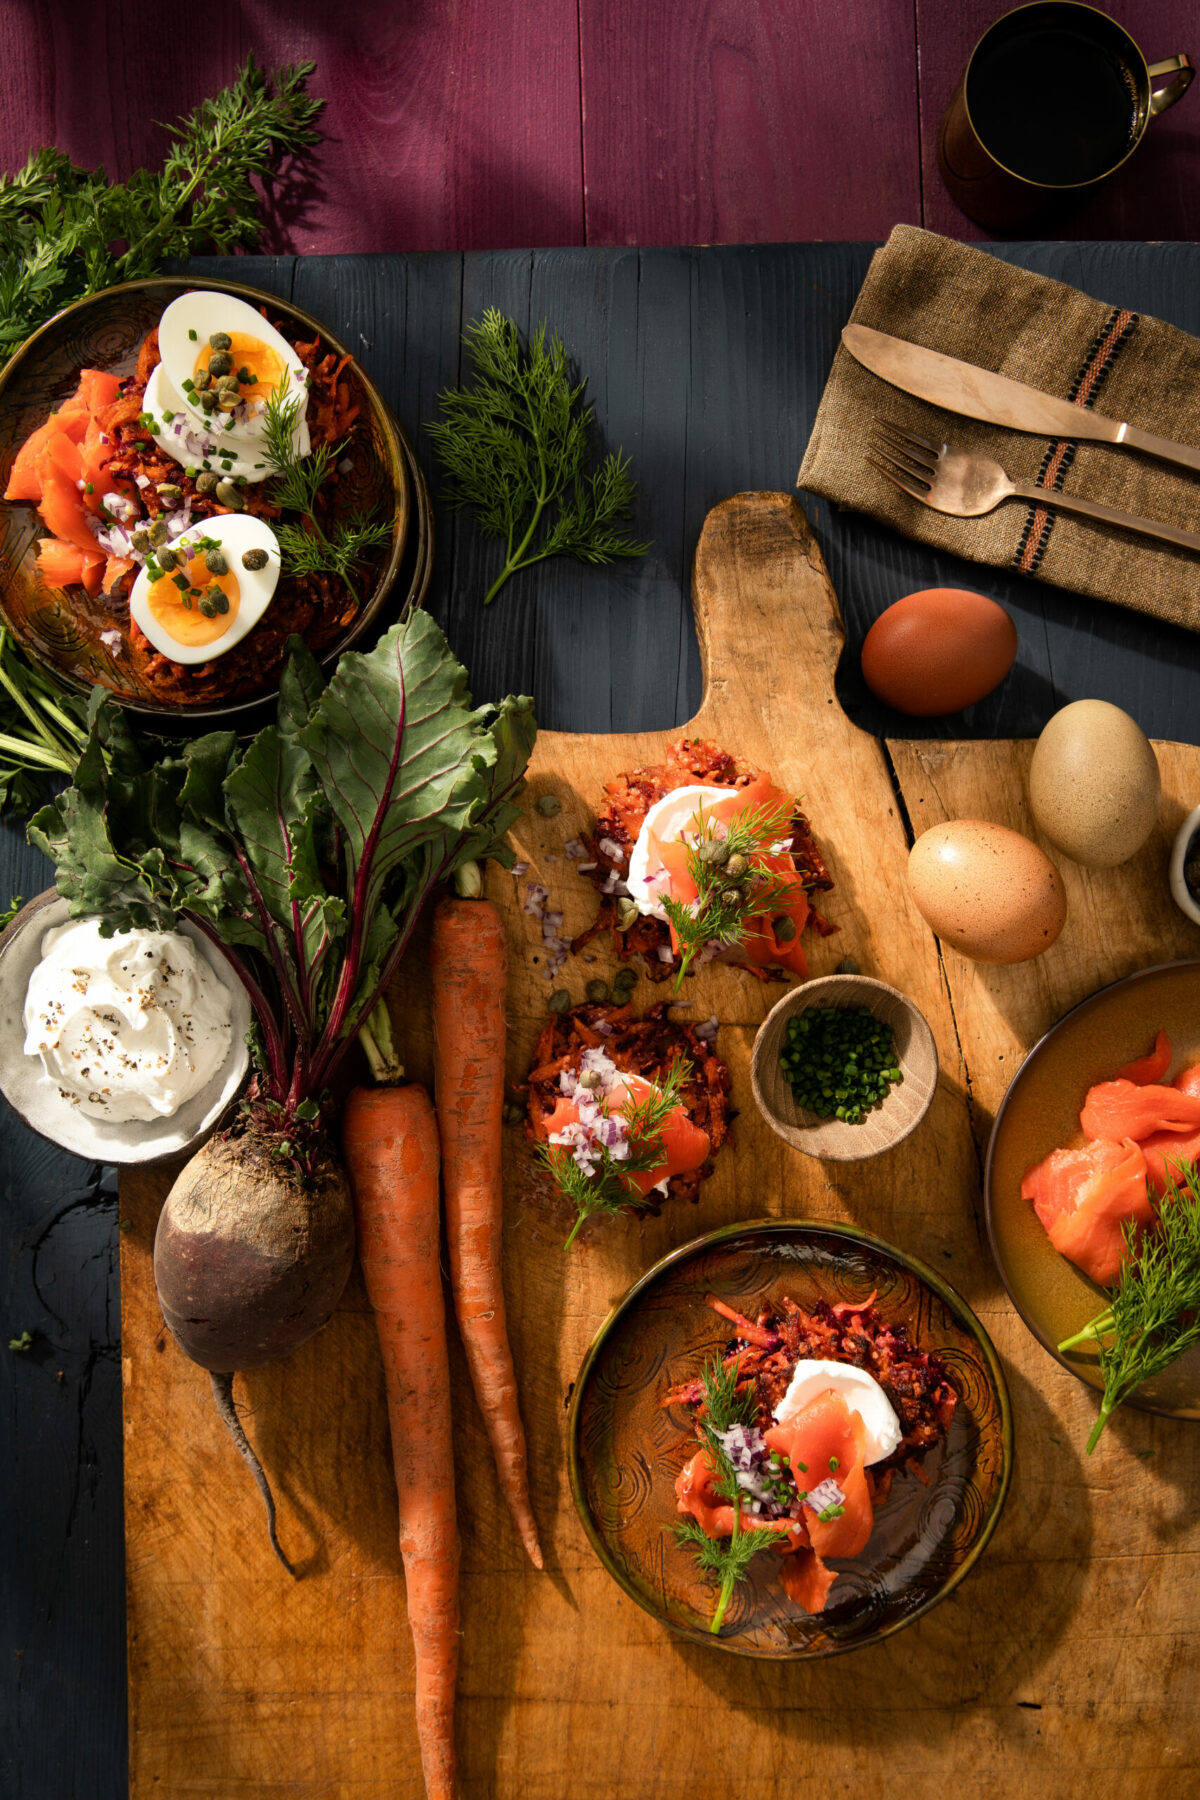
Mains: Focus on the Latkes, but Don’t Be Afraid to Get Creative
This is a slightly healthier take on the classic potato latke, though given how much oil you cook them in, that’s all relative. But the carrots and beets are full-flavored and enjoyable in their own right, and as our chef writes, with this dish there are no mistakes.
Here’s a still-delicious substitution you can make if you have a guest with a gluten sensitivity. Note, though TABLE’s recipes are our creative spins on latkes, there’s nothing wrong with the classic, no-frills recipe. The New York Times has a good one, and one entertaining thing to do is to scroll to the comments section to see everyone arguing about how it’s different than how they make it. Hey, as the saying goes: two Jews, three opinions…
Though rösti potatoes aren’t technically the same as latkes, it’s a bit of a tomato-tomahto situation. This Swiss potato pancake is very similar to the classic latke, but incorporates egg and flour more heavily than a latke does. They’re slightly easier to make than latkes and a lot less messy, as Sarah Jampel of Bon Appetit argues. (Jampel has a bold stance that like many holiday foods, latkes are overrated). So, give rösti a chance if you’re sick of soggy latkes and batter disasters.
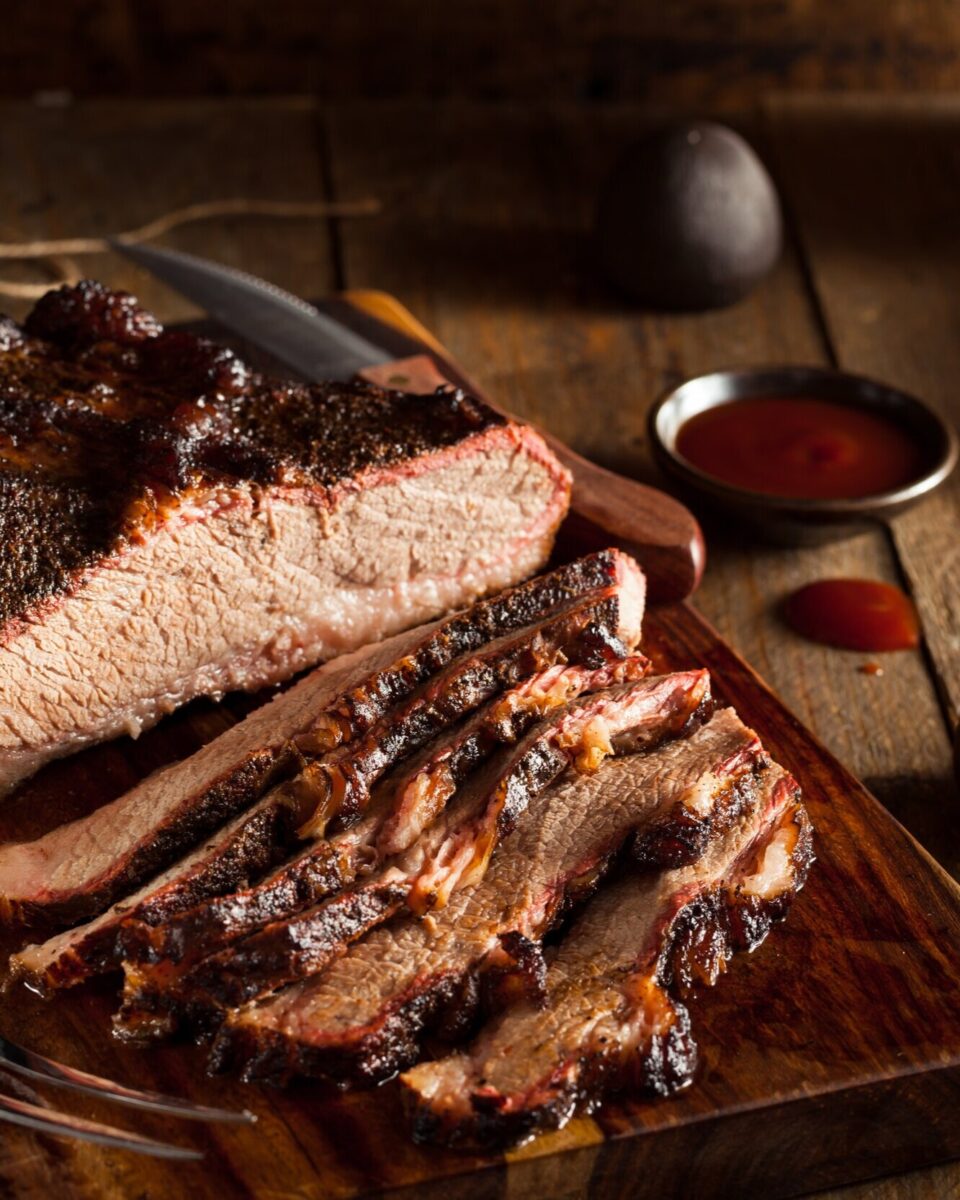
You can’t go wrong with brisket. Jonathan Haskel Baar developed this recipe for Passover originally, but you can enjoy brisket any time of year. Baar’s recipe is full of details in every step so you can make that perfect, crowd-pleasing brisket that even the most curmudgeonly guest will compliment you on.
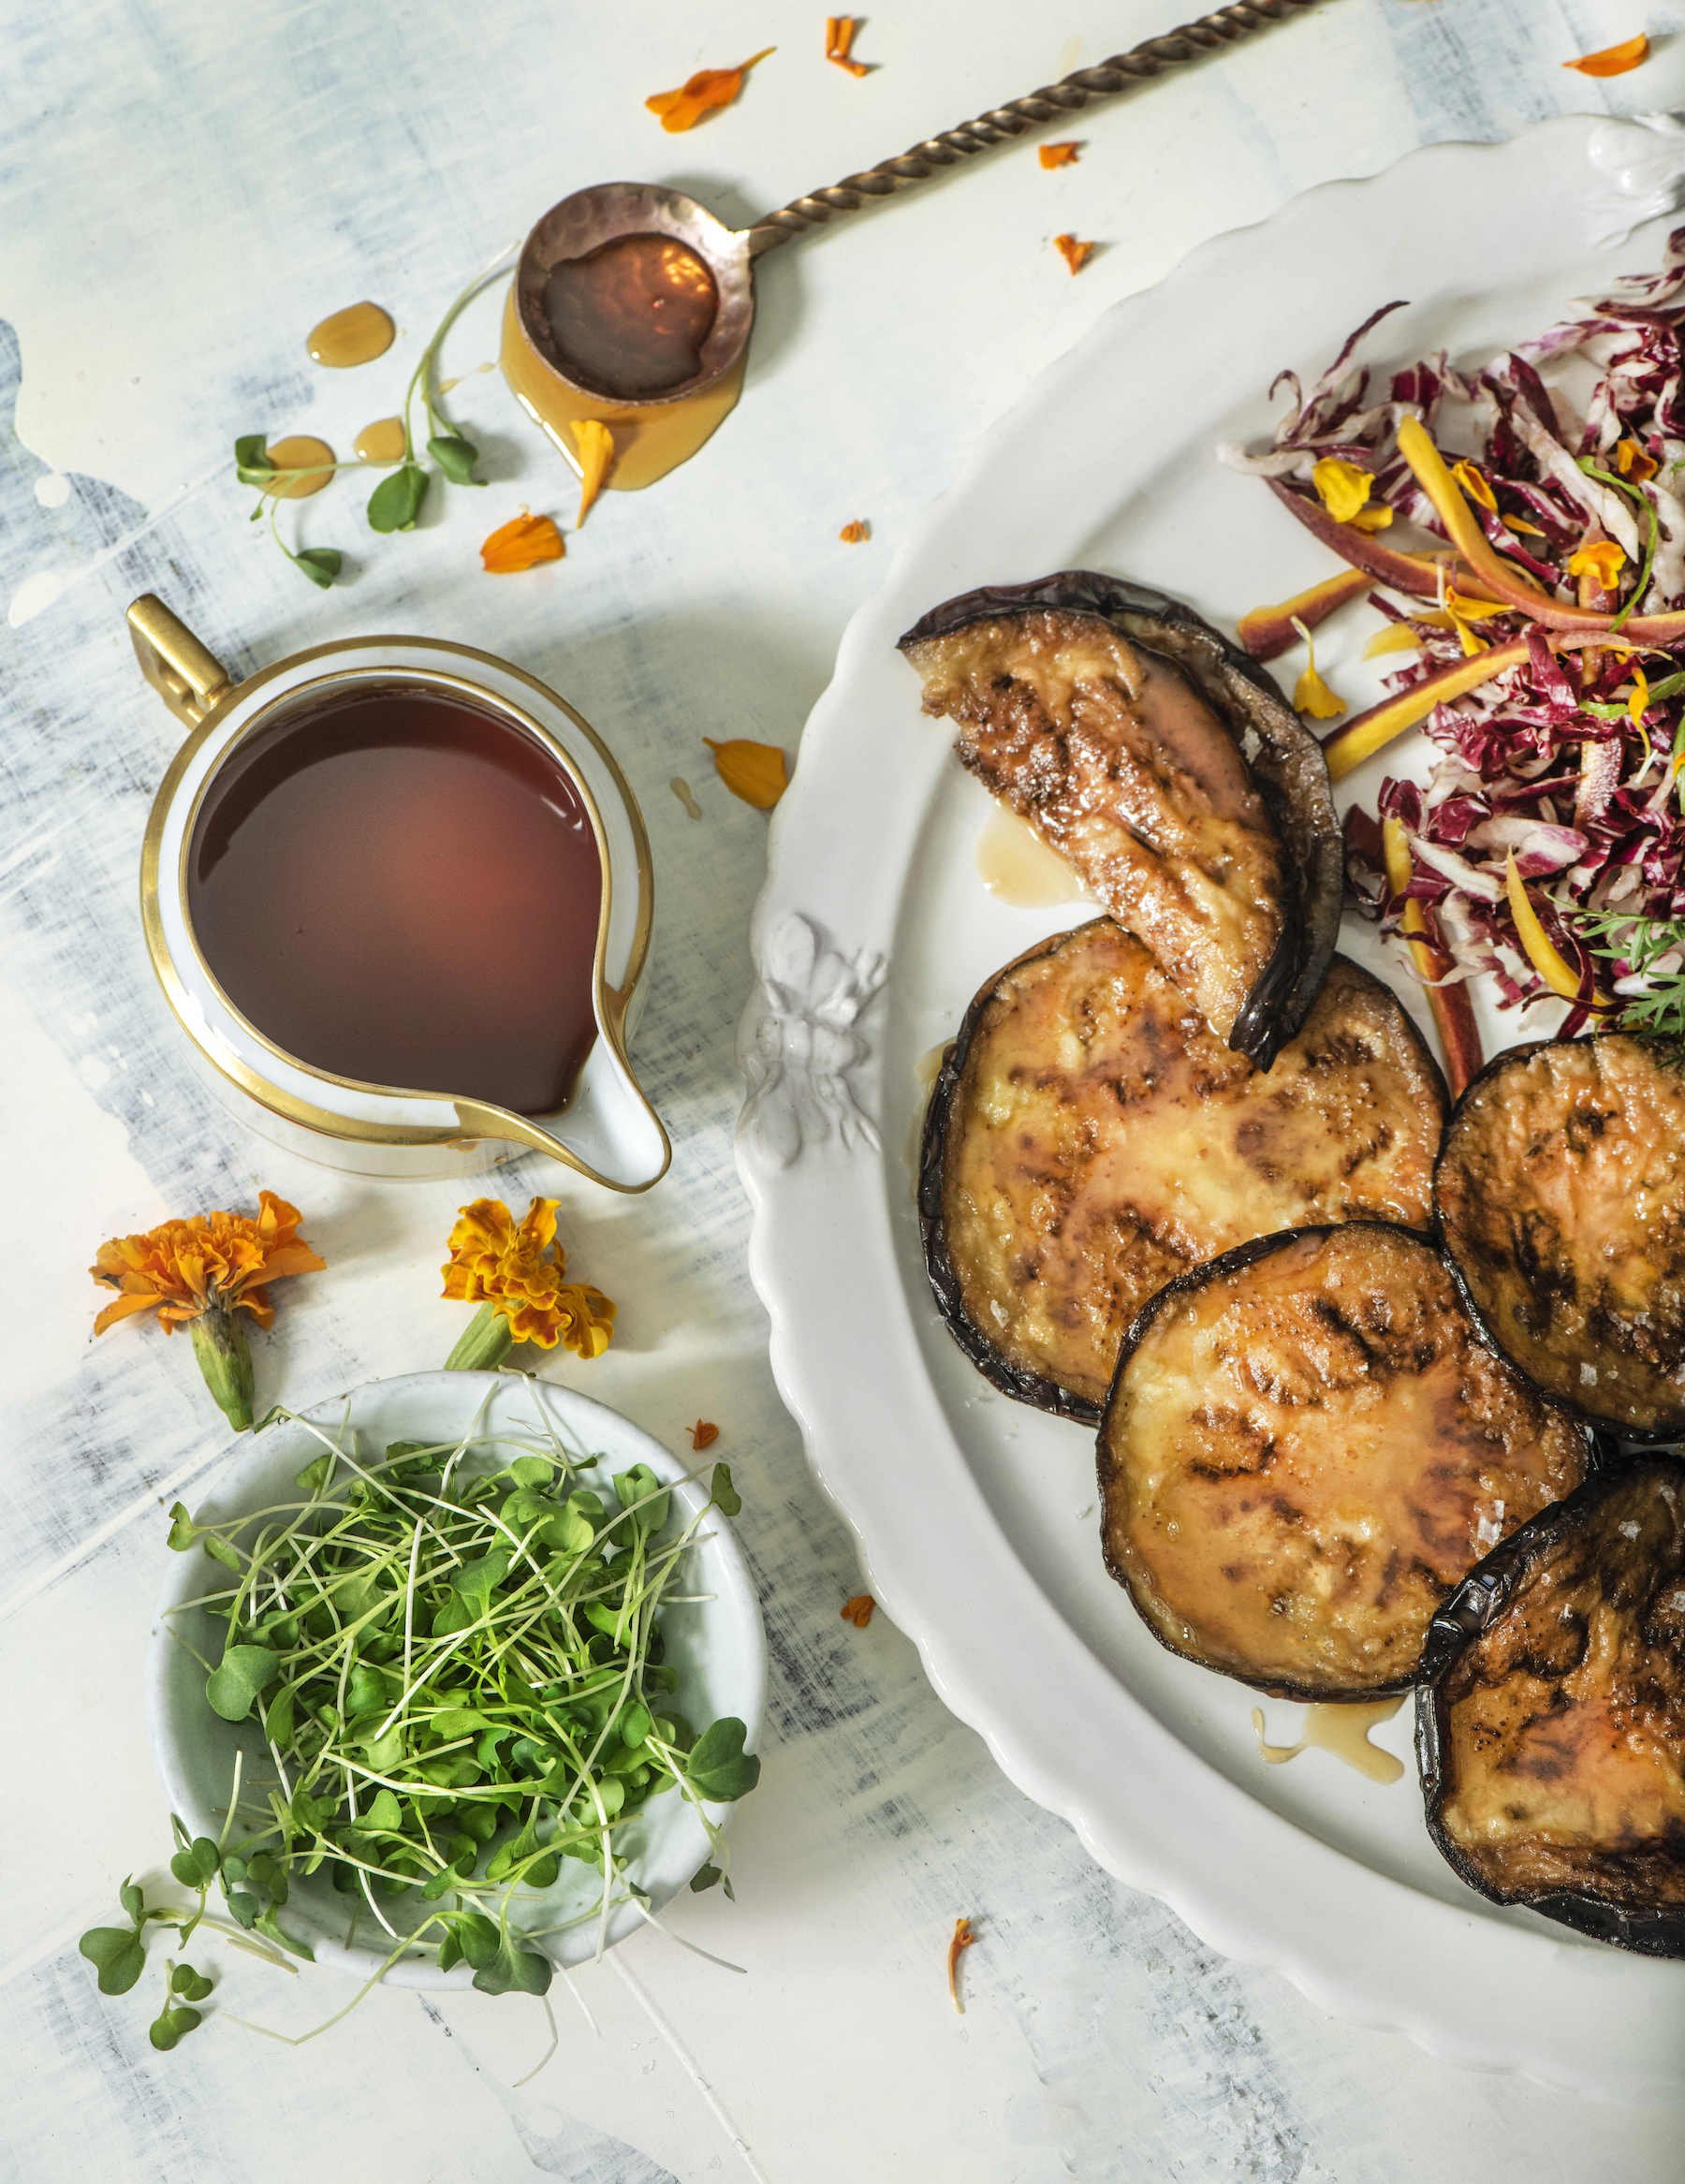
Hélène Jawhara Piñer’s 2021 cookbook Sephardi: Cooking the History chronicles the many recipes that make up Jewish cuisine in Spain and North Africa, including a huge array of eggplant recipes. This is one of the many delicious ways you can use eggplant to replace meat in a Hanukkah meal, if you so choose.
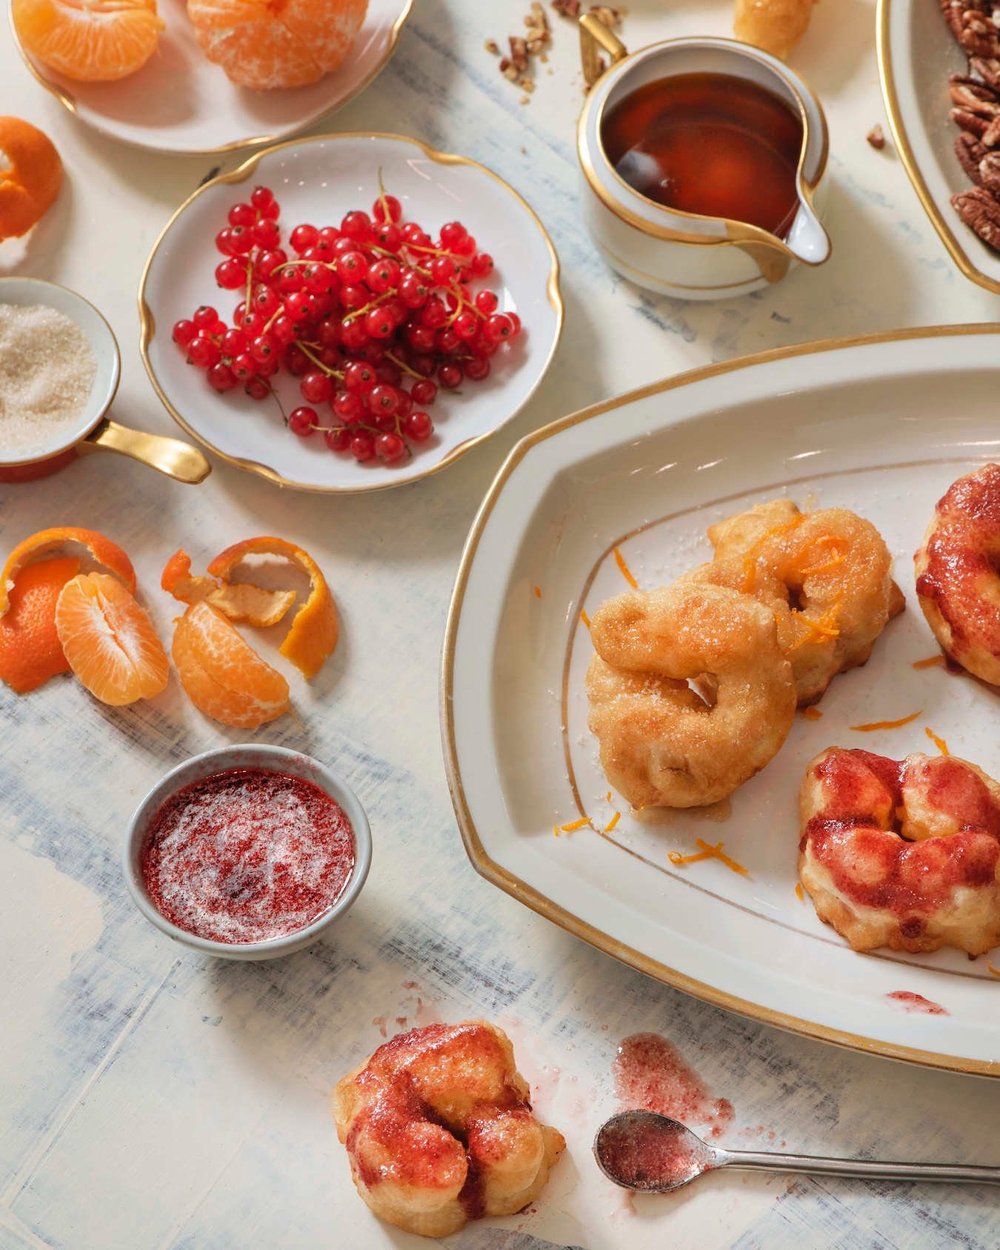
These Andalusian donuts are a hugely popular Hanukkah recipe in Jewish communities in North Africa, and Hélène Jawhara Piñer shared them with us. If you’re tired of the ordinary sufganiyot, this is a great new donut option that’s equally delicious.
This pastry is made with honey, dates, and orange blossom and comes from Morocco and is another fried delicacy to remember that oil that lasted eight nights. Though the lamp lasted a long time, these pastries won’t be long at your table.
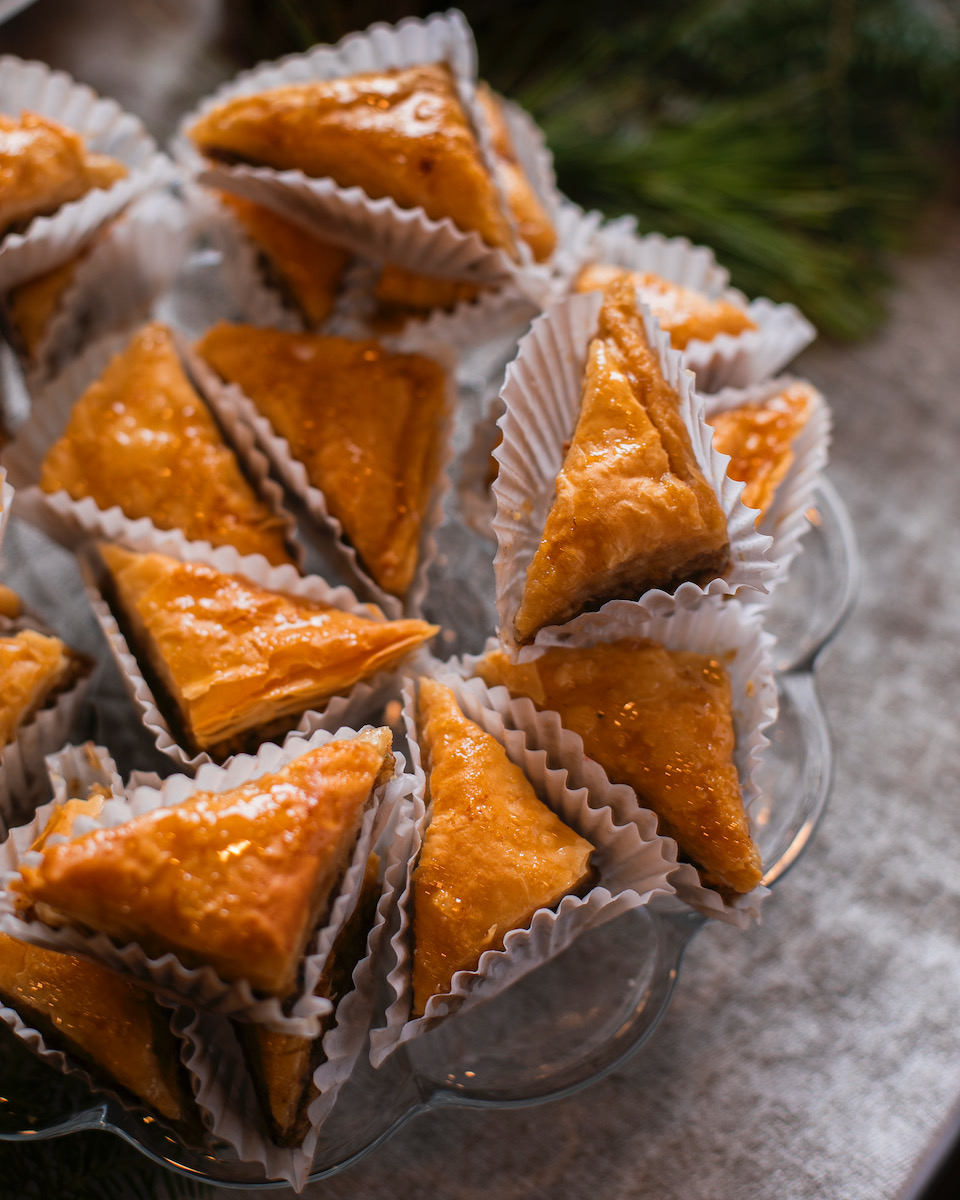
Consider baklava as a snack-able small plate before or after the meal, if you’re having a larger gathering. Though you can definitely cater them, they’re surprisingly easy to make yourself, and help anchor your cooking in the Mediterranean, where the Hanukkah story began.
This is basically a perfect Hanukkah dessert. Tahini is a staple in Middle Eastern cooking, chocolate elevates gelt (the gold-wrapped choclate coins we eat on Hanukkah), and honey symbolizes prosperity and good luck in Jewish tradition. So, this is a great Hanukkah recipe to try out to finish off your meal with a winner.
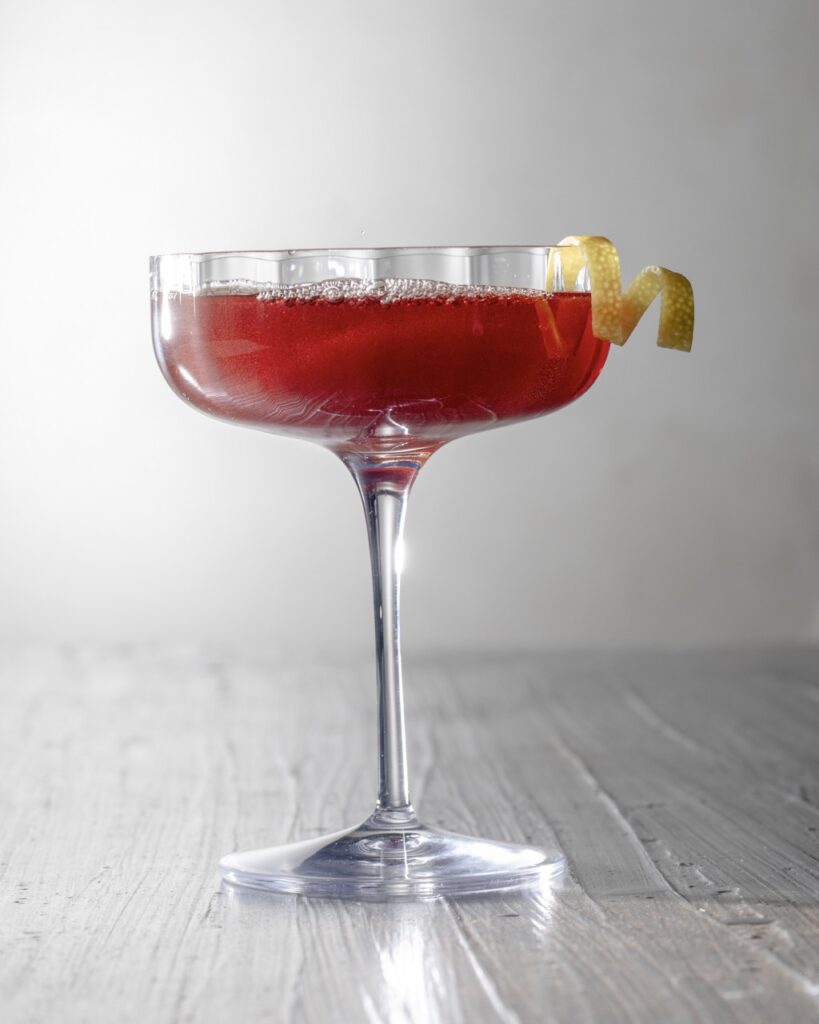
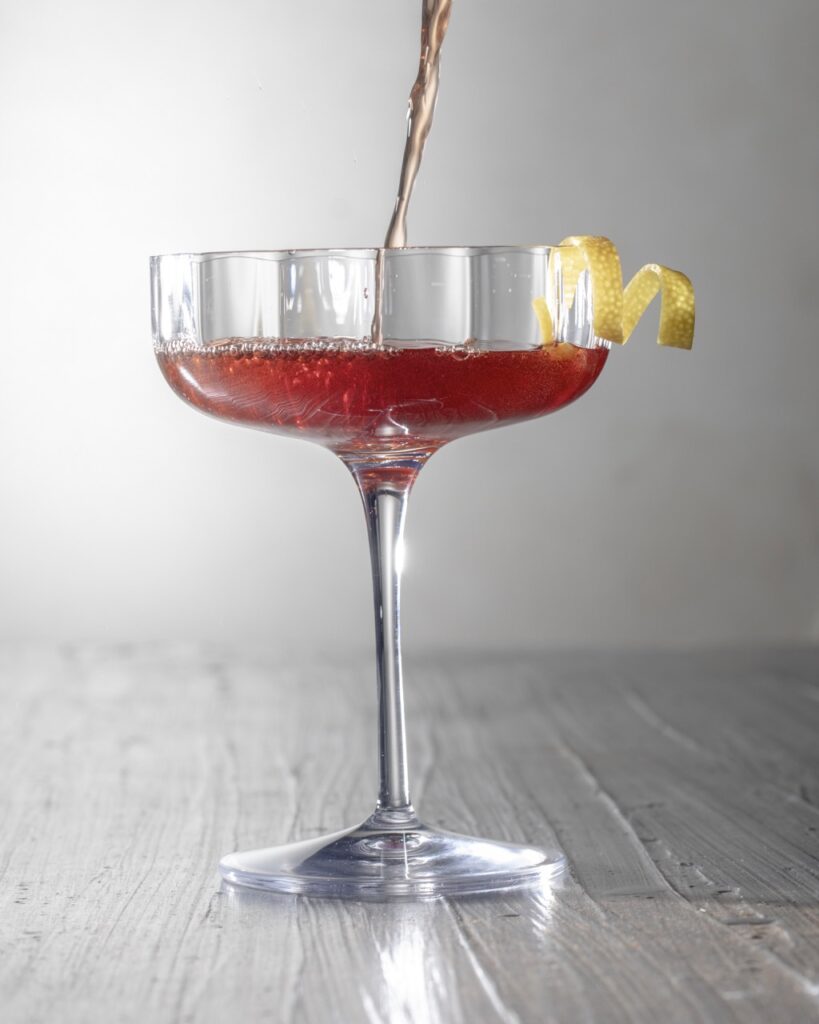
Our signature take on a French 75, with a special Hanukkah sparkle in its color scheme. This is a great party cocktail no matter what your faith is, but also works to make Hanukkah feel extra-special.
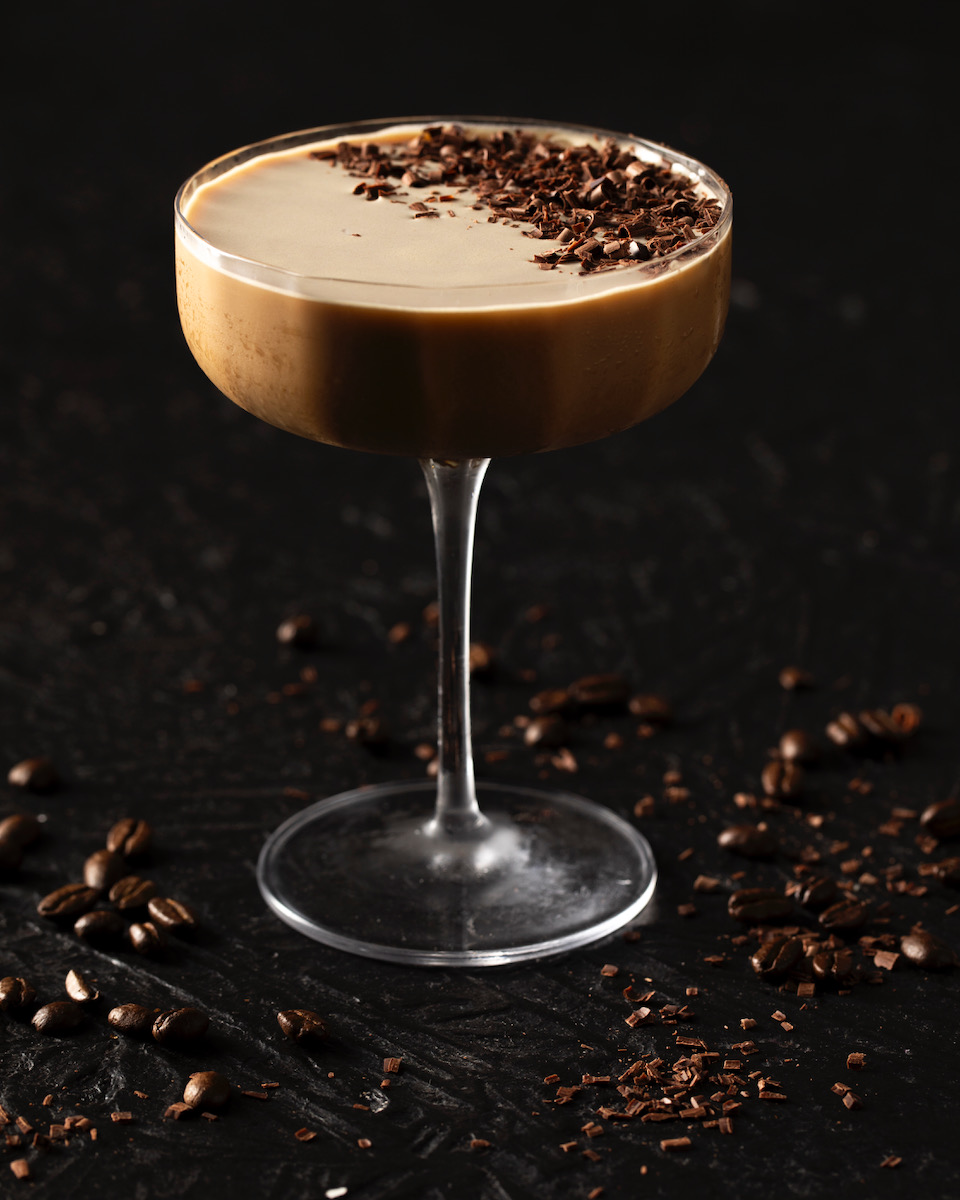
Continuing with the theme of elevating gelt, you could do a cute seasonal take on this cocktail with a piece of gelt or edible gold leaf for garnish. But it’s also just hard to argue with the deliciousness of a chocolate espresso martini.
Did you know that Amy Winehouse was Jewish? Winehouse once said that “Being Jewish to me is about being together as a real family. It’s not about lighting candles and saying a bracha.” Toast to the diversity of Judaism and the many talented people who came before us with this Amy Winehouse-inspired drink. Also, the licorice liquor in it is just delicious.
If you have guests who keep Glatt kosher (the strictest form), consider making this cocktail to be sure they have something to sip. While you might think keeping kosher only means no pork, for more observant people, everything has to be produced in a kosher facility. Check out this list of kosher bourbon for more ideas about kosher liquor.
We found a way to make sweet Manischewitz even tastier. Since you’ll already have a bottle available at your table, you might as well mix in Greenalls Citrus Grandis Gin (completely kosher), dashes of orange bitters, and a squeeze of fresh lemon juice for extra tang. Talk about an easy way to bring joy into your celebration.
General Tips
There’s no such thing as too many candles. Hanukkah is the festival of lights, so go all out on the lights. Putting together a menorah is a fun activity, but candles at your table also add a nice ambiance.
Since Hanukkah sometimes falls on Christmas, consider that your party may turn into Chrismukkah, depending on who’s invited.
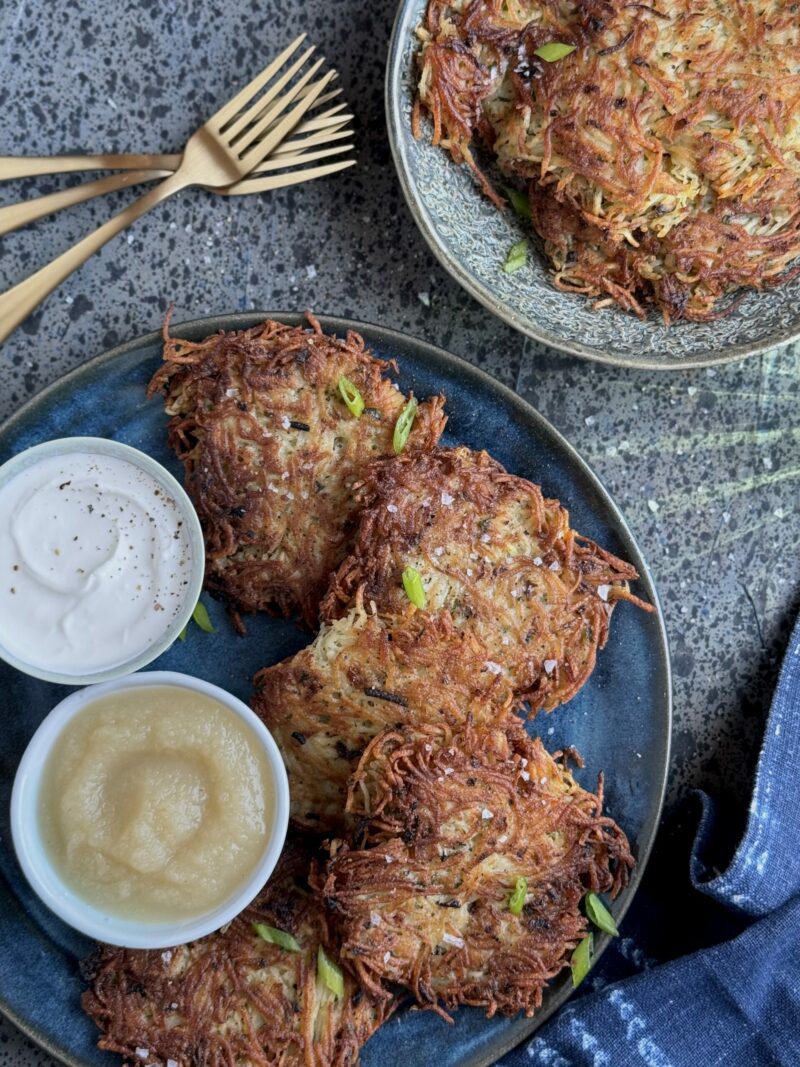
Sides for latkes are divisive. Just buy everything. Sour cream and apple sauce are the two most popular, so you’re usually safe if you have both of those.
This recipe for Green Chile and Cheddar Mashed Potatoes is a relatively recent arrival to my kitchen. I love the way the green chile, cheddar and roasted garlic elevate the potatoes to delicious heights, even as I love the way the potatoes mellow the flavors as they hit the palate. All the ingredients collaborate well in this dish.
Why Green Chile and Cheddar Mashed Potatoes?
Why did this recipe come only in the course of my 6th decade? I was raised on the classic mashed potatoes my grandmother learned how to make from her grandmother. The recipe was simple: potatoes, butter, milk, salt and pepper. There was nothing special about them because they were just a vehicle for turkey gravy at Thanksgiving and Christmas. It was the gravy that was fussed over and tasted, with adjustments to the seasonings. It was the gravy that needed to be cooked down to the perfect consistency every holiday, delaying dinner by many, many minutes. The gravy and mashed did indeed make a delicious combination. And every bite still reminds me of my wonderful grandmother.
It took me a while to realize that this recipe was not ALWAYS the right mashed for every meal. I needed something with a kick to accompany ham. I also needed something to lift a basic roasted chicken dinner to the next level. This recipe is the result of my pursuit of flavorful but still comforting mashed potatoes.
Try something new with your mashed potatoes this holiday season!
Ingredients
Scale
1 head of garlic
½ tsp ground New Mexico red chile, mild or medium heat
8 tbsp butter, divided, room temperature
2 tbsp flour
3 cups half and half, divided
½ lb high quality cheddar cheese, grated, divided in half
4 oz Hatch green chiles
5 lbs russet potatoes
Salt
Pepper
Instructions
Slice off the tip of a head of garlic. Drizzle olive oil over the exposed cloves. Wrap in tin foil and roast in 250 degree oven for 55 min. Remove from oven and let cool.
Meanwhile, peel the potatoes and chop them into ½-inch chunks.
Boil them in a 9-quart pot of salted water until very tender – 20 30 min.
While the potatoes are cooking, prepare the cheddar sauce, which is based on Julia Child’s Sauce Mornay. In a saucepan, heat 2 cups of half and half.
In another saucepan, place 2 tbsp butter, ½ tsp ground red chile, and 2 tbsp flour in a sauce pan. Stir over medium heat for 3 minutes.
To this roux, add ONE cup of hot half and half. Whisk to combine.
Add ¼ lb grated cheddar and Hatch chiles. Stir over low heat.
Squeeze the roasted garlic into the mixture. Stir to combine. Set aside.
The potatoes should be ready now! Test them with a fork to be sure they are tender all the way through. Drain them well in a colander and return to pot. Over low heat, let the potatoes dry out for 2 or 3 minutes, shaking them occasionally.
Use a ricer to mash the potatoes into a clean pot.
Stir 6 tbsp room temperature butter into the riced potatoes.
Stir in the remaining cup of hot half and half. Add a few cracks of black pepper.
Stir in the cheese sauce.
Place in an oven proof dish. Sprinkle remaining ¼ lb of grated cheddar. Cover tightly with foil.
30 min before serving, warm in 250 degree oven. Removed when cheese is melted and potatoes are thoroughly warm.
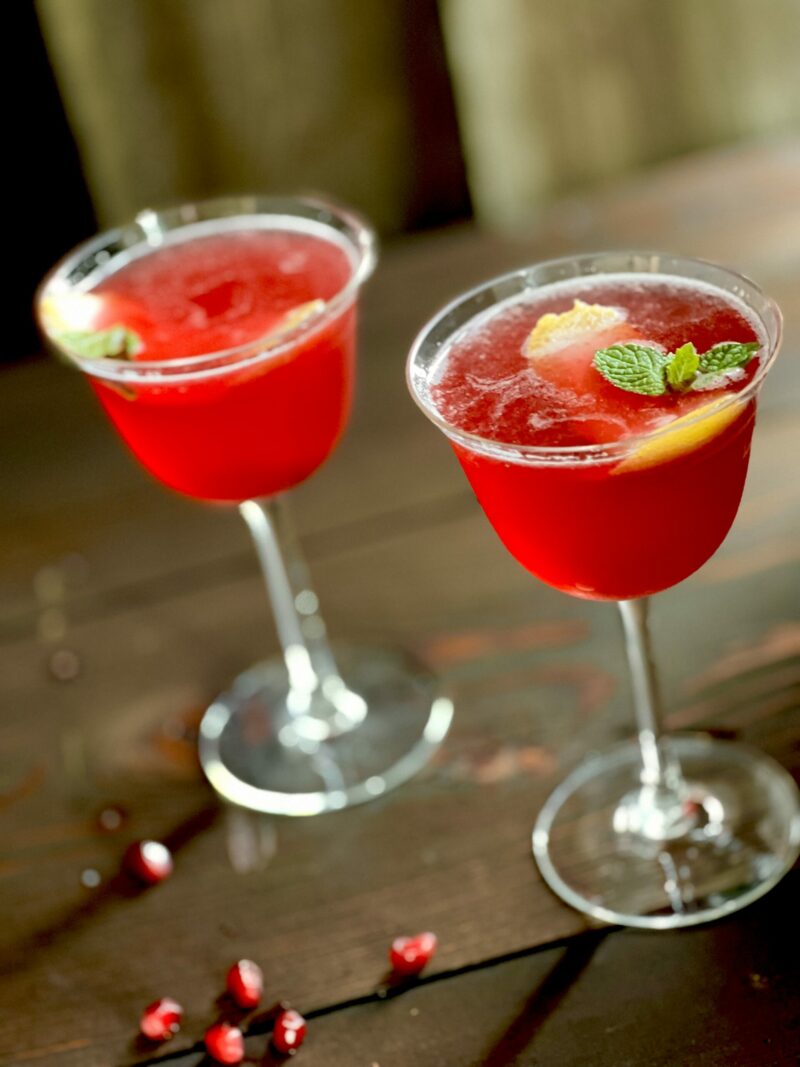
Break out the Manischewitz, this Mensch Martini is the kosher answer to your Hanukkah cocktail daydreams. This take on a classic martini pairs the bright citrus pop of Greenalls Citrus Grandis Gin with the sweet notes of Manischewitz. To finish things off, use couple dashes of orange bitters as well as a squeeze of fresh lemon if you’re feeling extra zesty. Light the candles, gather your favorite people, and let this martini spin some joy into your eight nights.
What is Manischewitz?
This sweet and fruity kosher wine is often the centerpiece of Jewish celebrations. In order for Manischewitz to be kosher, the entire process is conducted under strict Rabbinical supervision from the Union of Orthodox Jewish Congregations of America. Plus, all ingredients involved in production are kosher as well. Greenalls Citrus Grandis Gin is kosher as well.
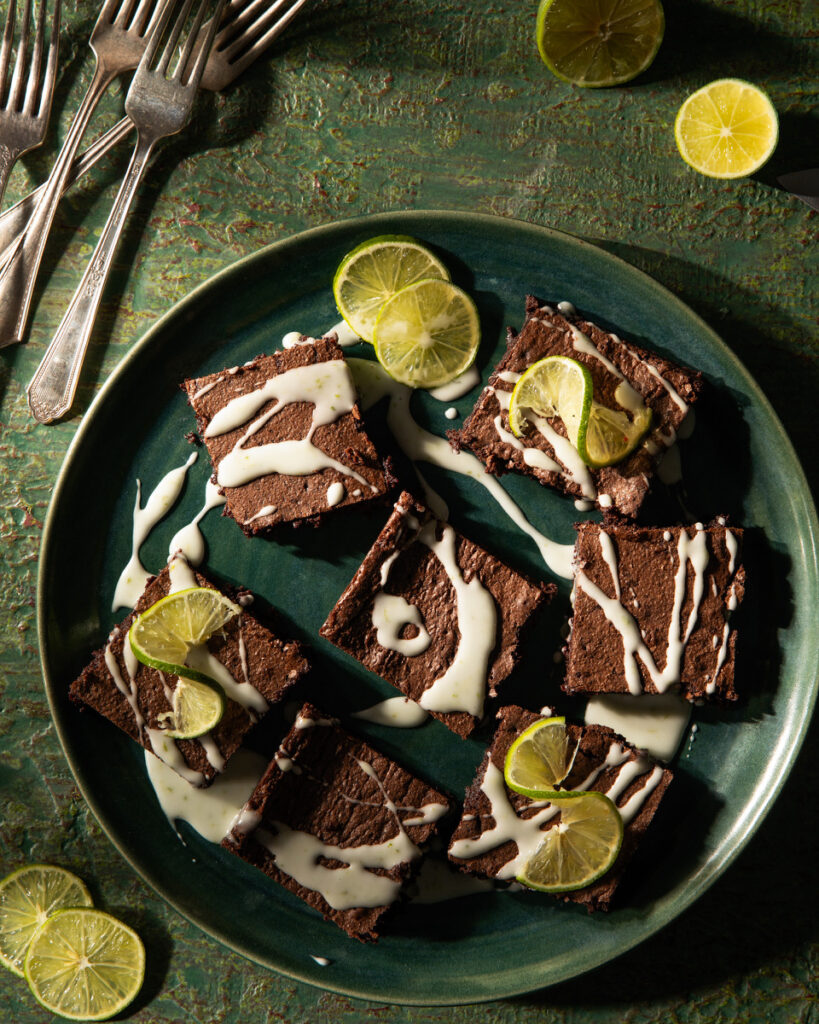
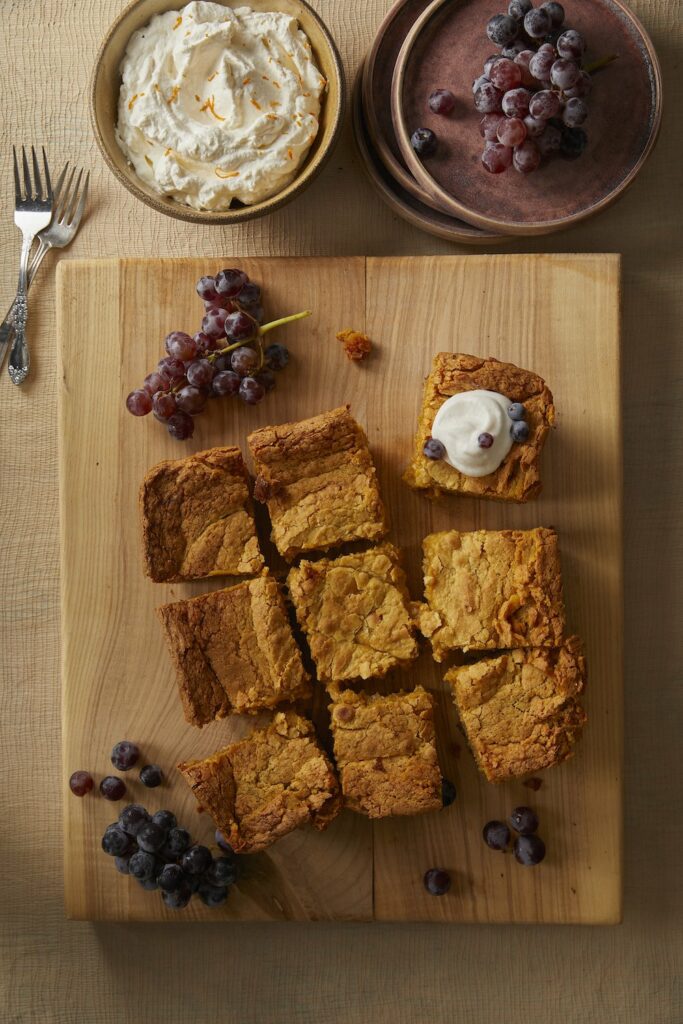
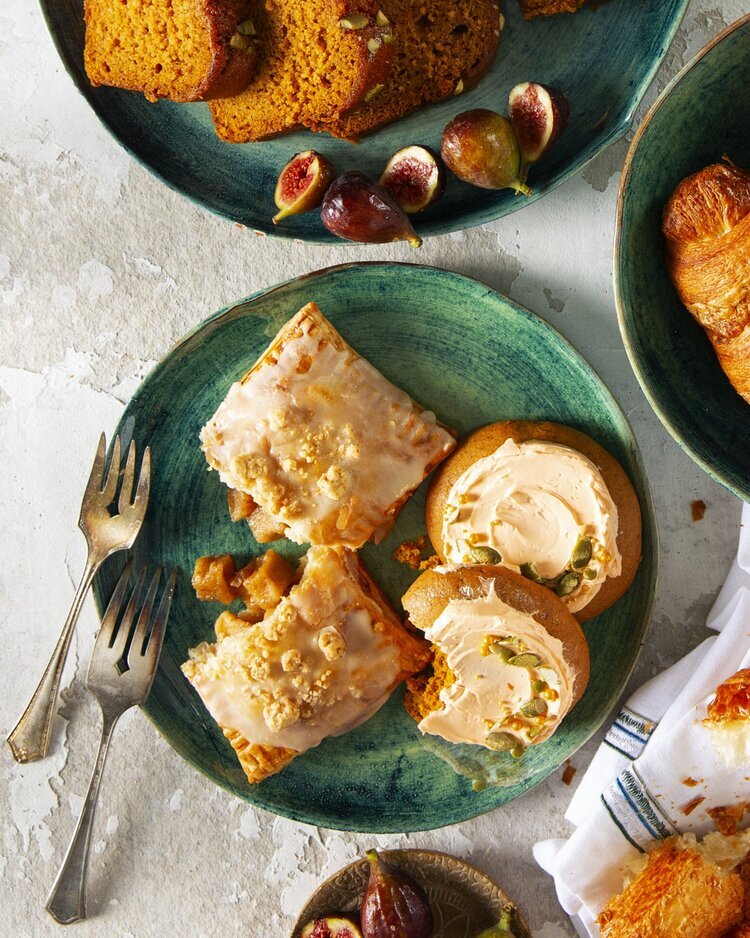
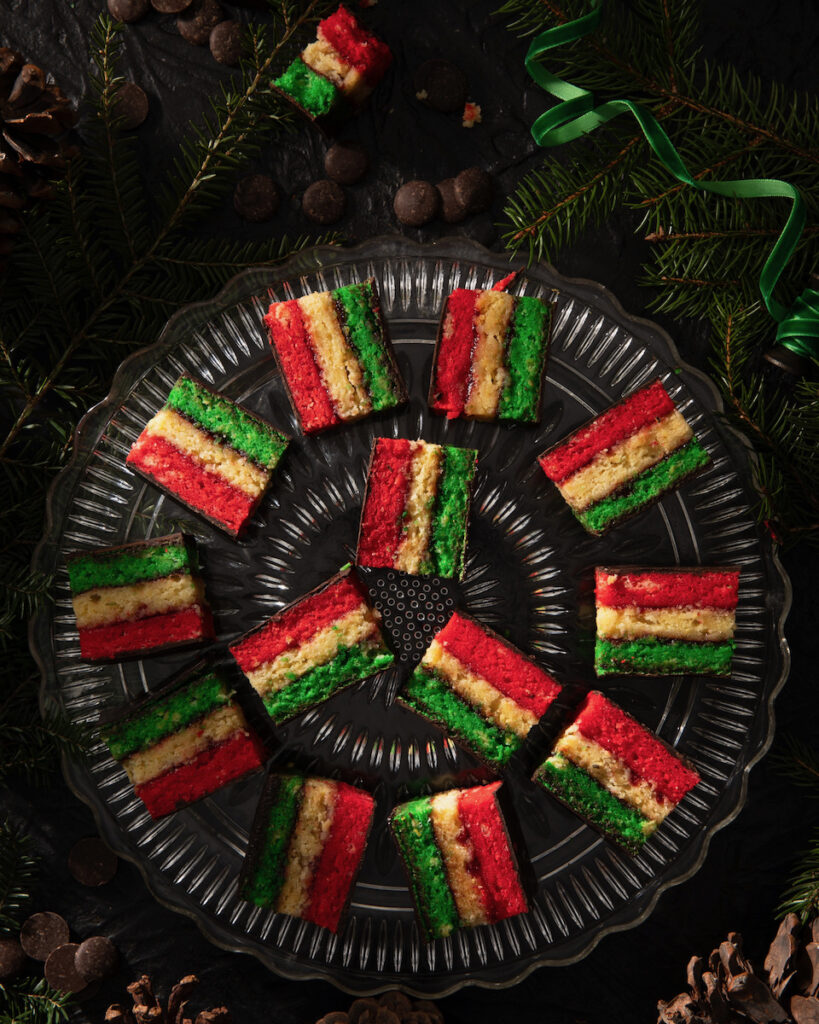
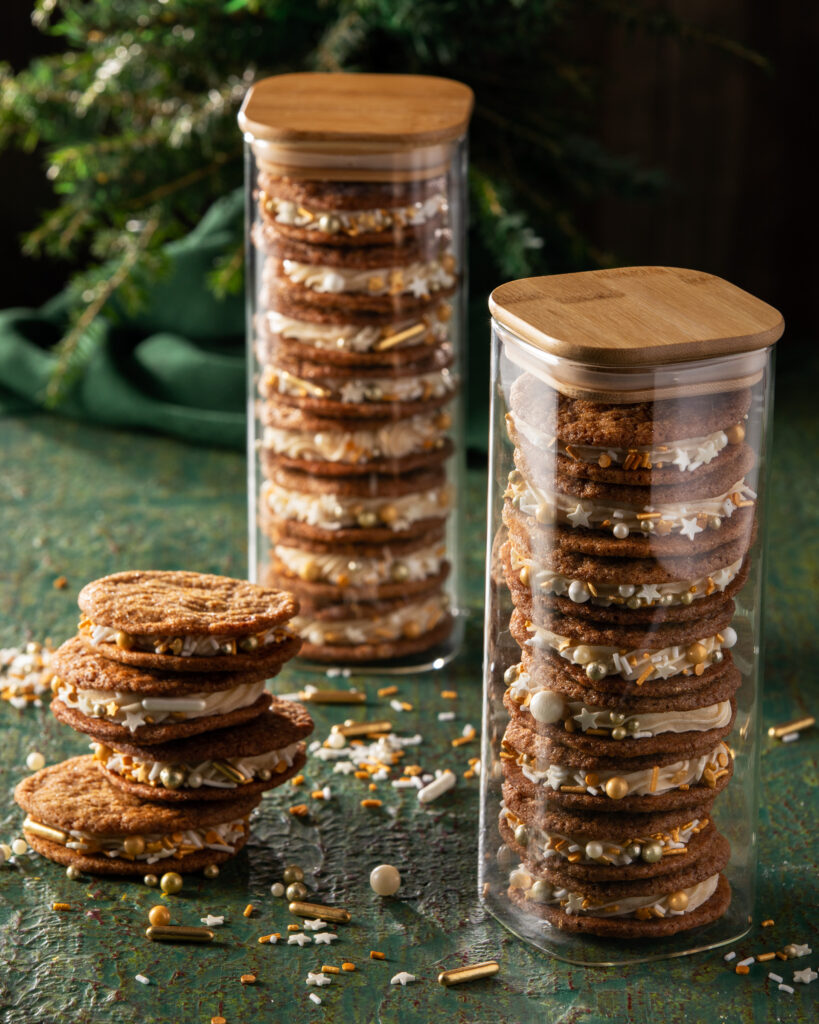
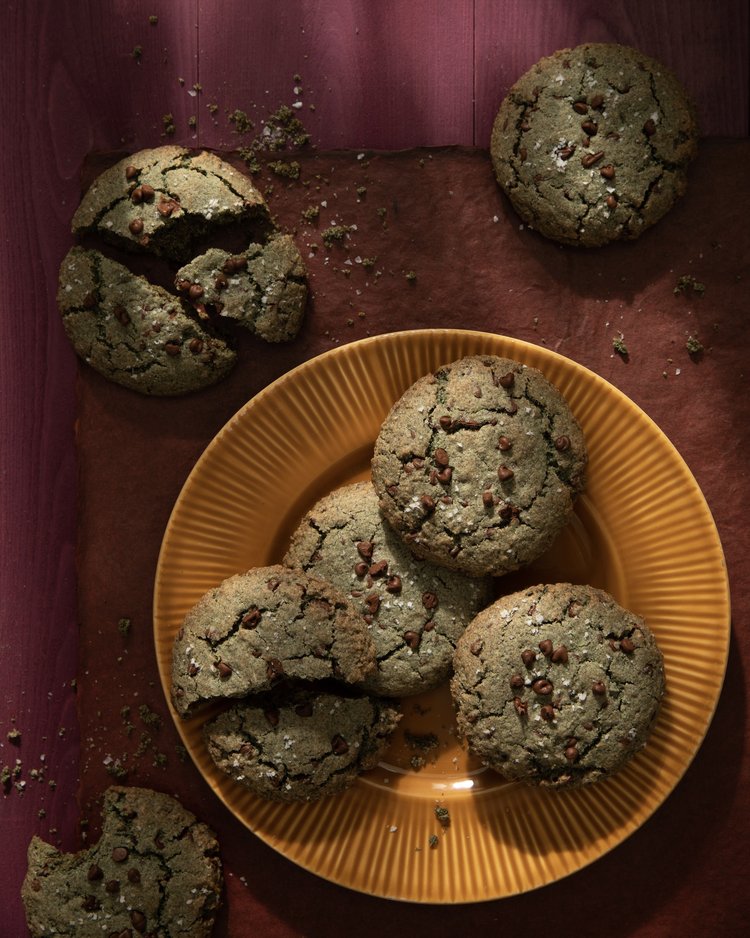
The holidays are officially here, meaning so is the season of indulgence! Cozy cookie swaps, show-stopping cakes, and playful treats keep your plate full of sweets when the holidays hit. Whether you crave the comforting warmth of classic chocolate chip cookies, citrus‑infused confections, or more traditional holiday pastries, we’ve got you covered. This collection of 50 holiday dessert recipes is your ultimate guide to curing any sweet tooth, impressing guests, and filling your kitchen with the irresistible aromas of the season. Get ready to bake, share, and savor every sugary bite!
A nostalgic dessert of tender tart-apple slices baked under a buttery, crunchy pecan-oat crisp topping. Maybe keep vanilla ice cream on hand for this one.
Take your classic apple pie up a notch. This version layers sour‑cream–sweetened apples spiced with fresh ginger under a pecan, brown‑sugar crumble topping.
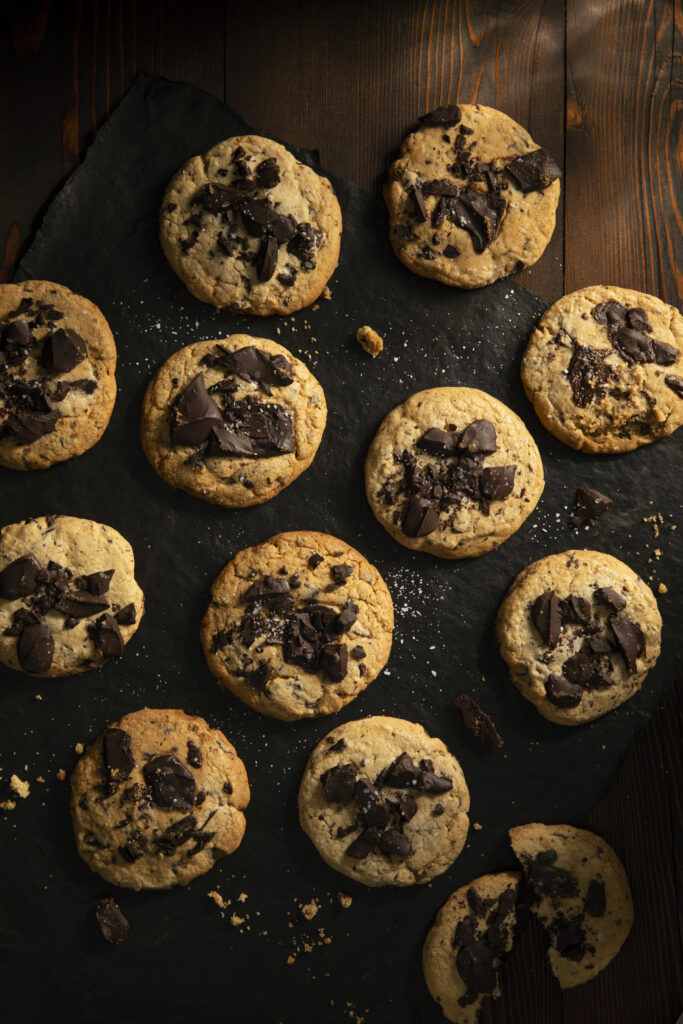
A batch of irresistibly soft, chewy chocolate‑chip cookies. Martha Stewart brings us inspiration thanks to a generous helping of brown sugar and the right butter-to‑sugar balance.
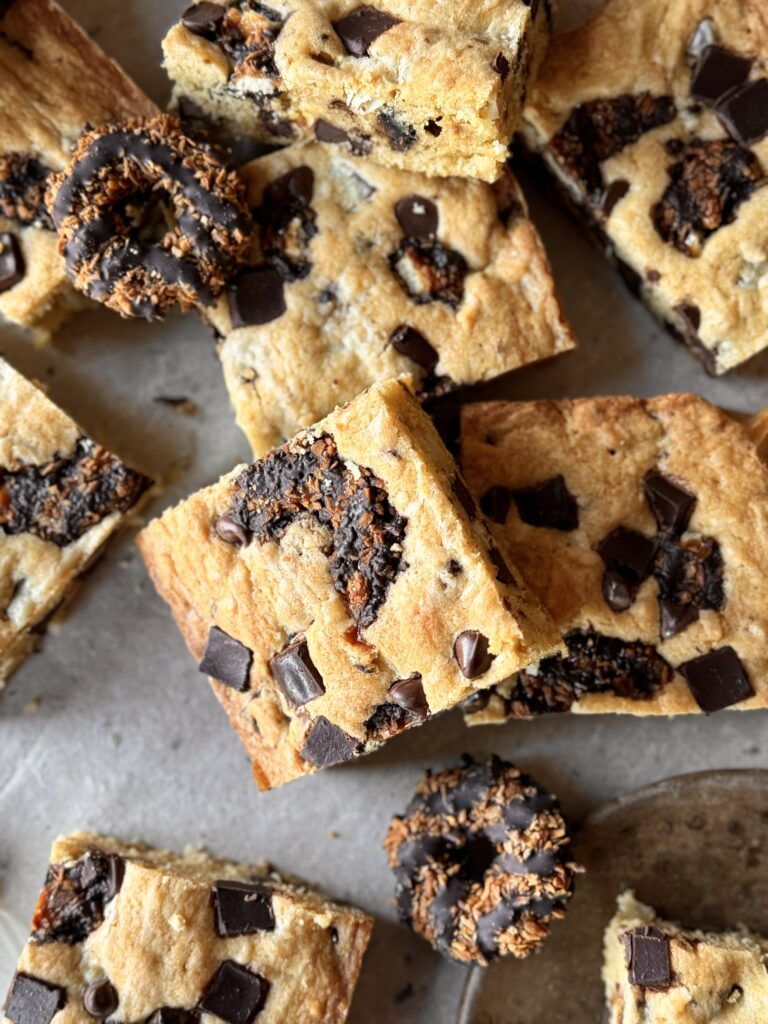
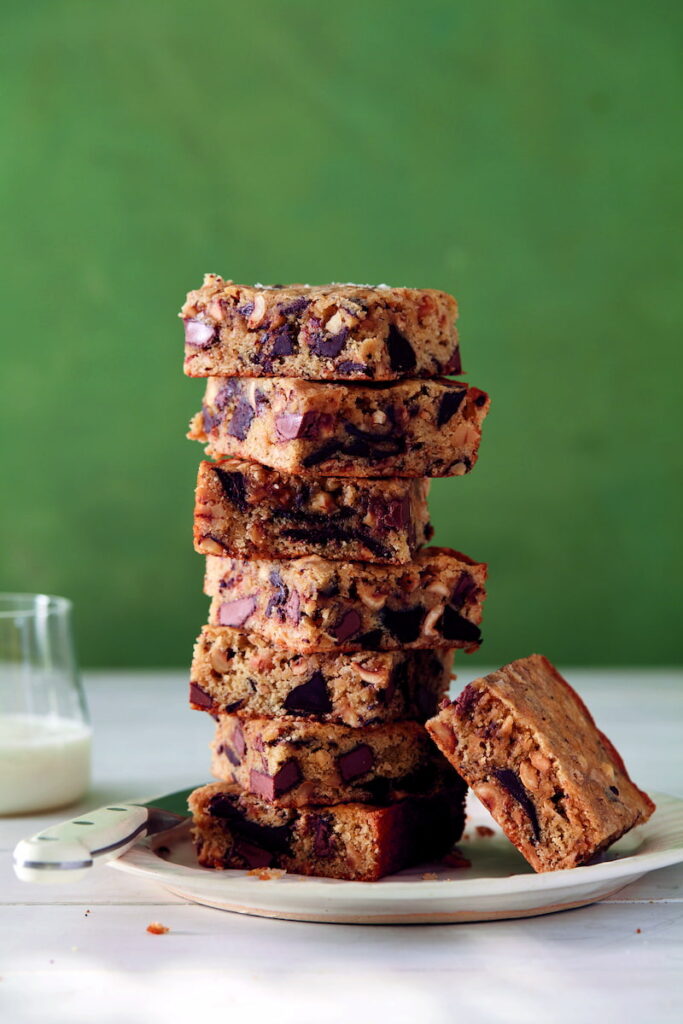
These blondies combine chewy chocolate, toasted coconut, and a drizzle of caramel for a dessert that tastes just like your favorite Samoas cookie in bar form.
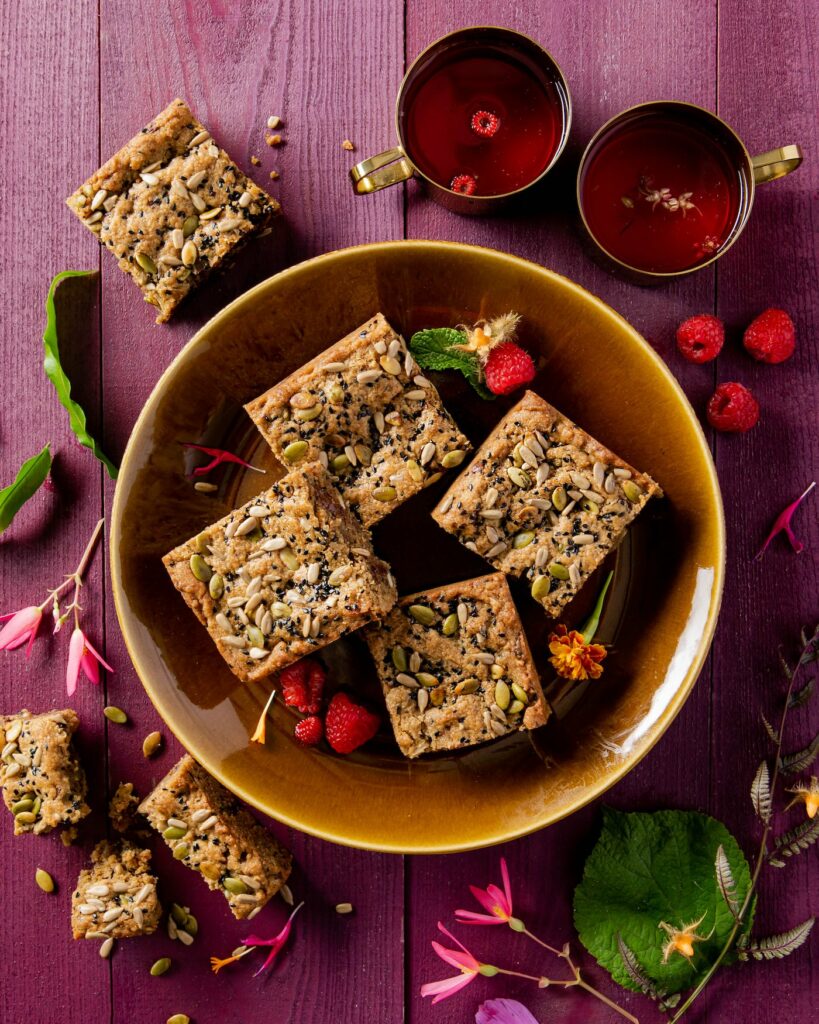
A nut‑free crowd-pleasing bar that swaps in creamy sunflower-seed SunButter and layers in dark chocolate and crunchy pumpkin, sunflower, and black sesame seeds.
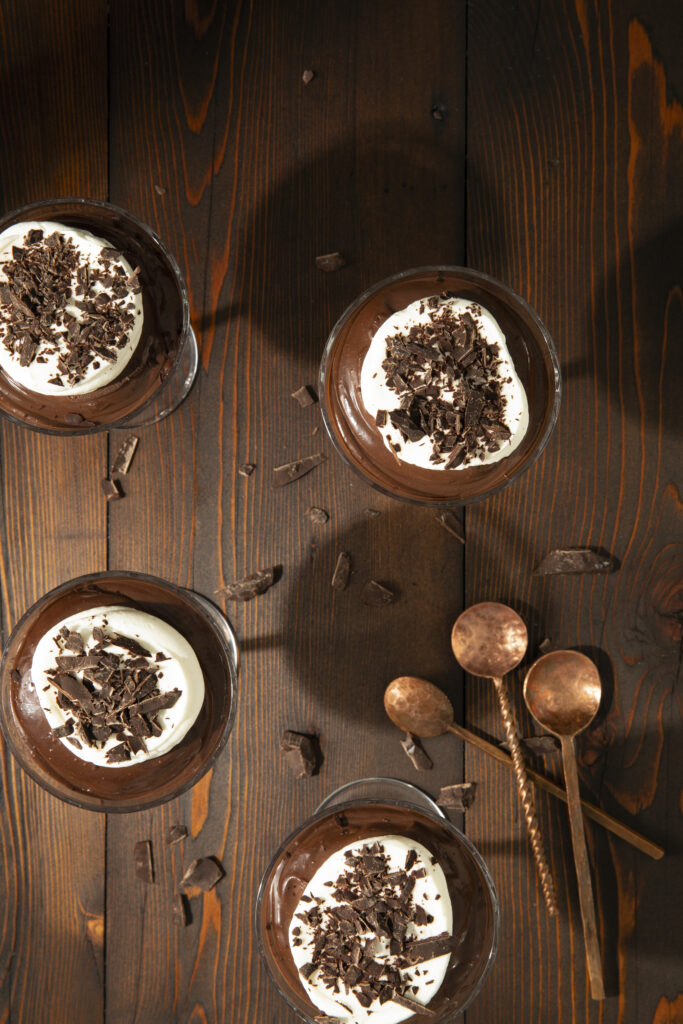
For the true chocolate lovers out there. A silky, custard-like chocolate cream that melts on the tongue. It’s richer than a pudding but denser than mousse.
Nostalgic and festive, these iced sugar cookies are soft cutouts that get dressed up with colorful frosting and sparkling sprinkles for a true holiday classic.
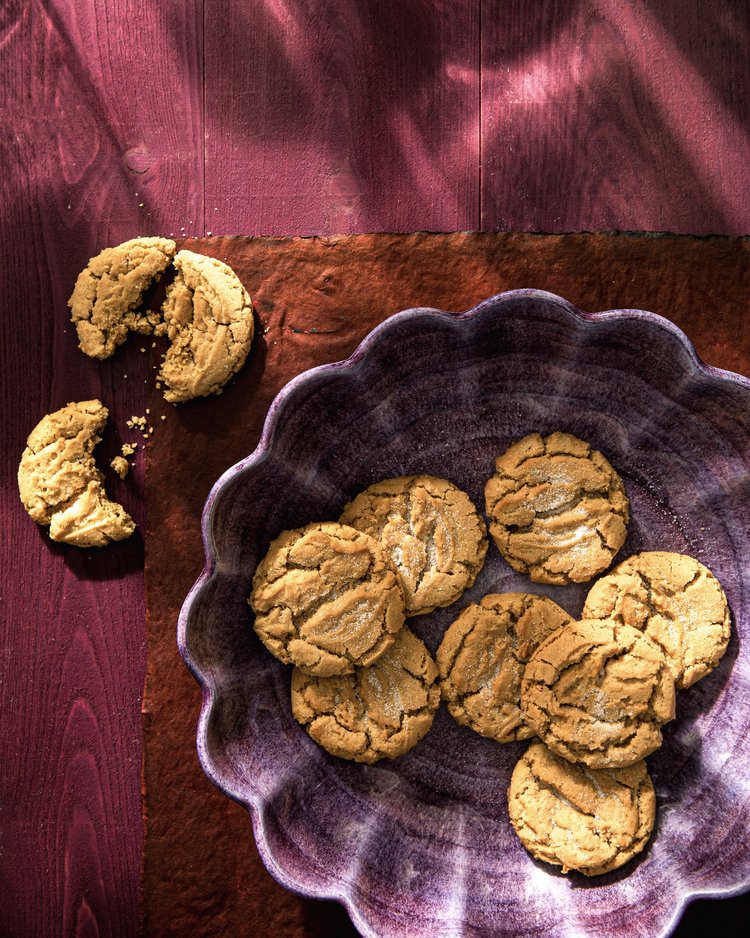
These Gingerbread Cookies bake up warm, spicy, and lightly molasses-sweetness. It’s a classic, nostalgic holiday treat that fills the kitchen with cinnamon-and-ginger scent.
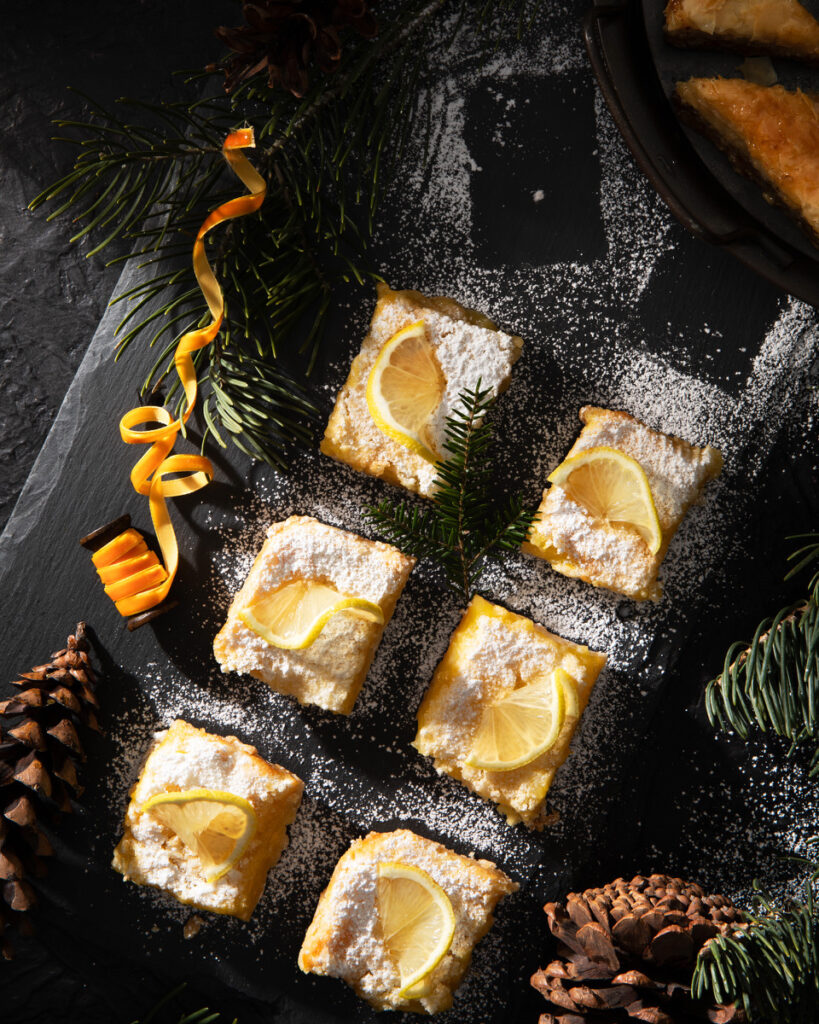
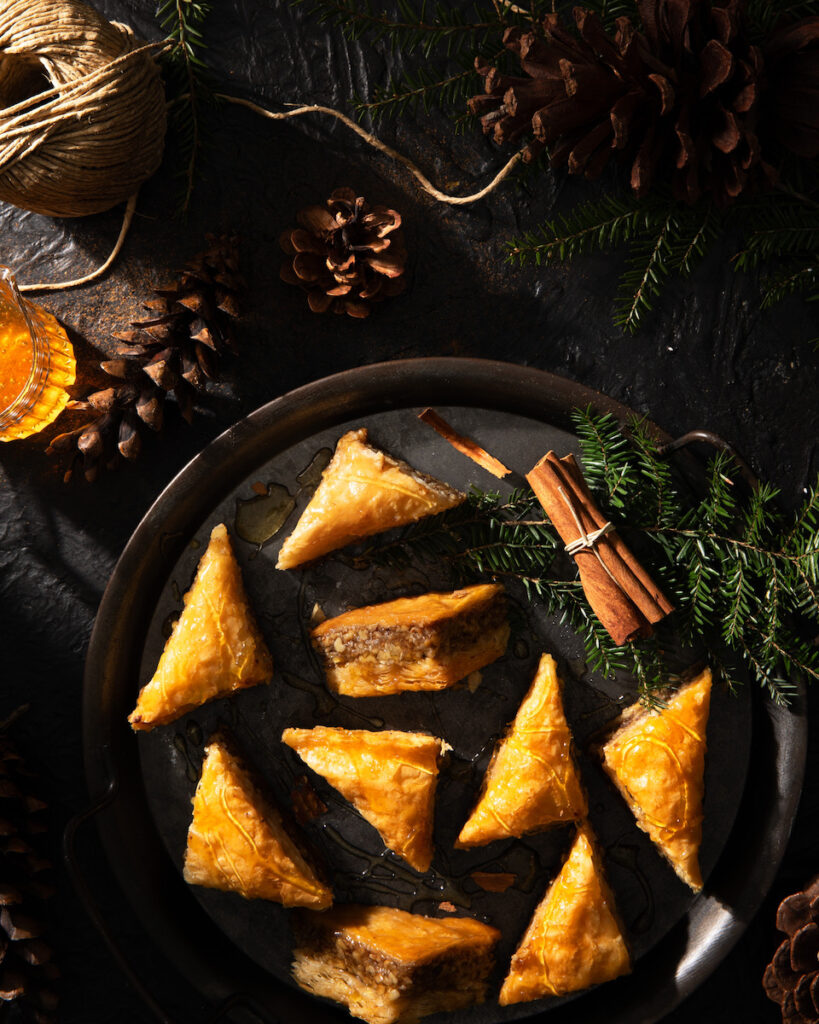
Baklava layers crisp, buttery phyllo dough with spiced nuts and a sweet, syrupy finish. Bake up a rich, flaky dessert that brings indulgence to any holiday dessert table.
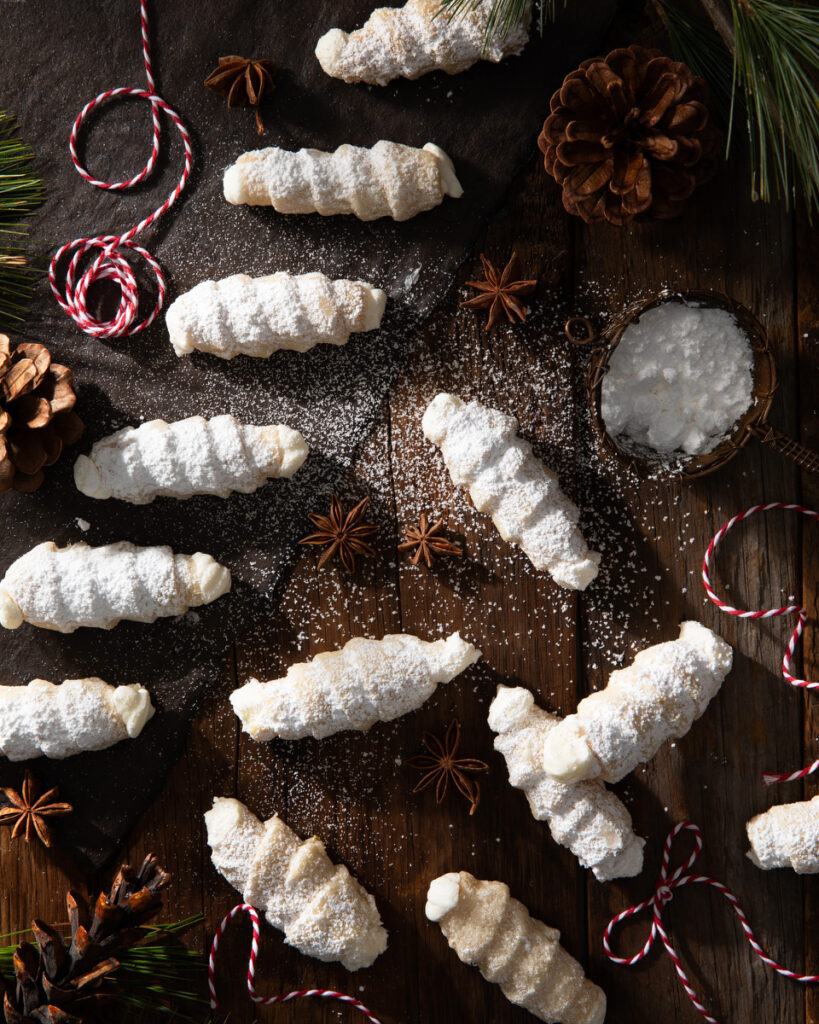
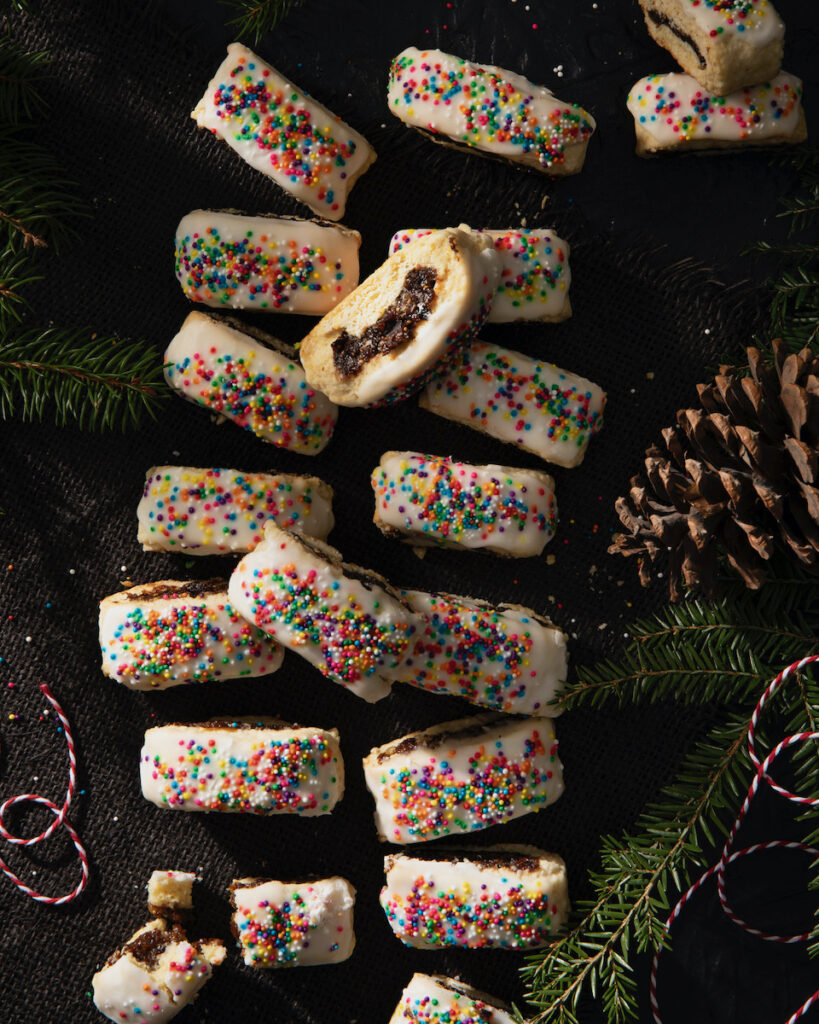
Judy’s Lady Locks showcase the charm of old-fashioned pastry making, offering a crisp shell and creamy filling that come together in a simple, timeless cookie.
Ignite your senses with the Fire and Ash, a cocktail that takes inspiration from the new Avatar movie coming December 19. We’re taking hold of all your senses to bring Avatar’s elemental energy to life. Empress 1908 Gin shimmers with pearl luster dust, while a bold layer of flaming Rum 151 creates sparks of cinnamon magic before being smoothed with a pour of lemon and elderflower mixture. Each step transforms the drink, changing its colors and flavors in real time. It’s a show-stopping, interactive cocktail that’s perfect for an immersive movie experience.
What is Avatar: Fire and Ash About?
Avatar: Fire and Ash plunges viewers back into the vibrant world of Pandora, where danger and wonder collide once again. This time Na’vi clans clash as you meet the Mangkwan clan and follow the deeper connections within the world of Pandora. Breathtaking visuals and pulse-pounding action take us back into this story that celebrates courage, cultural connection, and the power of nature.
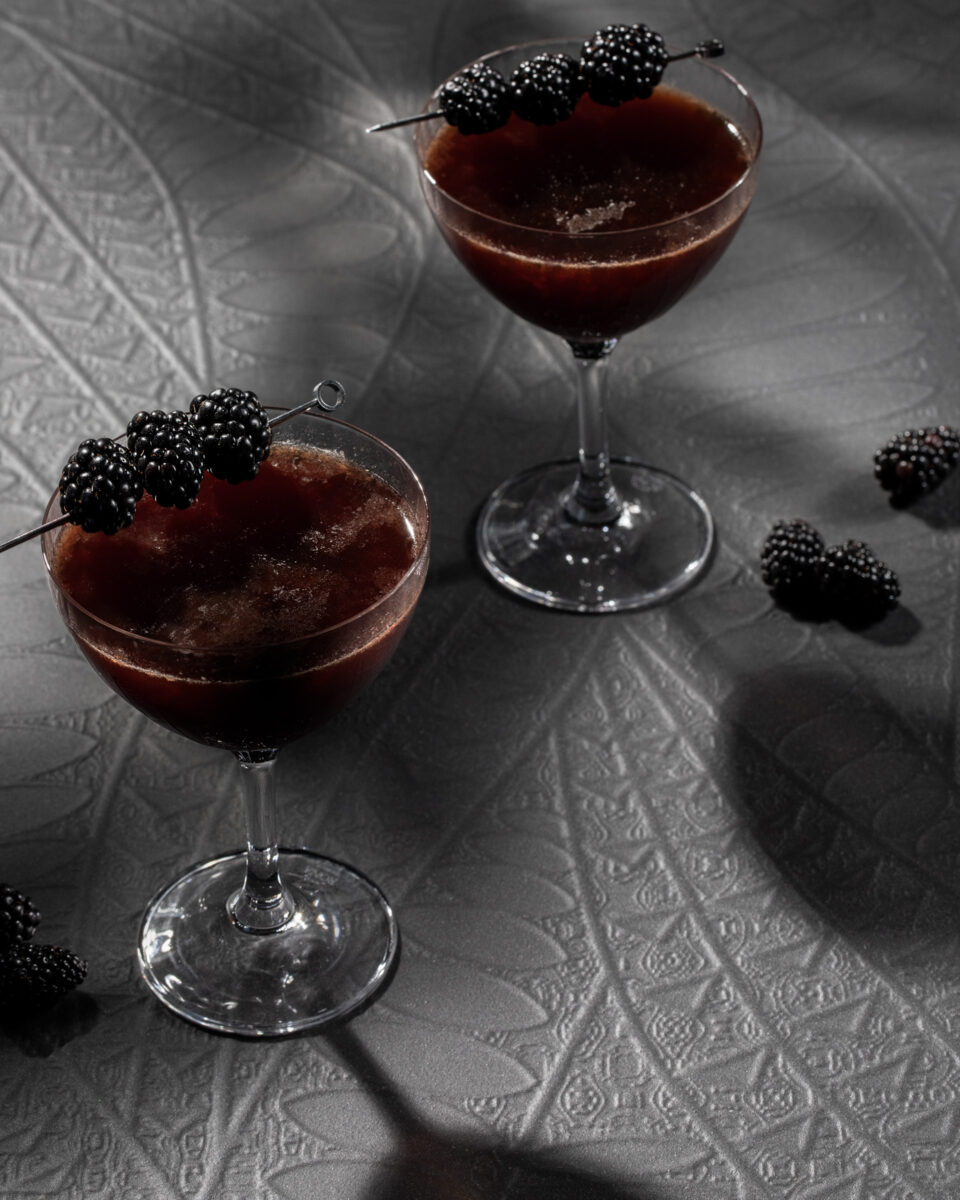
Step into the post-apocalyptic world of Fallout season two with a cocktail that’s as mysterious as the Wasteland itself. Our Nuka-Cola cocktail combines gin with activated charcoal, tangy pineapple and lime juices, and a fizzy splash of soda water to create a drink that’s dark, vibrant, and as addictive as the series beloved beverage. Served over a crystal-clear ice sphere and garnished with a blackberry or lime twist, this cocktail is perfect for fans looking to bring a little Fallout flair to their home. Power up your taste buds like a true vault dweller as we dive into season 2 of this series on December 17.
What is Fallout Season 2 About?
Fallout season two drops you back into the Wasteland, where danger, drama, and dark humor continue. New characters, epic quests, and tough choices keep the stakes high as we discover more of the land. But don’t worry, your favorite faces like Lucy (Ella Purnell), The Ghoul (Walton Goggins), and Maximus (Aaron Moten) all return. These three dodge raiders explore hidden vaults, and try to survive another day. It guarantees season two delivers all the action, suspense, and post-apocalyptic fun fans can’t get enough of.
Enchanting lights in the dark of night, the delight of cleverly shaped light sculptures, and trees perfectly adorned with a seemingly infinite number of lights, are the makings of unforgettable memories for people of all ages. Get your sparkle on this year by visiting these holiday light displays throughout Pittsburgh and beyond.
If you’re looking to escape the cold but still want to see gorgeous, twinkling displays, this light-up is for you! Round up friends and family into a car and head through a drive-through winter wonderland. View moving characters, trees, and so much more all covered in little bulbs of color.
Immerse yourself in a mile-long, awe-inspiring holiday experience. The Pittsburgh Botanic Gardens decorates their outside space in millions of tiny twinkling lights each winter season. Whether you’re dancing through a tunnel of stars or posing with dozens of ornaments, there’s beauty at every turn.
Experience the zoo lit up in holiday colors with different animal displays, themed music, and plenty of treats along the way. You can choose to walk through the tunnels of lights at your own pace or bring the family in the car for a cozy drive-through.
A charity and festive event wrapped in a neat little bow. All activities are provided for free by the local businesses of Zelienople as an early gift to the community. Families can enjoy sleigh rides, a light-up parade, Christmas carols, cookie decorating, cartoon characters, prayer tents, and a live Nativity.
This tradition for the Beverly Road shops allows for extended shopping hours to help check everyone off your gift list and plenty of excitement. Visit Santa, see the coolness of a live ice carving, and watch the lighting of the infamous tree.
Jingle your way into the holiday season in the village with live entertainment, food trucks, carolers, and fun for the whole family ending with a dazzling fireworks display. Catch a free carriage ride and an ice sculpture demonstration while you wait for that amazing finale.
Get a special look at the Swissvale fire trucks with a live holiday tree and menorah lighting. Warm up with hot chocolate and cookies while making a holiday craft to take home. Santa will also make a special appearance to light the holiday tree with magic dust and greet the children.
Bona Fide Bellevue brings the neighborhood together for an evening of festive cheer. Find the perfect gift at the outdoor holiday market to the sounds of live music. Children can participate in different activities and meet Santa before ending the event with the tree lighting.
This is a great family-friendly event to ring in the season. Visit Santa, listen to the carolers, get the kids’ faces painted, sip on delicious hot chocolate, and much more. Don’t forget about the fireworks that’ll end the evening.
Don’t miss this spectacular 40-minute laser light show synchronized to holiday music. Bring your own snacks and cuddle up inside or outside your car. You’ll feel like you’ve been transported to the North Pole with the Northern Lights floating across the sky.
Explore the greenhouses of Phipps Conservatory for winter blooms alongside sparkling holiday lights. This year, explore topiary reindeer, rainbow birdhouses, snowflakes, topiary polar bears, and so much more. Plus, the whole time you’ll stroll along to festive tunes throughout.
You’ve been to Kennywood in the summer but their Holiday Lights display takes this amusement park up a step. No matter where you look, you’re sure to see a shimmering display. Walk through dripping blue lights over the park’s trees, ride the train through gingerbread adventures, attend a number of tree lightings, and even meet the big man himself, Santa.
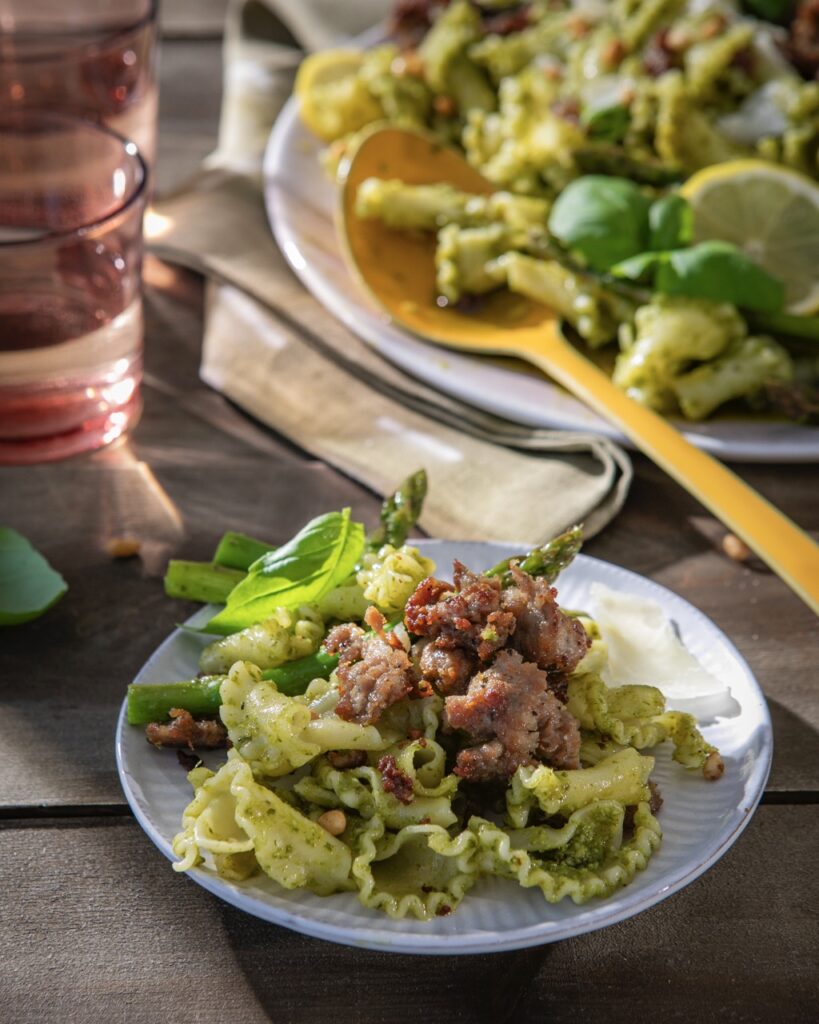
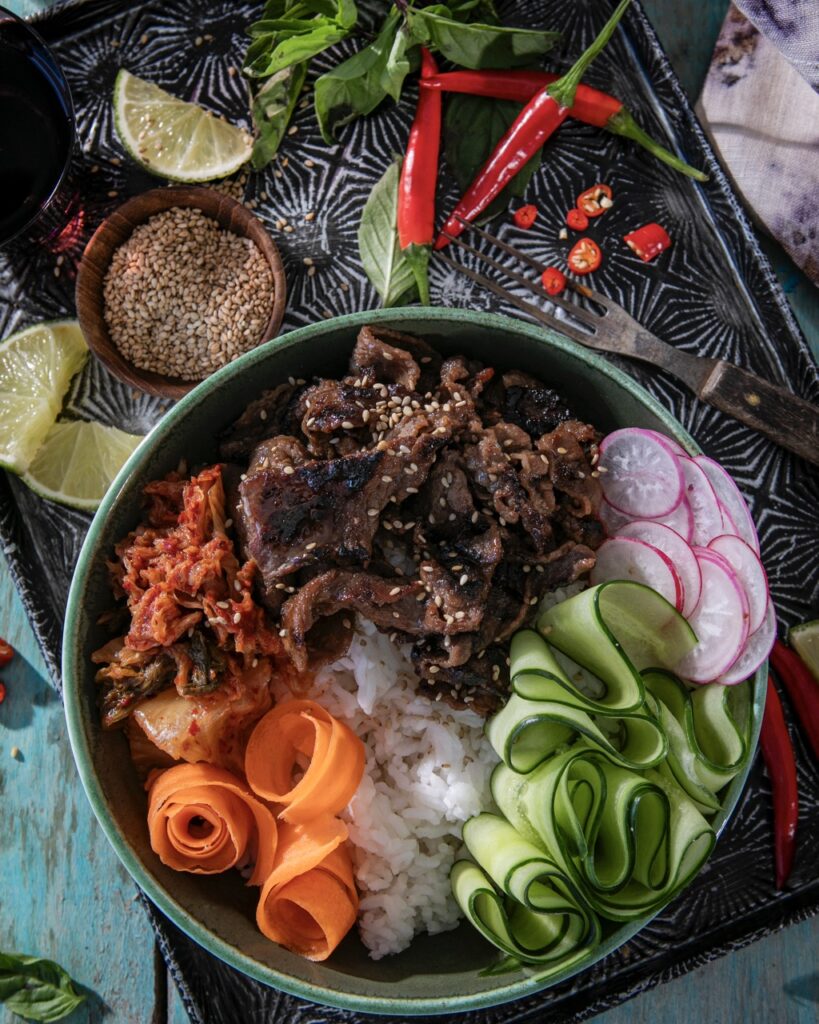
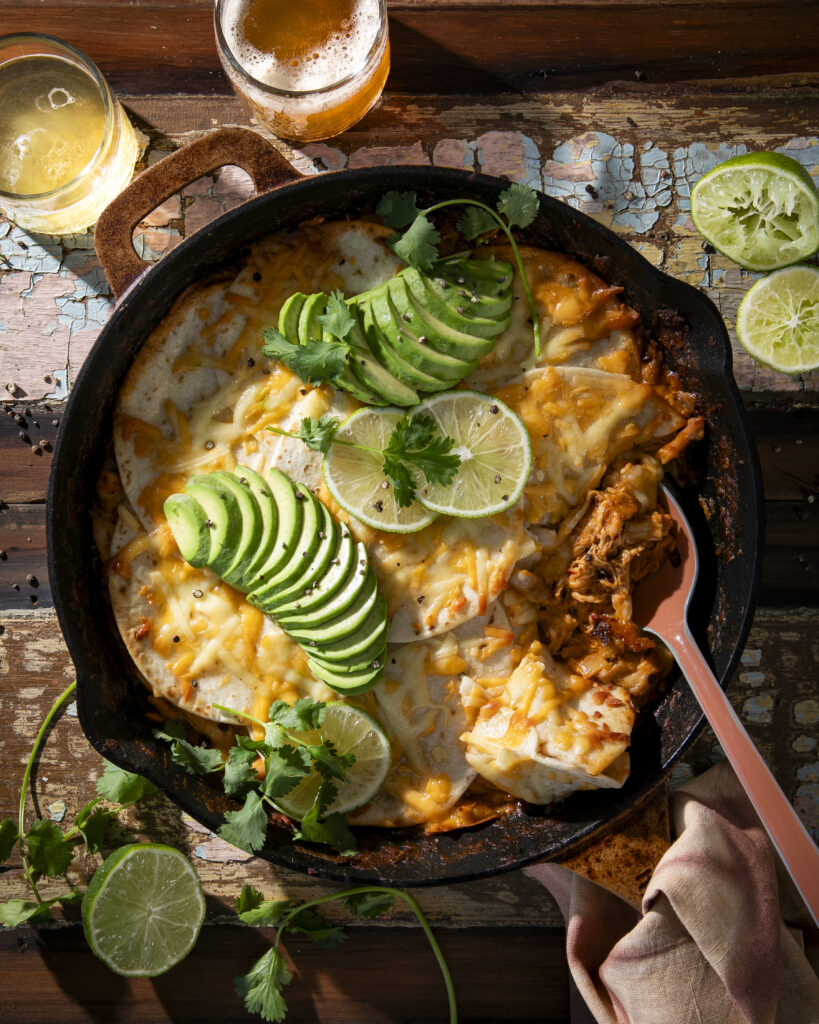
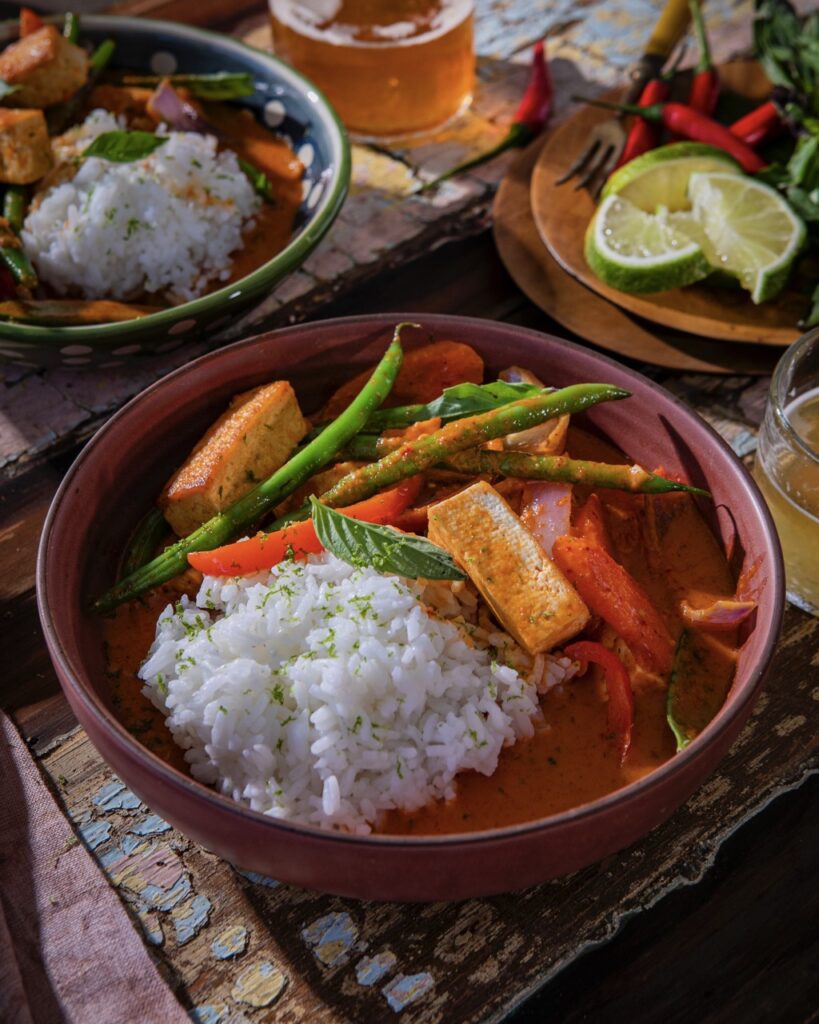
A perfectly delicious dinner in 20 minutes? Yes, Virginia: there is a way. All you need is a trip to the grocery store. All of us dread that feeling. You just got home from a long day at work and your stomach is rumbling but the last thing you want to do is spend hours in the kitchen. To make our evenings a bit easier, TABLE contributor Anna Franklin shows us how to do 20 Minute Lazy Dinners with these four recipes.
Sesame oil and soy sauce, along with store-bought kimchi and Korean BBQ sauce, form the flavorful backbone of this breathtakingly easy dinner. You will love it as much as we did.
Shred the meat from a rotisserie chicken. Sauté an onion. Flavor it with store-bought enchilada sauce, chipotle peppers and green chiles. Add a bit of heavy cream and some Mexican cheese. You’re just minutes away from a heavenly dinner.
Thai cuisine is famous for its use of coconut milk and spicy curry sauces. Armed with commonly available grocery store items, and a clutch of your favorite fresh veggies, a memorable red curry is well within your reach. Wow the folks around your table with something new and oh-so-tasty.
Recipes and Styling by Anna Franklin Photography by Laura Petrilla