Gifting can be hard. It’s often a challenge to come up with ideas for teens, coworkers, frenemies, and people who have everything. You can spend endless hours walking up and down aisles or scrolling through web pages attempting to find the perfect present…and still be unsure that you’ve made the right choice. Take a little bit of the pressure off this year and browse the ideas below for those hard to gift people.
Best Gifts For Hard-to-Shop-For People
Gifts for Neighbors
Ceramics
Quality matters when it comes to holiday gifting. No one wants a piece of plastic that falls apart in two seconds. We recommend going for a ceramic art piece or kitchenware that they could use. Heading to your local markets and galleries will present you with an array of ceramic sculptures that add luxury to any room. In terms of kitchenware, consider getting them a ceramic tea kettle or mug set. Feel free to include various teas and hot chocolates to get them started.
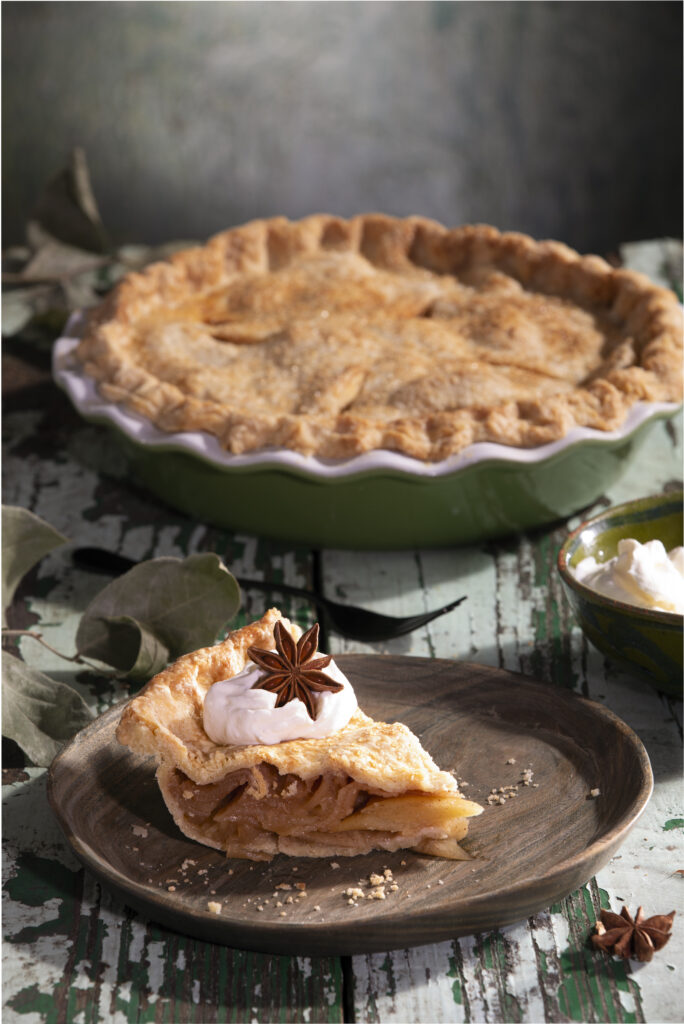
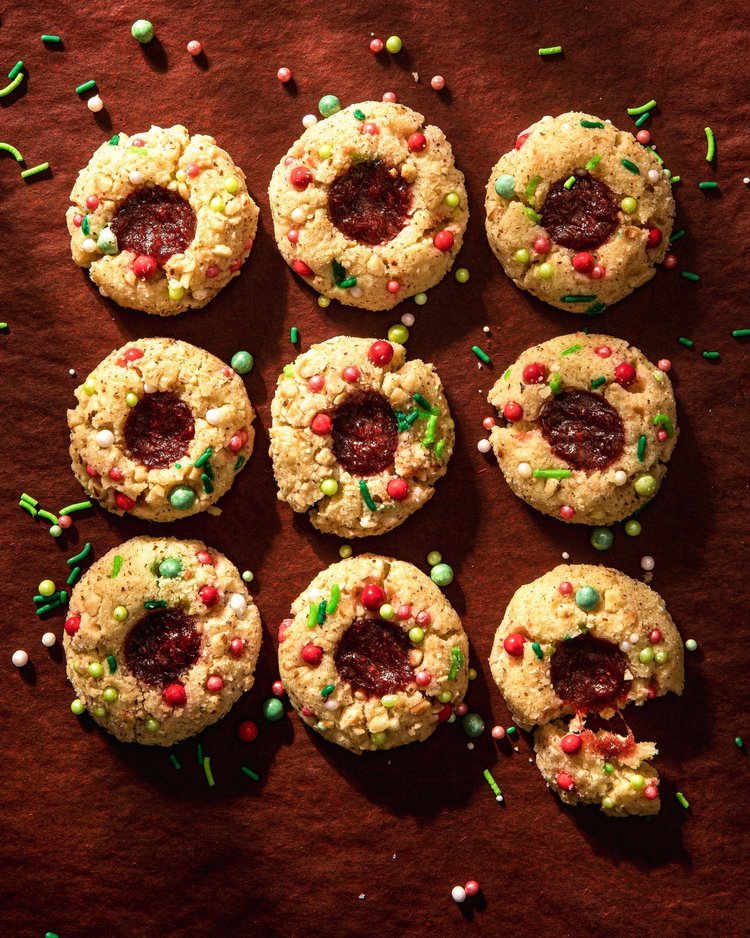
Baked Goods/Edible Gifts
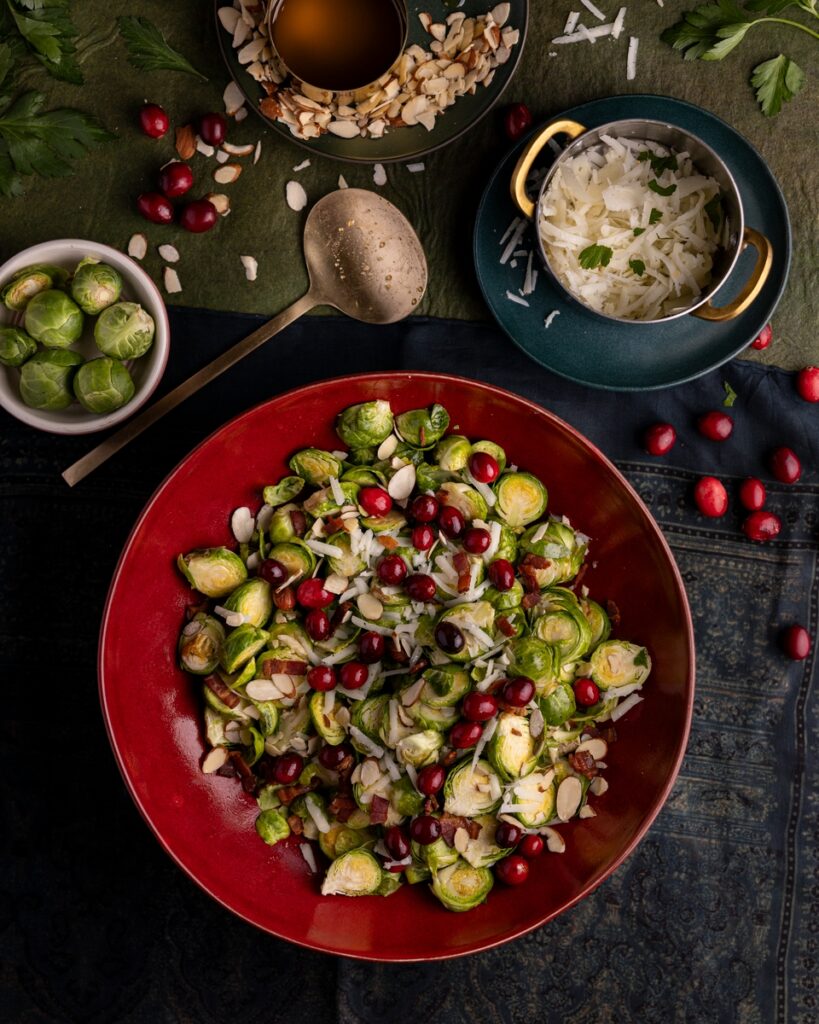
We will never turn down a tray of cookies or a homemade pie to heat up in the oven. Giving your neighbors baked goods or other delicious treats means you know your gift is genuinely useful. Fruit baskets, desserts, or even casseroles are a must. You could even go further than just picking up a cake on the home and focus on syrups or sauces that they can use long past the holidays. For inspiration, check out our guide on edible gifts to make at home.
Coasters
If there’s one thing you learn as a host, it’s that you can never have enough coasters. These things break in half, wear down too thin, and seem to just go missing at the most random of times. There are even wood coasters available online that you can the seller carve your neighbor’s last name into. Or, if you know something specific your neighbor enjoys, you can find them a set of coasters with that theme.
Gifts for In-laws
Quality Cocrkscrew
If your in-laws happen to be wine lovers, a beautiful, accessible corkscrew is a must for every home. You could even get their initials or last name engraved on the opener to make it feel more personalized. Plus, there are always the electric wine openers too that means your in-laws never have to struggle with a bottle again.
Digital Photo Frame
What in-law doesn’t love looking at photos of their grandkids? Rather than printing out just one image this year, invest in a digital photo frame that slides through hundreds of photos. Depending on what kind you buy, there are ones that allow you to add photos remotely, meaning you can surprise the in-laws with new photos all year long. The gift that just keeps on giving.
Subscriptions
Whether it’s a subscription to their favorite magazine, an NFL package for a football lovers TV, book of the month for bibliophiles, or even a meal plan kit that makes dinner a breeze for the mother-in-law, subscriptions can make life easier and more enjoyable. These can also help them save money by covering a few months on a subscription they already have.
Custom Paintings
Wedding, family, grandkid, and pet photos are all great references to get your in-laws a custom painting. All you have to do is find an artist online (or even better, locally!) and send them over the photo you would like made into a painting. You can even look for certain art mediums such as watercolor, illustrative sketches, digital drawings, and so much more.
Gifts for Boss/Coworkers
Candles
Simple and versatile. Scents, colors, and shapes for every type of person. You can’t go wrong with a candle. Not only is candle shopping fun for you (we love sniffing every candle in the store), candles also provide an aromatic atmosphere to someone’s space. Help your giftees create a cozy vibe with a calming candle that comforts them as soon as they’re home from work or school. Or, pick out something energizing to start their mornings with.
Stationary
Coworkers and students uses pens, pencils, and notebooks. So do “civilians.” Picking out one of these items with a personalization like an initial or inside joke hit close to home and are actually useful. Your giftees will be so happy when they’re looking for a pen and remember the one you gave them for the holidays is in their bag.
Sweets
Being able to indulge in a sweet every once in a while is one of the little blissful moments in life. Gift your coworker an assortment of local sweets, or perhaps international varieties, for an edible surprise. Just be careful of allergies when it comes to gifting sweets. We recommend picking out vegan and gluten/nut-free candies to ensure they’re able to delight in their treats.
Desk Accessories
Now, we don’t mean the little prank desk accessories you can get from the dollar store. We mean aesthetically pleasing fake plants, stylish mouse pads, or even a cute and comfy cushion for their desk chair. Something new in their space will have your giftee feeling refreshed and at more home.
Travel Mugs
Everyone needs their morning coffee or tea before starting work. Pick your coworker up a new travel mug that’ll help them keep their morning beverage warm (or cold) and add a pop of their personality to their routine. Simple patterns are great for most but you can also get specific with a certain TV or music show themed mug.
Gifts for Teens
When it comes to teens, gift cards give them the ability to make their own decisions and save the embarrassment of buying a present that’s “cringe.” Plus, you can personalize these options by choosing a favorite of your teens.
Concert Gift Card or Tickets
Live music is as popular as ever with artists like Taylor Swift, Olivia Rodrigo, and Sabrina Carpenter selling out arenas and beyond. Put a huge smile on someone’s face by surprising them with tickets to their favorite artists’ show or a gift card to buy whatever tickets they like. While the concert ticket route can be a little bit more special, sometimes it’s better to go with a gift card to be safe rather than sorry that you got the wrong tickets.
Makeup Store Gift Card
To put it simply, makeup is expensive. Let your teen treat themself with a gift card to their favorite makeup store. Whether it’s Ulta or Sephora or an online shop, this present lets them splurge on those items they would not normally get. Plus, it makes sure you don’t pick up a brand that doesn’t work for them.
Athleisure Store Gift Card
Nike, Adidas, and beyond, athleisure is a part of the younger generation’s style. You’ll often see them in Nike Air Forces with a Champion hoodie. Even socks have become an important part of teens’ everyday lives. Pick them up a gift card to their favorite brand or seek out one for Dick’s Sporting Goods if you aren’t sure what brands they like.
Book Store Gift Cards
The rise of BookTok comes with a band of teenagers who thirst for physical literature. Don’t know what books are popular or are on their TBR (to be read)? Opt for a gift card to one of the Disneylands of reading: Barnes & Noble or Books-A-Million. Or, you can pick up one from your local used or independent bookstore to help support small businesses and give your teen a chance to buy even more books at often discounted prices.
Gas and Fast Food Gift Cards
Hitting 16 and starting to drive takes some money out of your pocket. Give your teen a little help this year with a gas station gift card to fill up their tank or a gift card to their favorite fast-casual restaurant for a quick bite. Being able to not worry about prices for once and having a little extra fuel will have your teen in the Christmas spirit.
Gifts for Frenemies
Ah, the people you don’t exactly get along with but still have to purchase them a gift. We’ve all been in the position where putting in the effort for a good present feels like a betrayal of our moral values. Thankfully, there are ways you can get a little snarky while still spreading holiday cheer.
Plant
What could be more tedious than caring for a plant? You never know exactly how much water or sunlight to get it. Plus, receiving a plant in the winter is a risky game due to the frost outside. All these tiny issues make it perfect for gifting to your frenemy. Not to mention, you can get them a cactus if you really want to get your point across.
Self Help Book
Whether it’s about having a positive attitude or how to get along better in the workplace, a helpful book is a great way to project your feelings without being too straight-forward. Maybe they’re really bad with computers, so you get them a book like Laptops for Dummies. Or, maybe they have anger issues and a journal to help them be at peace is the perfect nail in the coffin. How spicy you want to get is up to you!
Sarcastic Mug
Let your feelings for your frenemy fly with a mug that has a sarcastic kick. While you should probably keep things PG-rated, a mug that plays at your relationship is a great way to break the ice. Plus, it’s something useful so at the end of the day it’s a good gift regardless of the phrase.
Gifts For People Who Have Everything
We know this one is a toughie. People who have everything, or people who don’t want anything, are impossible to give to. But, we’re happy to say there are unique options that we promise your friends and family do not have at home.
Experiences
A live experience is something that you can never recreate. For your someone special, gift them an experience such as wine tasting events, pasta making classes, crafting workshops, or even exclusive VIP or backstage events. Eventbrite, ClassPass, or Groupon, often have some great options. Chances are the person you’re gifting to has never had one of these given to them, and it’ll leave them with memories that’ll last a lifetime, rather than a knickknack that’ll break in a year.
All Year Museum Passes
Art, music, and sport museums are a great way to spend a day off or take in a moment of self-care. Gifting an all year pass or membership to a local museum can provide them with something to do when they’re bored and it’s truly the gift that just keeps on giving. Plus, if you get them a membership, they’ll often get first-looks at new exhibits and other exclusives.
Donate to Charity in Their Name
If your loved one is an activist or just has a passion for a certain cause, donating to a charity in their name can be a personal touch on a normally materialistic day. Sometimes you can even plant a tree, adopt an animal, or sponsor a child in the name of your person as well. Just be sure you print off the official certificate so they have something to open.
Subscribe Them to TABLE Magazine
They have everything…but do they have recipes, style advice, and cocktails from a carefully curated Pittsburgh-based luxury lifestyle magazine? Just kidding. (Or not).
Story by Kylie Thomas
Photo courtesy of Priscilla Du Preez
Subscribe to TABLE Magazine’s print edition.