Managing mealtime with picky eaters is tricky. But with a bit of finesse, your kids will be on the fast track to healthy eating. One trick to incorporate more fruits and vegetables into your little one’s diet is to utilize green smoothies. This way, they can get a bunch of nutrients in one drink, like this green smoothie, instead of trying to eat each fruit or vegetable separately.
Below, Behavioral Therapist Kelly Kinsey shares her favorite smoothie recipe as a “gateway to green” eating with kids. Discover more of her tips and tricks for rewriting your family’s food rules here.
What Nutrients Are in this Green Smoothie?
This smoothie gets its green color from the baby kale in it. Kale has Vitamin C, Vitamin K, Vitamin A, and tons of calcium and fiber. So, from the get-go, this smoothie is a delicious way to get some healthy nutrients in. Coconut milk, which gives the smoothie a fuller body, is also incredibly rich in Vitamin A and Vitamin C. Chia seeds are also a superfood, with 11 grams of protein and 11 grams of fiber.
Print
Sabine’s Hulk Smash Smoothie with Blueberry Ice Bombs
Description
A smoothie that both kids and adults will enjoy.
Ingredients
- 2 cups vanilla coconut milk (or unsweetened)
- 3 handfuls of baby kale or spinach
- 1 cup frozen pineapple
- 1 cup frozen strawberries
- 1 banana
- 1/2 avocado
- 1 tbsp chia seeds (optional)
- 1 handful of ice
Instructions
For the smoothie:
- Put all green smoothie recipe ingredients in a blender or food processor and puree.
- Pour into a glass over a few ice bombs. Serve.
For the blueberry ice bombs:
- In an ice tray, submerge 2 to 3 blueberries per cube and freeze overnight.
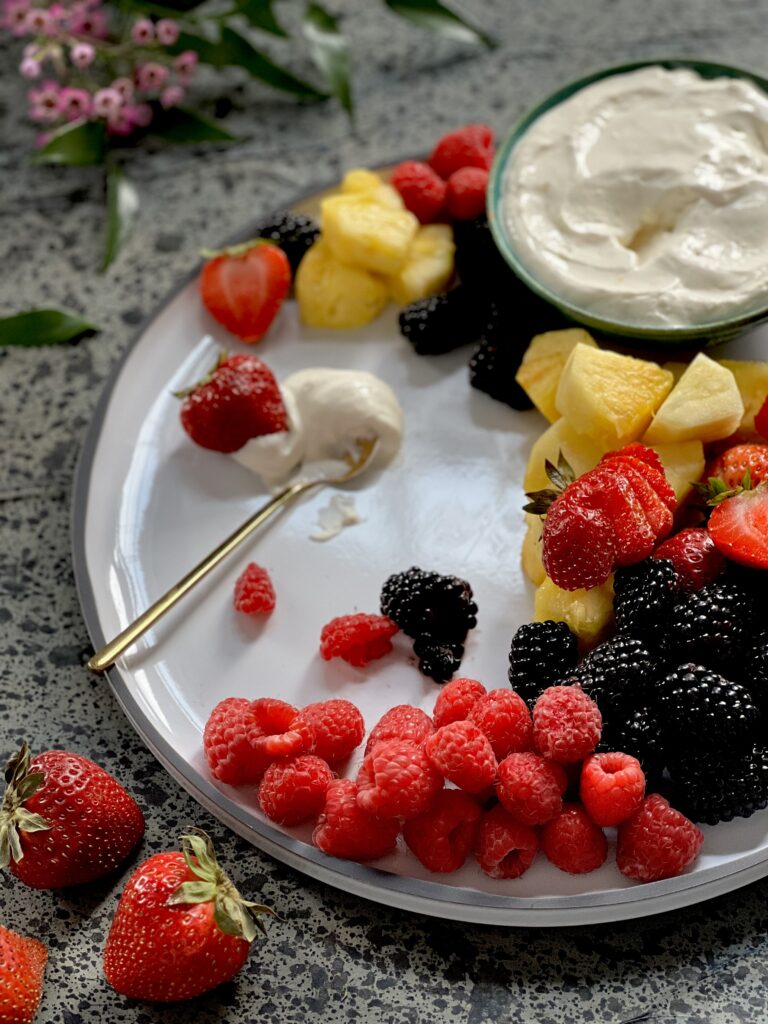
- You can also get creative with edible flowers, raspberries, and other bite-sized fruits and veggies.
Story by Kelly Kinsey
Photography by Erin Kelly
Styling by Keith Recker
Subscribe to TABLE Magazine‘s print edition.