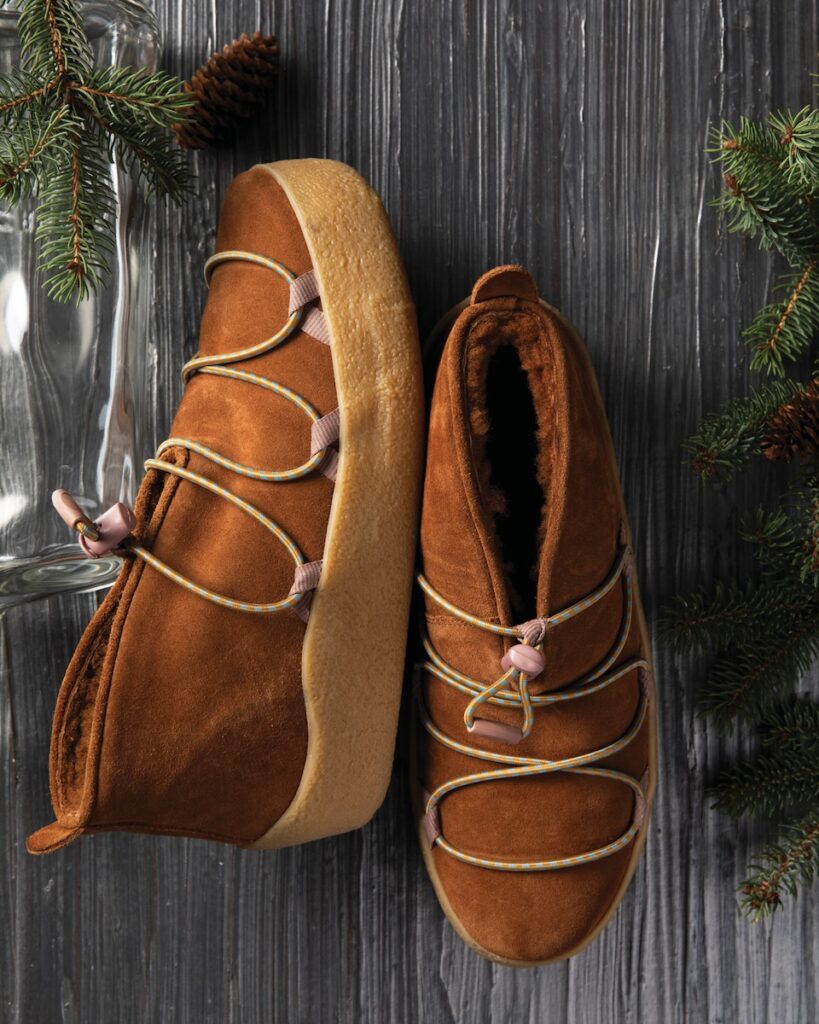
Lawrenceville is one of the best areas in Pittsburgh to shop local whether it be for the holiday season or beyond. With Small Business Saturday on the horizon, TABLE Magazine encourages you to shop local not just for the upcoming holidays, but year-round. The small businesses owned by our neighbors do more than sell goods and services. They add vibrant life to our neighborhoods and to our entire region. Take in a little bit of what makes these stores such a vital part of our city by visiting the businesses below yourself.
Shop Local, Pittsburgh: Lawrenceville
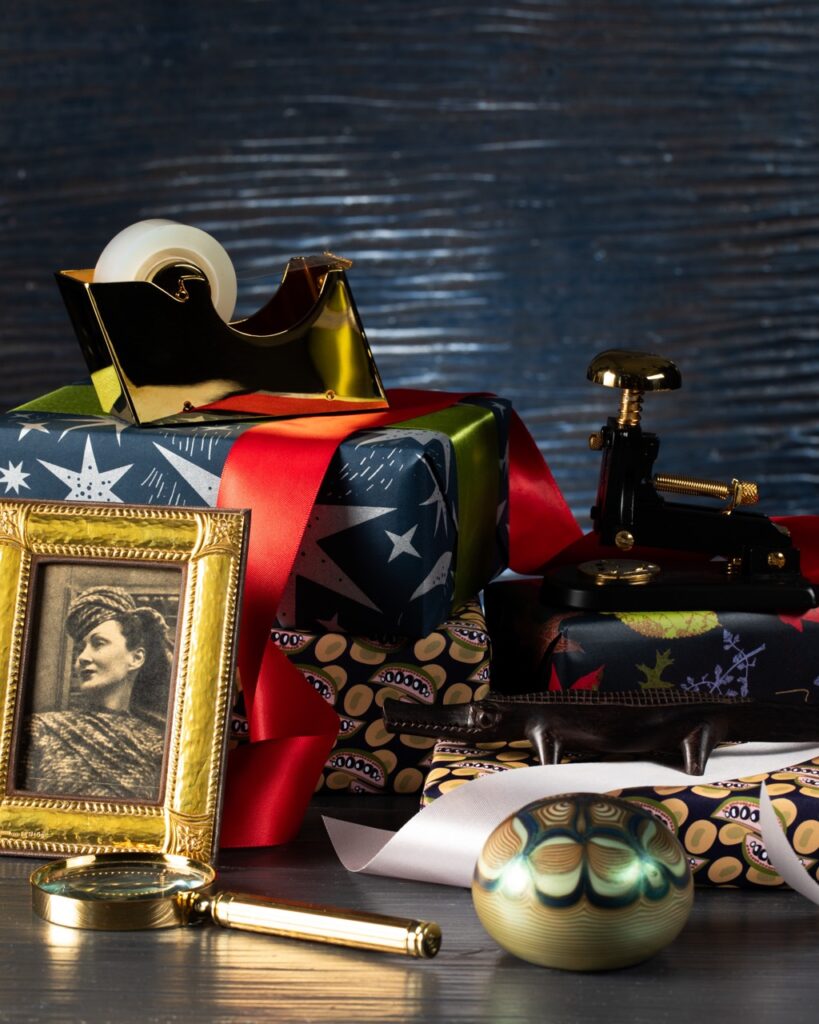
Shoppe B / Brenda Friday Design
A curation of art, home accessories, furniture, and more, all put together by designer Brenda Friday and her team. You’re sure to find something fresh, something up to date, and something you’ve never seen before. The store is also a hub where local artists show their work.
Otto Finn
This sustainable fashion brand wants to dress you in comfortable fabrics that contribute to helping the planet. Otto Finn, founded by Rona Chang, takes inspiration from Asian street style to create these works of art. The best part is that each piece is made by transforming old blankets and quilts that would otherwise go to waste.
Rosie’s Workshop
Discover your imaginative side with Rosie’s decor, lighting, and more. Pick from a functional lamp made out of an old film camera, colorful retro clocks, or funky-shaped checkered vases. Add a splash of fun to your home with these handmade whimsy products.
Morrow and Dean
Itching for a new outfit for the holiday season and its many get-togethers? Morrow and Dean is a boutique full of classic and timeless pieces that’ll have you strutting into the room with confidence. Maybe you’ll pick up a sleek, red dress or a shimmering, gold necklace to dig into the festive spirit.
Vestis
If you need a hand choosing a new outfit or accessory, Vestis is happy to help with personal service. This men’s contemporary boutique opened in 2015 and continues to provide innovative quality pieces that make fashion functional.
Dragonfly Castle Toys
Go toy shopping for the kiddos this year the old fashioned way. Instead of guessing online what to order, walk through shelves of handmade stuffed animals, books, pull toys, and even craft sets for preteens. You could even make a fun family day of it by having your children each pick out a few items to add to their Christmas list for “Santa” to grab later.
Trim
Adorn your closet with men’s styles from around the world at Trim…and also your underwear drawer. Slip on a warm plaid coat for the winter or a pair of swim trunks for vacation. If you don’t feel like shopping in store you can order online to get your favorite sweater delivered right to your door.
Lawrenceville Pet Supply
Your furry friends deserve a treat as well while you’re out shopping! Lawrenceville Pet Supply carries a huge variety of pet food, toys, treats, and accessories. Whether it’s a new leash to make walking easier for you or a special toy to bring joy to them, any purchase is sure to make you happy.
Alma Mercantile
No matter what type of gift your loved one would like, you can find them a home decor piece, apothecary product, or piece of apparel at at this eclectic store. Sip a loose leaf green tea or add a gorgeous woven throw blanket over the couch.
Hippie and French
Give yourself a self care day thanks to the relaxing atmosphere of Hippie and French. They are a cannabis boutique that carries CBD, THC Delta, topical, and edible selections. Stop in to get educated on what products could improve your everyday life.
Asian Influences
It’s not a museum, but you may get that glow of authority, rarity, and history as you walk through the wonderful groupings of porcelain, stoneware, furniture, and more. You’re sure to find a gorgeous antique or vintage treasure from Asia for your home.
Franklin and Mercer
Every man deserves an update to his closet. At Franklin and Mercer the man in your life can feel confident in a new, modern style or a staple for day to day. Here, you can browse knowing that each brand brings quality and high aesthetic. There’s a taste for unusual textiles in play here, and you’ll enjoy what you see.
Party on Butler
Impress party guests with wild balloon displays customized for your event. Party on Butler helps bring celebrations to life with party planning help and supplies available for purchase. The next time you’re stressing about a special day, give their employees a call.
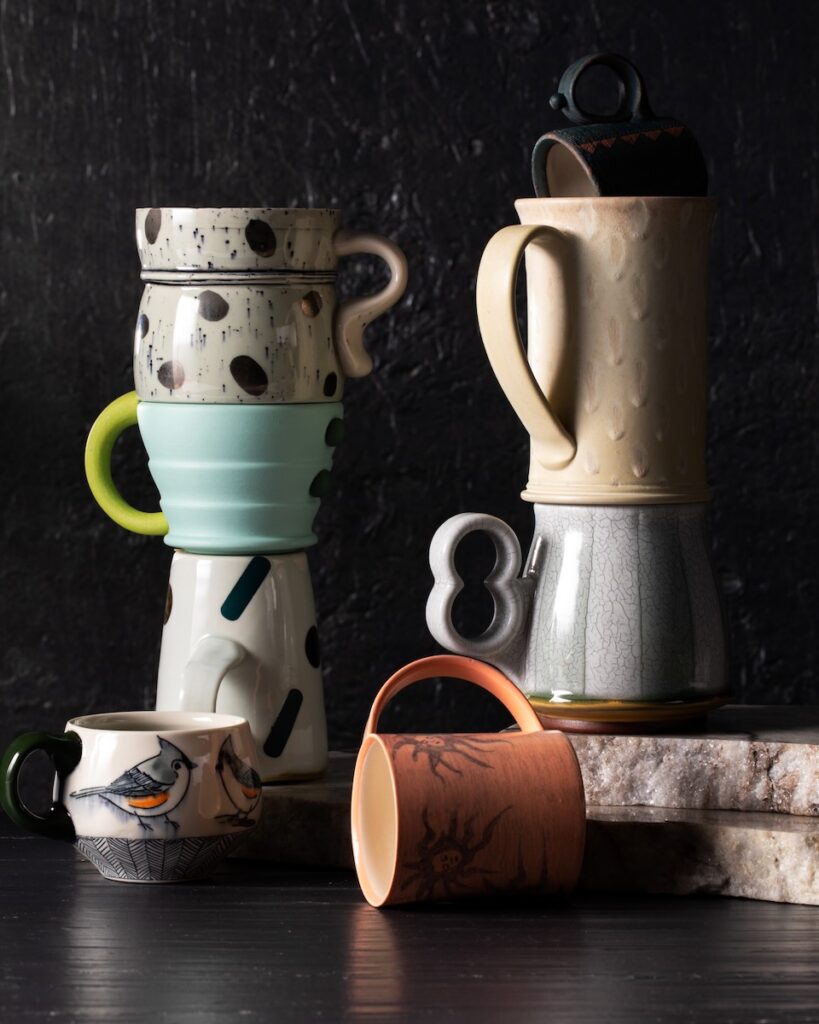
Contemporary Craft
You may know Contemporary Craft for their exhibits, but what about their store? The Store at Contemporary Craft supports small-scale artists from all around the country by making their art available to you to buy. Check out pieces such as jewelry, ceramics, blown glass, handmade fiber art, and heirloom quality furniture.
Mix Candle Co.
Have you ever wanted to make your own candle scent? Here is your chance with the Mix and Pour Candle Experience. Choose from over 120 high-quality fragrance oils then select the perfect jar for your creation and even design your own label. Or just take home one of their many pre-made aromatic scents.
Mello and Sons
If you want to make sure you own a piece of clothing that no one else does, Mello and Sons is the place to be. This vintage denim shop has overalls, jeans, shorts, jackets, and a variety of other unique finds. Needless to say, you never know what you might walk out with…but it will be stylish.
Lawrenceville Distilling
You could grab a drink at Lawrenceville Distilling but don’t pass up the opportunity to buy one of their small batch spirits. Each bottle is crafted with care for premium results. Try their Parking Chair Vodka for a taste of Pittsburgh in a bottle. Or, if you’re looking for something a bit stronger, buy a bottle of their 1129 Ridge Ave. Absinthe available in Traditionelle green and Rogue red.
For A Relaxing Bite While You Shop Locally in Lawrenceville
Umami
Take in an early dinner at Unami’s bar for a beautiful atmosphere complimented by delicious food. Umami is a Japanese pub that specializes in sake alongside sushi, small plates, skewers, and noodle or rice bowls. It’s the perfect way to end a long day of shopping and walking.
Pusadee’s Garden
The dining area at this Thai restaurant is simply magical. The glass walls looking into a central courtyard garden set the mood for a warming dish in a comfortable space. Try their Jungle Curry featuring chicken, kabocha squash, banana peppers, and fresh basil that’s perfect for a cold day. Or, share an appetizer like their Spicy Tom Yum Soup, Shrimp Dumplings, Mushroom Quartet with a loved one.
Piccolo Forno
Craving a bowl of rustic Italian pasta? Piccolo Forno finishes off your long day with wood-fire pizzas, handmade pastas, and desserts like tiramisu. Plus, if it happens to be a warm day out you can take advantage of their outdoor seating in the heart of Lawrenceville.
Grapperia
If you’re too tired for a sit-in dinner after shopping, stop by Grapperia for a quick cocktail instead. Sip on glasses of Italian wines, birra, grappa all while you bask in the completion of a productive day.
Butterwood Bake Consortium
Any bakery that stays open till 11 p.m. is worth the visit. What makes Butterwood Bake Consortium so great is on top of the hours you can indulge in espresso drinks, made-daily cakes, and pastries all in a peaceful atmosphere.
Allegheny Wine Mixer
The wine bar and tap room at Allegheny Wine Mixer will leave you entertained for hours. The casual atmosphere paired with a large menu featuring wine, cocktails, beer, and food is unbeatable. Though it’s good to note that this establishment does not open till 5 p.m. so make sure you save it for evening shopping adventures or the very end of your afternoon.
Vandal
Treat yourself to a celebratory dinner at the Vandal with food by Chef and Owner Joey Hilty. At this restaurant, the menu changes seasonally to always include the freshest, local ingredients. Some of the local farms and purveyors you’ll find as a part of their cuisine include Footprints, Jubilee, Tiny Seed, Coldco Farm, Woolf Farms, and Fat Butcher.
Lawrence Hall
If you truly cannot decide on one restaurant, why not have the luxury of enjoying four different ones instead. At Lawrence Hall you can grab TOMA’s Italian cuisine, LOADED’s comfort food, La Palapa’s Mexican cuisine, and Cuddy’s soul food. Plus, you can even grab ice cream from Leona’s or a cocktail the Dear James bar after your meal.
Happenstance Cafe
This establishment is new to the Lawrenceville area. Happenstance Cafe make sure there’s something for everyone with coffee, wine, and beer options. Their menu also includes vegan options like their L’Ville’s Vegan handheld with avocado, hummus, tomato, greens, pickled red onions, and vegan pesto on sourdough bread.
Mediterra
Step in for a bite of fresh local cuisine and take home the luxe ingredients that make their food so delicious while you’re there. Among our favorites: the selection of fine olive oils. Don’t forget to order a cup of their in-store brewed coffee with special touches like a Deconstructed Latte or Cereal Milk Latte.
Shop our other local gift guides for men, women, children, home, food and drink, and makers products for more ways to support small businesses.
Story by Kylie Thomas
Subscribe to TABLE Magazine‘s print edition.