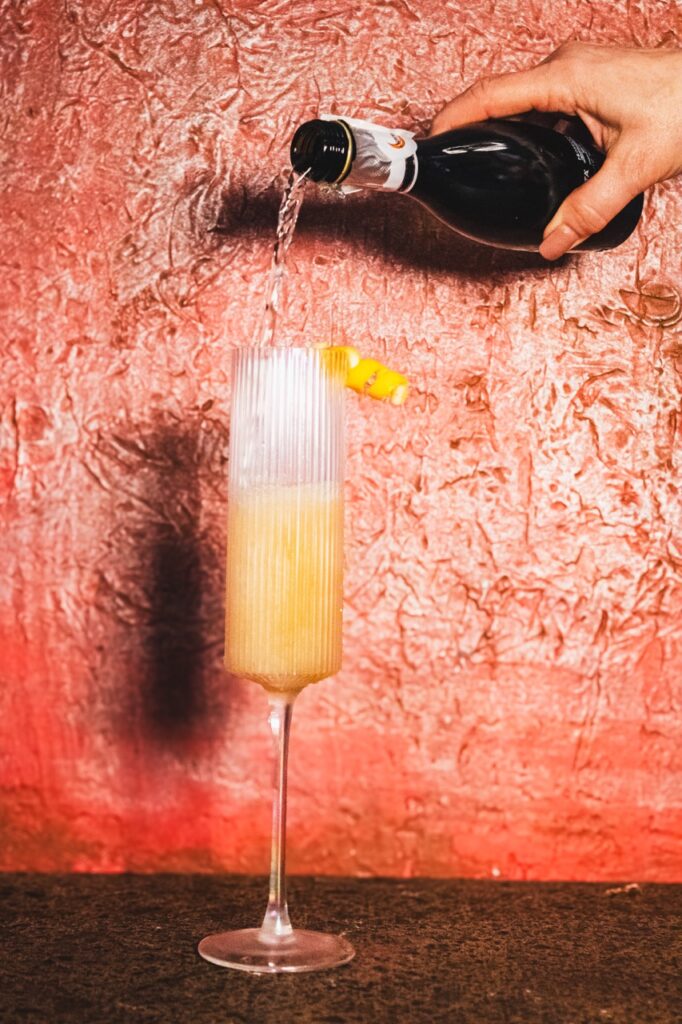
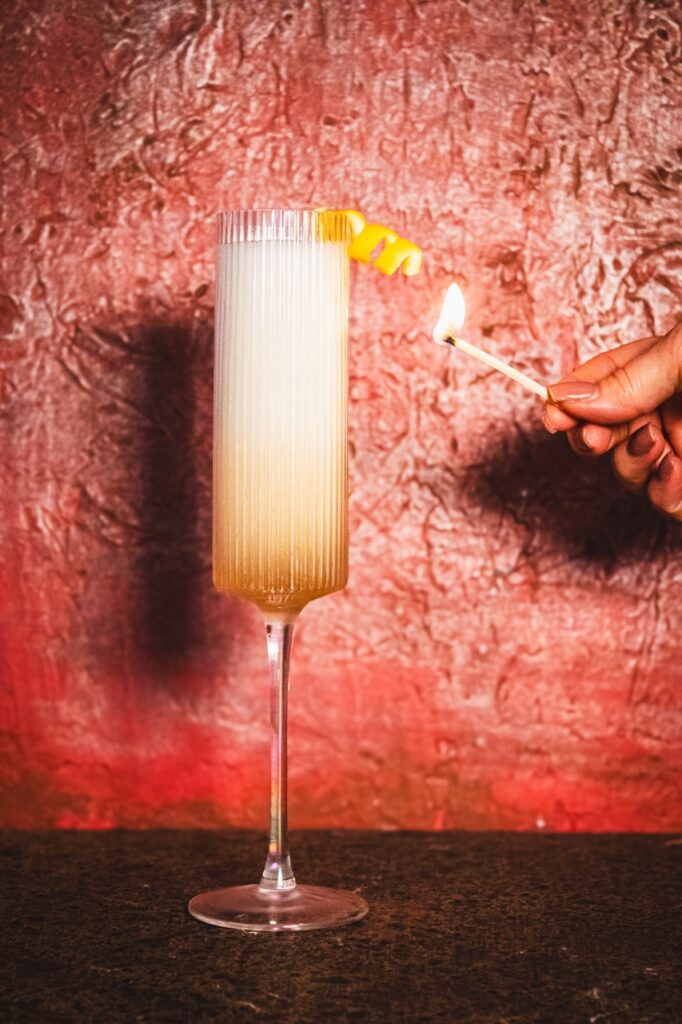
Born in the lab and blended to perfection, the White Chocolate Caramel Frozen Mudslide cocktail is our decadent homage to the haunting beauty of the Frankenstein (2025) movie. As the gothic reimagining of Mary Shelley’s classic story earns its Oscar-nomination for Best Picture this dessert-style drink celebrates the film’s dark beauty as well as electrifying creativity. Velvety white chocolate, rich caramel, and a healthy dose of booze combine to create a cocktail that feels indulgent, dramatic, and a little bit monstrous…in the best way. Not to mention its creamy frozen texture reminds us of the icy lands that Victor Frankenstein (Oscar Isaac) and his Creature (Jacob Elordi) venture into.
What Oscar Nominations Did Frankenstein (2025) Receive?
While you may think you know the story of Frankenstein, Guillermo del Toro proves that there’s much more to tell. His adaptation dives deep into themes of cycles of abuse, grief, and also the downfall of a hubris nature. With a stellar cast backing this director’s image, the film creates a whole new world to immerse ourselves in.
At the Oscars, the film gains nominations for Actor in a Supporting Role (Jacob Elordi), Cinematography (Dan Laustsen), Costume Design (Kate Hawley), Makeup and Hairstyling (Mike Hill, Jordan Samuel, and Cliona Furey), Music Original Score (Alexandre Desplat), Production Design (Tamara Deverell and Shane Vieau), Sound (Greg Chapman, Nathan Robitaille, Nelson Ferreira, Christian Cooke, and Brad Zoern), Writing Adapted Screenplay (Guillermo del Toro), and Best Picture.
Print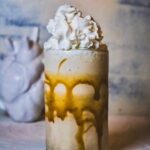
Frozen Frankenstein: White Chocolate Caramel Mudslide
Description
A monstrous concoction so delicious you’ll want the whole glass to yourself.
Ingredients
- 1 oz Baileys Irish Cream
- 1 oz Kahlúa
- 1 oz vanilla vodka
- 1 oz white chocolate liqueur
- 1½–2 cups vanilla ice cream
- ¼ cup ice
- 2 tbsp caramel sauce
- 2 tbsp white chocolate syrup
- Whipped cream (for topping)
Instructions
- Swirl caramel sauce and white chocolate syrup around the inside of a chilled glass. (You can use a frother for this just dip in the syrup and then place inside middle of the glass and turn it on to splatter the sides in a ring shape)
- Combine all ingredients in blender and blender until smooth. Be careful not to over-blend or it will become watery.
- Pour into your glass and top with whipped cream.
Recipe, Styling, and Photography by Kylie Thomas
Subscribe to TABLE Magazine‘s print edition.