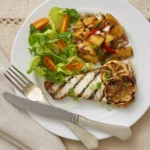
What do we love about summer grilling? The deep, savory smokiness. The bits of char at the edges. The sizzling fat. The steaming juices.
Tradition guides us to heighten those rich, meaty flavors with hits of vinegar, sugar and salt – the common elements of ketchup, mustard, and relish. We don’t have to stop with these childhood favorites, however. We can adventure into new culinary territory with homemade condiments that punch up our summer palate with bright, interesting, fresh flavors.
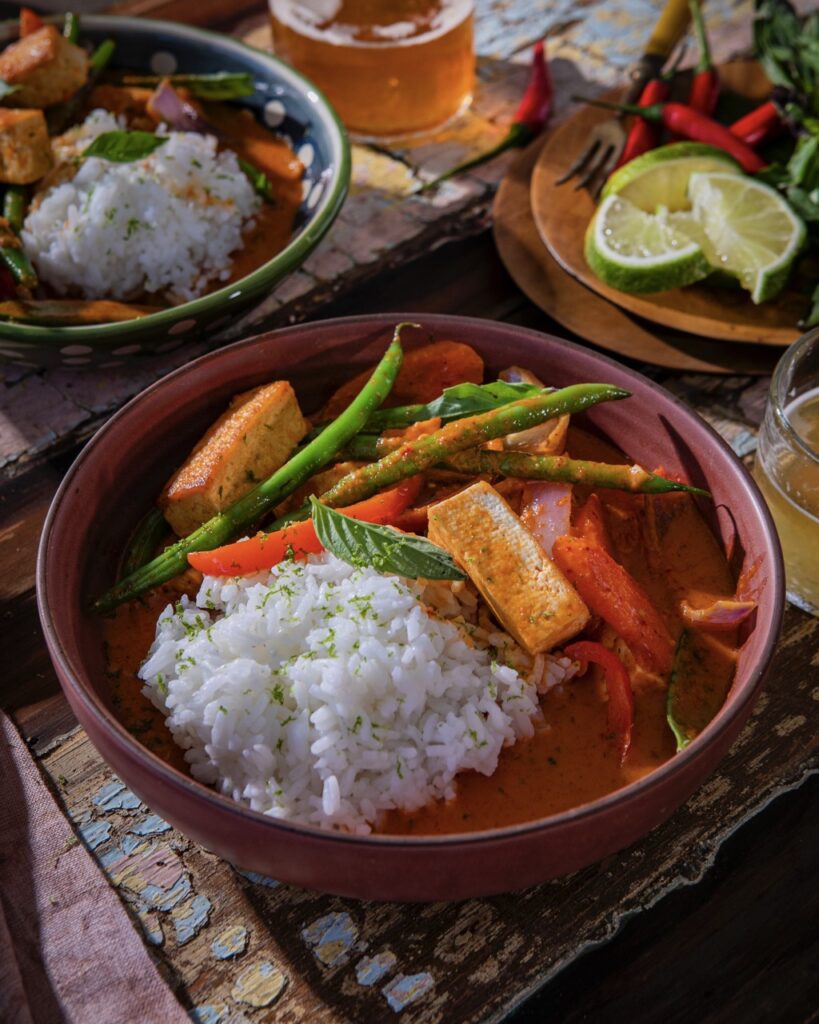
Try some homemade summertime toppings to provide flair and flavor to burgers, dogs, and other grilled meats! Pickled Onions, Jalapeño Pickle Relish, Creamy Cucumbers, Sweet Beet and Red Cabbage Slaw, Sriracha Mayonnaise, Pesto Chimichurri, and Spicy Cilantro Lime Slaw are all perfect additions when grilling out.
All of our suggestions can be made a day or two ahead of your next session at the grill.
Homemade Burger and Dog Topping Recipes
Print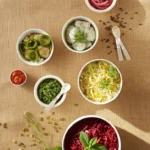
Quick Pickled Onions
Description
Use generously on hamburgers, or sparingly on steak, lamb, or pork.
Ingredients
- 2 red onions, thinly sliced
- 2 tbsp peppercorns
- 1 cup red wine vinegar
- 2 tbsp sugar
- 1 tbsp salt
Instructions
- Whisk the vinegar, sugar, and salt together, and toss in the onions and peppercorns.
- Marinate in the fridge overnight
Creamy Cucumbers
Description
Delicious with fish or lamb.
Ingredients
- 2 medium cucumbers, thinly sliced
- 2 cups white vinegar
- 1 tbsp sugar
- 1 tbsp salt
- ¾ cup sour cream
- 2 tbsp chopped fresh dill
- Dash of olive oil
Instructions
- Mix the vinegar, sugar, and salt, and marinate the cucumbers overnight.
- Rinse with cold water and blot dry with paper towel and set aside.
- Mix sour cream, dill, olive oil. Add salt and pepper to taste.
- Toss the cucumber slices in sour cream mixture and serve
Jalapeño Pickle Relish
Description
Perfect with hamburgers, hot dogs, bratwurst, or barbequed chicken.
Ingredients
- 16 oz jar of store-bought dill pickle chips
- 2 cups sliced jalapeño peppers (seeds removed)
- ¼ cup tequila
- 1 cup minced yellow onion
- 2 minced garlic cloves
- 1 tsp celery seed
- 1 tsp chopped fresh dill
- 1 tsp black pepper
Instructions
- Empty the jar of store-bought pickle chips into a stainless steel bowl.
- Add all other ingredients, stir gently and cover.
- Marinate for a day or two in the fridge.
- Chop into small pieces for more spreadable relish.
Sriracha Mayonnaise
Description
Slather this on hamburgers or hotdogs.
Ingredients
- 2 cups Hellmann’s mayonnaise
- ½ tsp fresh lime juice
- 2 tbsp sriracha spice mix
Instructions
- Whisk everything together about an hour in advance of serving.
- If you want more heat, add more spice mix!
Pesto Chimichurri
Description
Use with steaks, roasts, and beer-can chicken.
Ingredients
- ½ cup toasted pine nuts (or toasted pepitas)
- 2 cups fresh parsley
- ¼ cup fresh garlic mustard leaves (or fresh watercress)
- 3 cloves fresh garlic
- 1 tsp ground black pepper
- Olive oil
- Salt
Instructions
- Puree all the ingredients in the blender.
- Add olive oil gradually, scraping down the sides once in a while until a rough slurry is formed.
- Salt to taste. Add a little ground cumin if you like.
Spicy Cilantro Lime Slaw
Description
Delicious with fish or chicken.
Ingredients
- 4 cups shredded green cabbage
- 6 diced Cubanelle peppers
- 1 diced yellow bell pepper
- ¼ cup minced Vidalia onion
- 2 tbsp ground white pepper
- 2 tbsp lime zest
- 3 tbsp fresh lime juice
- ½ cup chopped fresh cilantro
- Olive oil
Instructions
- Mix all ingredients together and marinate in the fridge overnight.
- For more heat, add a chopped jalapeño or two.
Sweet Beet and Red Cabbage Slaw
Description
Combines beautifully with pork, lamb, and any grilled sausage.
Ingredients
- 2 minced shallots
- 2 cups grated raw beets
- 2 cups grated red cabbage
- 1 cup grated carrot
- 4 tbsp black cherry or pear balsamic vinegar
- ¼ tsp ground coriander
- Salt and pepper
- Olive oil
Instructions
- Toss all ingredients together. Salt and pepper to taste.
- Marinate overnight.
- To make it a bit sweeter, add a grated Granny Smith apple.
- Just before serving, drizzle with olive oil and toss.
Recipes and Story by Keith Recker
Photography by Marcy Holquist
Subscribe to TABLE Magazine‘s print edition.