Article Updated March 17, 2026
To all the green thumbs out there just itching to get into the garden: pazienza! There are still weeks to go before nighttime temperature get high enough to let tender young plants live. However, it’s never too early for growing your own windowsill greens and sprouts. They’re easy, delicious, and a refreshing glimpse of the season ahead. Here’s how to grow them, and how to use them once grown:
Growing Windowsill Greens
- Start with a shallow, watertight container with a lid.
- Add a very thin layer of dirt, preferably a rich potting soil that will stay moist.
- Choose any sort of herb or vegetable to grow your windowsill greens, but spread them evenly across the dirt.
- After sewing and watering, put the lid on for two full days and place on a sunny sill.
- Starting on day three, water every day or two.
- When the sprouts are almost two inches high, it’s harvest time! Gently rinse off the dirt and use in salads and sandwiches, and as an oh-so-fresh garnish on soups, chilis, tacos and everything else.
Looking for Other Ways to Consume Microgreens?
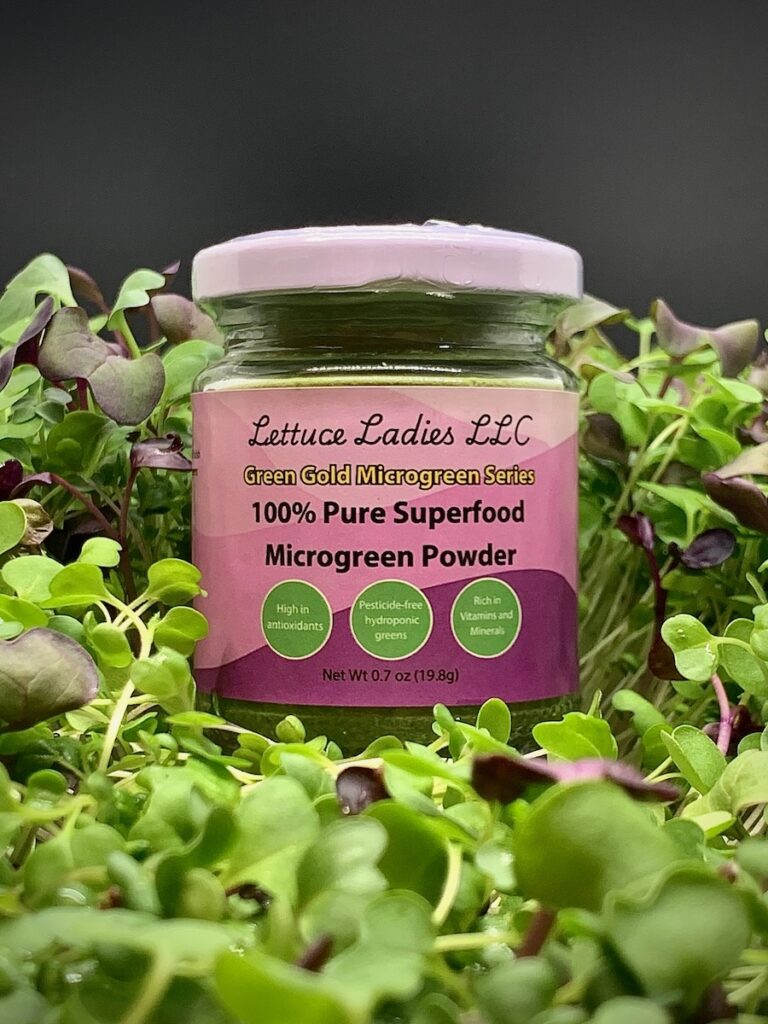
Buying microgreens from the store or growing them on your windowsill gifts you fresh sprouts for days but there’s another way to get all the nutrition and green goodness in a more long-lasting form. The Lettuce Ladies LLC create a Green Gold Microgreen Series of small jars full of microgreen powders. The freeze-drying process lets you add a Superfood mix, Broccoli, or Kale powder to your popcorn, pasta sauces, dressings, and more. You could even add it into dishes like mac and cheese to get your picky kids eating greener too.
Each jar contains vitamin A, vitamin C, potassium, and antioxidants to make sure you get your daily dose of each.
Story and Styling by Anna Franklin
Photography by Dave Bryce
Subscribe to TABLE Magazine‘s print edition.
